Configure the Display Name of a CyberGate Device
Version: 1.1.1 ENG
Date: May 1, 2025
Product: CyberTwice CyberGate Management Portal
Introduction
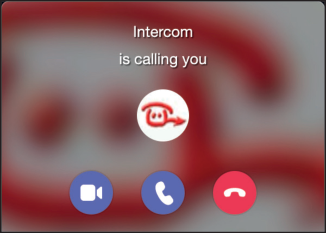
Section titled “Introduction”By default, incoming calls from a CyberGate device will be announced in Microsoft Teams as “Intercom”.
If you have multiple devices configured in the CyberGate service, or you would like to show a custom name in Teams, you can modify the display name for each configured device.
This guide walks you through configuring custom display names using the CyberGate Management Portal and the Feature Configuration PowerShell script.
Prerequisites
Section titled “Prerequisites”- Access to the CyberGate Management Portal
- A PC with Microsoft PowerShell installed
- Microsoft account credentials (same account used to configure the CyberGate service)
Configuration Steps
Section titled “Configuration Steps”Step 1: Identify Devices Needing Configuration
Section titled “Step 1: Identify Devices Needing Configuration”-
Log in to the CyberGate Management Portal at https://admin.cybergate.cybertwice.com
-
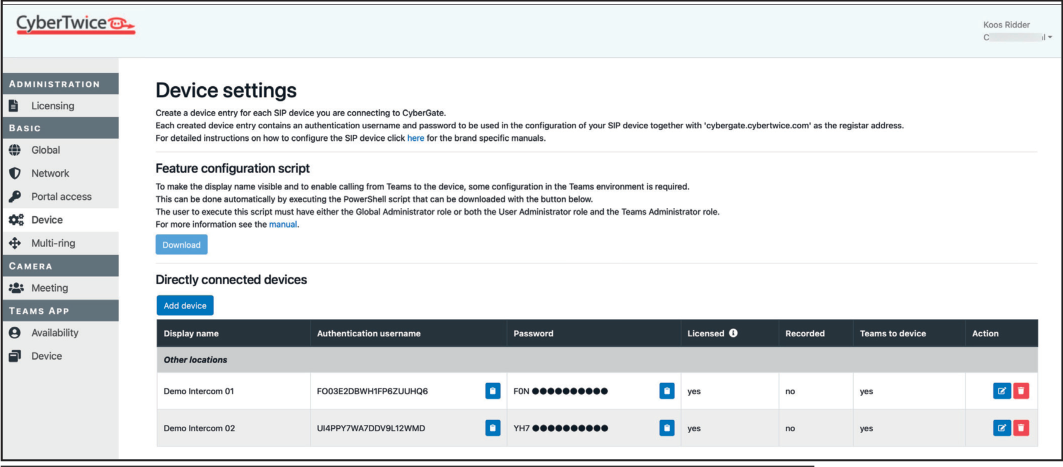
Navigate to the Device settings menu
-
Look for any devices with a warning symbol (⚠️) next to their name—this indicates the display name has not been set in CyberGate
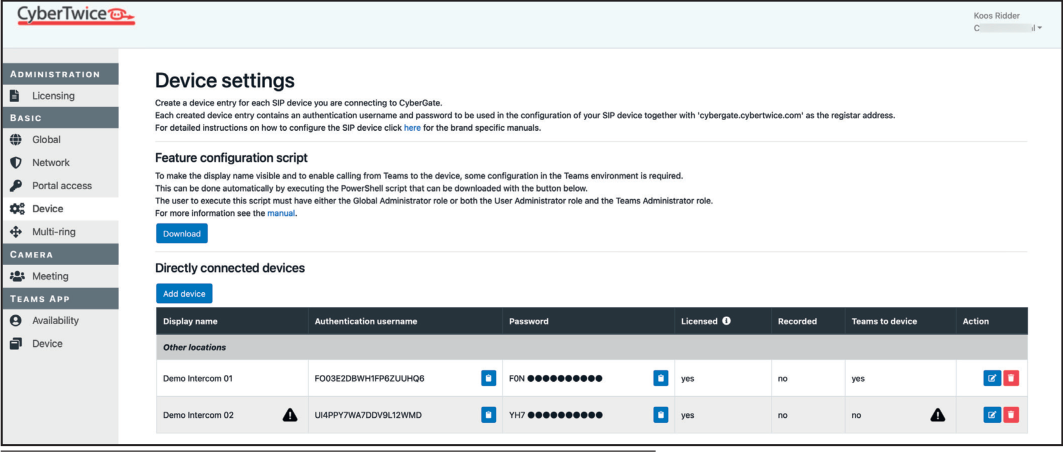
Example: In the screenshot above, “Demo Intercom 02” shows a warning sign indicating the name needs to be configured.
Step 2: Download the PowerShell Script
Section titled “Step 2: Download the PowerShell Script”- In the CyberGate Management Portal, click the ‘Download’ button to download the PowerShell configuration script
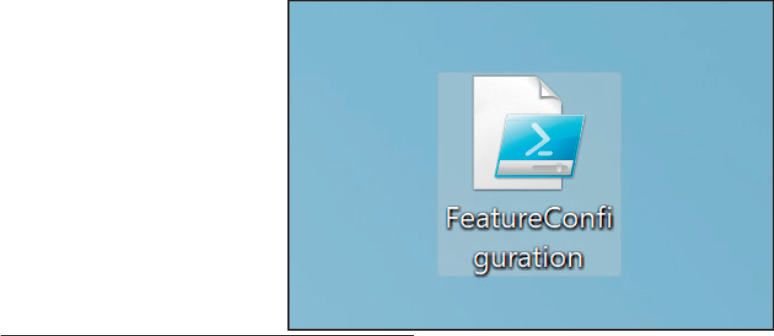
- Save the
DisplayNameConfiguration.ps1file to your PC
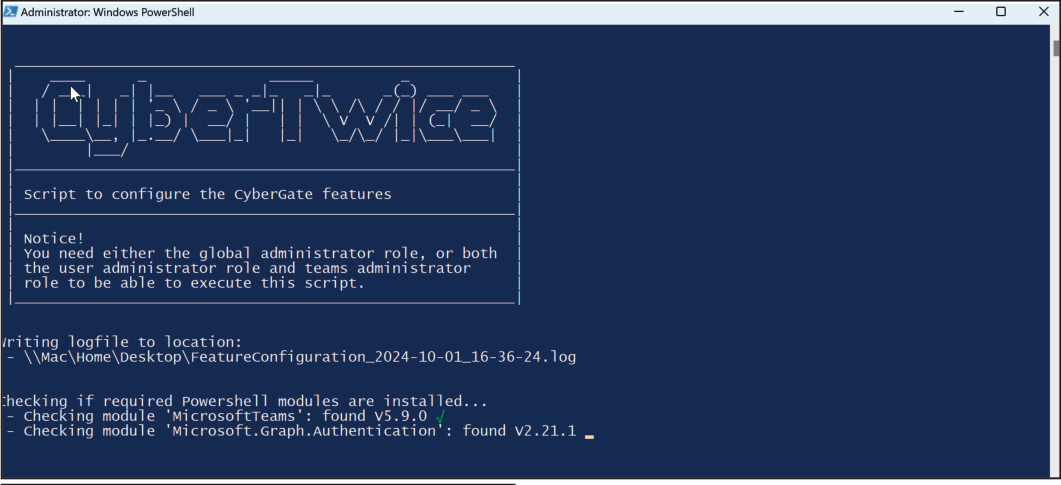
Step 3: Run the PowerShell Script
Section titled “Step 3: Run the PowerShell Script”-
Locate the downloaded
DisplayNameConfiguration.ps1file -
Right-click on the file and select ‘Run with PowerShell’
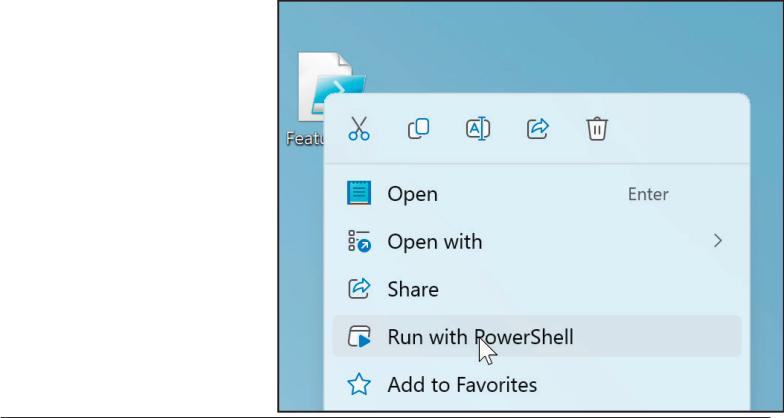
- PowerShell will open and execute the script
Step 4: Authenticate with Microsoft
Section titled “Step 4: Authenticate with Microsoft”- When prompted, enter your Microsoft account credentials (use the same account used to configure the CyberGate service)
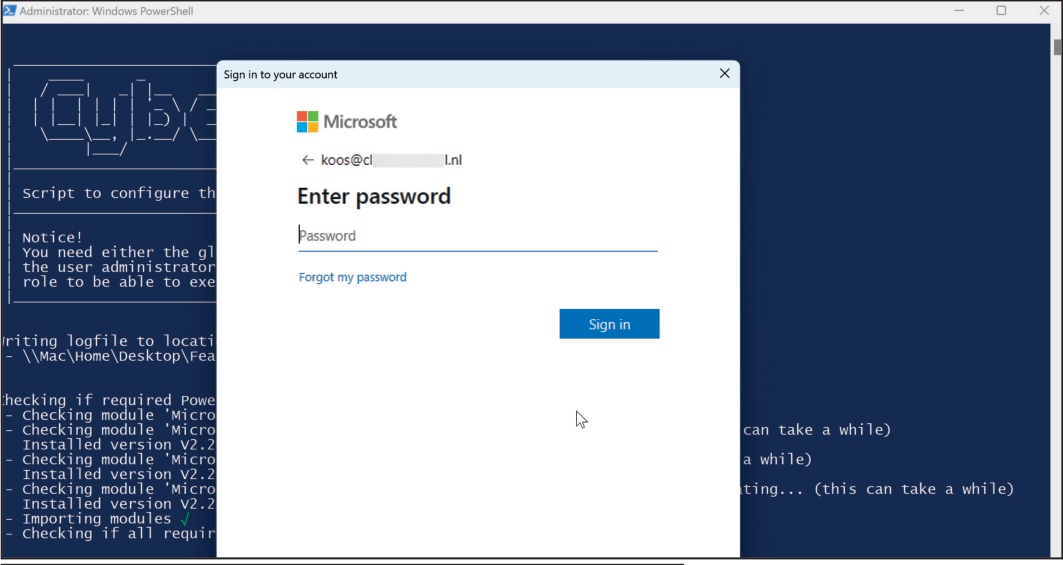
-
If you have two-factor authentication enabled, complete the additional verification steps as prompted
-
After successful authentication, the script will run and display “Script successfully done” if no errors occurred
-
Press Enter to exit the script
Step 5: Verify the Configuration
Section titled “Step 5: Verify the Configuration”-
Return to the CyberGate Management Portal
-
Navigate to the Devices menu
-
Confirm that the warning symbols have disappeared from your devices
Note: It can take up to one hour before the change takes effect. Until then, the device may still display as “Intercom” in Teams.
Result
Section titled “Result”Once the configuration is complete and propagated, the configured display name will appear in Microsoft Teams whenever the intercom is operated.
Troubleshooting
Section titled “Troubleshooting”| Issue | Solution |
|---|---|
| Script fails to run | Ensure PowerShell execution policy allows running scripts. Run Set-ExecutionPolicy -Scope CurrentUser -ExecutionPolicy RemoteSigned if needed |
| Authentication fails | Verify you’re using the same Microsoft account used to configure CyberGate |
| Warning symbol persists | Wait up to one hour for changes to propagate, then refresh the portal |
| Display name still shows “Intercom” | Allow up to one hour for changes to take effect in Teams |
Document History
Section titled “Document History”| Version | Date | Author | Change |
|---|---|---|---|
| 1.0.0 | 2021-07-02 | KR | Original version |
| 1.1.0 | 2024-10-01 | KR | Revised version |
| 1.1.1 | 2025-05-01 | KR | Revised layout |