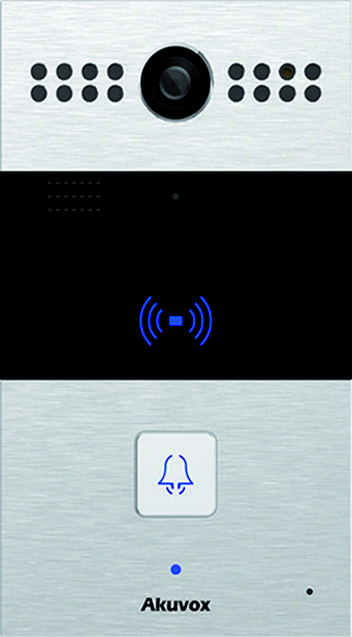
This document uses the Akuvox R26C SIP Video Doorphone as the reference device. Other Akuvox SIP Video Doorphones from the R2x series can also connect to CyberGate.
Document Contents
Section titled “Document Contents”| Section | Description |
|---|---|
| Device Configuration | Steps to configure the Akuvox for CyberGate |
| Appendix: CyberGate App | Installation and usage of the CyberGate Teams app |
Configuration Steps
Section titled “Configuration Steps”Step 1: Connect to the Akuvox
Section titled “Step 1: Connect to the Akuvox”- Connect the Akuvox to the network
- Power it on
- Open a web browser and navigate to the device's IP address
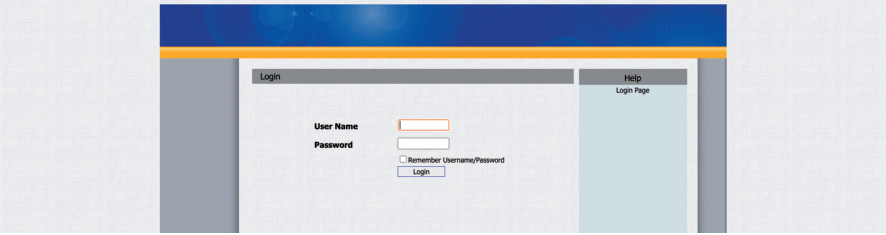
- Login as 'admin' and click 'Login'
Step 2: Configure Push Button (Call Destination)
Section titled “Step 2: Configure Push Button (Call Destination)”The 'Intercom-Basic' menu will appear after login.
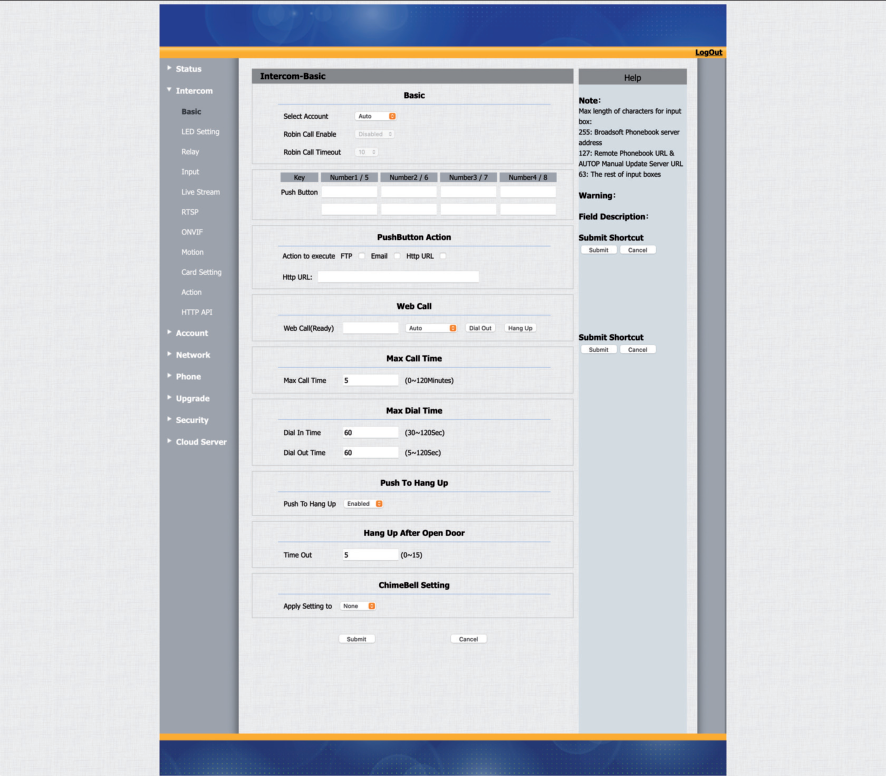
- At 'Push Button', add the recipient to call
- Use the Teams user address in one of these formats:
name.name@domain.com(full address) orname.name(short format)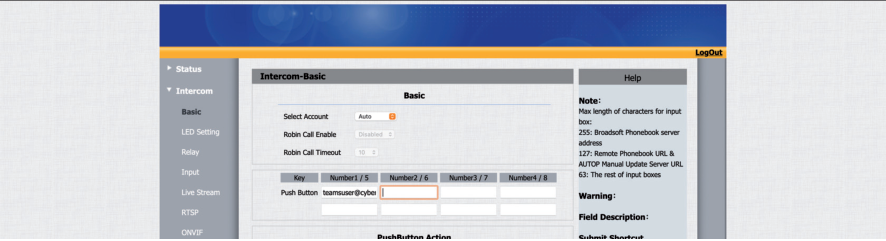
- Click 'Submit'
Step 3: Configure SIP Account
Section titled “Step 3: Configure SIP Account”Navigate to Account → Basic
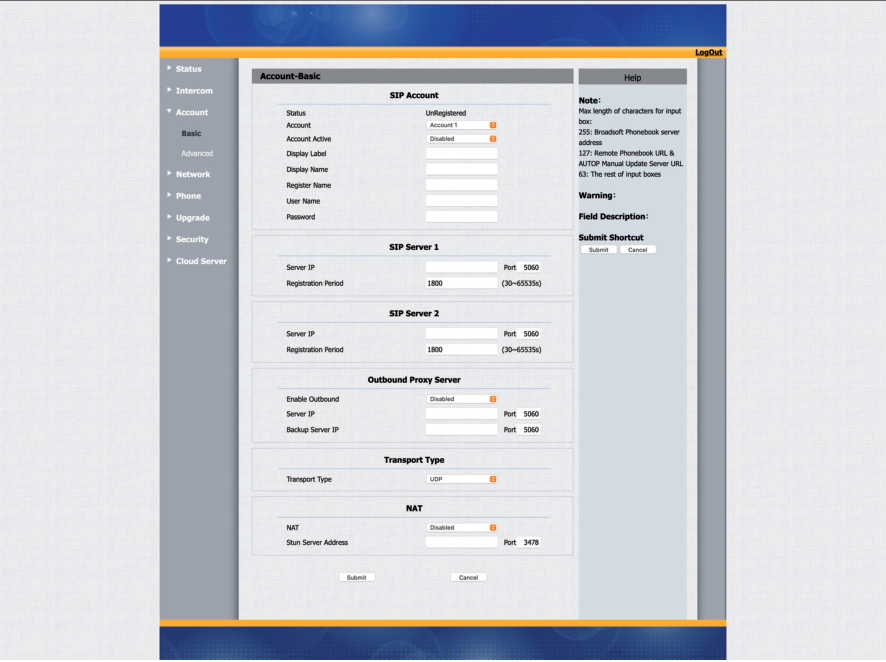
Configure the following settings:
SIP Account
Section titled “SIP Account”| Field | Value |
|---|---|
| Account | Select Account 1 |
| Account Active | Enabled |
| Display Label | Use a name like 'CyberGate' to describe this account |
| Display Name | Use the same name as Display Label |
| Register Name | Use the Username from CyberGate service |
| User Name | Use the Username from CyberGate service |
| Password | Use the Password from CyberGate service |
SIP Server 1
Section titled “SIP Server 1”| Field | Value |
|---|---|
| Server IP | cybergate.cybertwice.com |
Outbound Proxy Server
Section titled “Outbound Proxy Server”| Field | Value |
|---|---|
| Enable Outbound | Enabled |
| Server IP | cybergate.cybertwice.com |
Transport Type
Section titled “Transport Type”| Field | Value |
|---|---|
| Transport Type | TCP |
Click 'Submit'
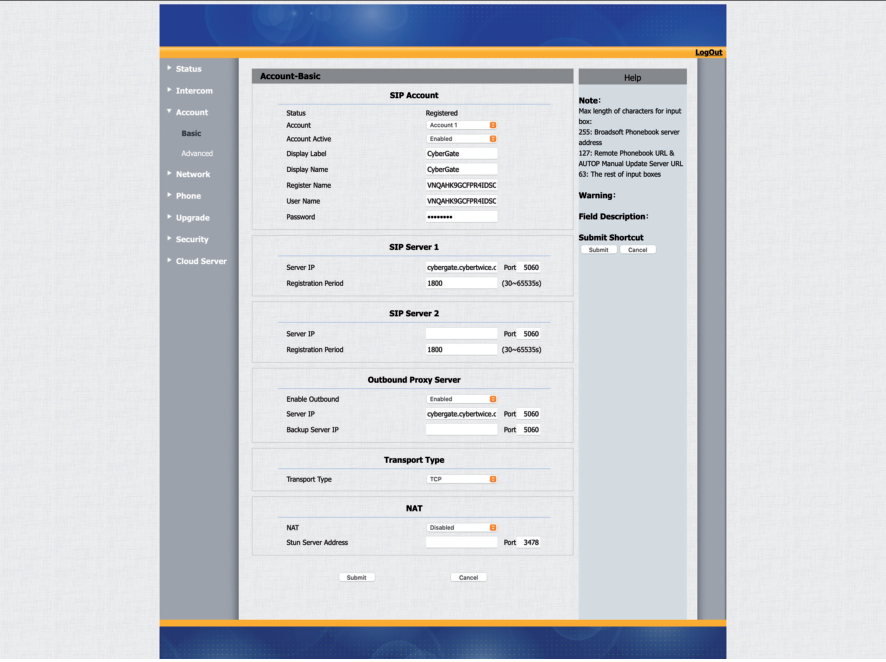
At 'SIP Account', the Status should change to 'Registered'
Step 4: Configure Video Codec
Section titled “Step 4: Configure Video Codec”Navigate to Account → Advanced
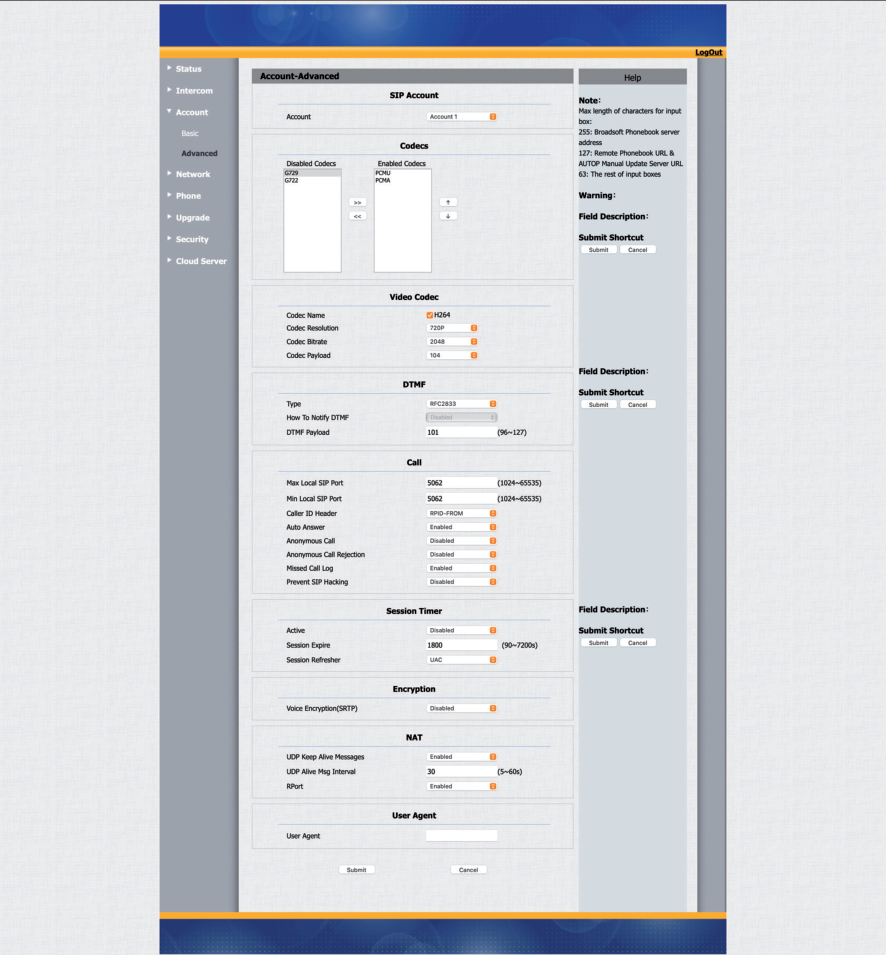
| Field | Value |
|---|---|
| Codec Resolution | 720p |
Click 'Submit'
Testing the Configuration
Section titled “Testing the Configuration”Configuration is now complete!
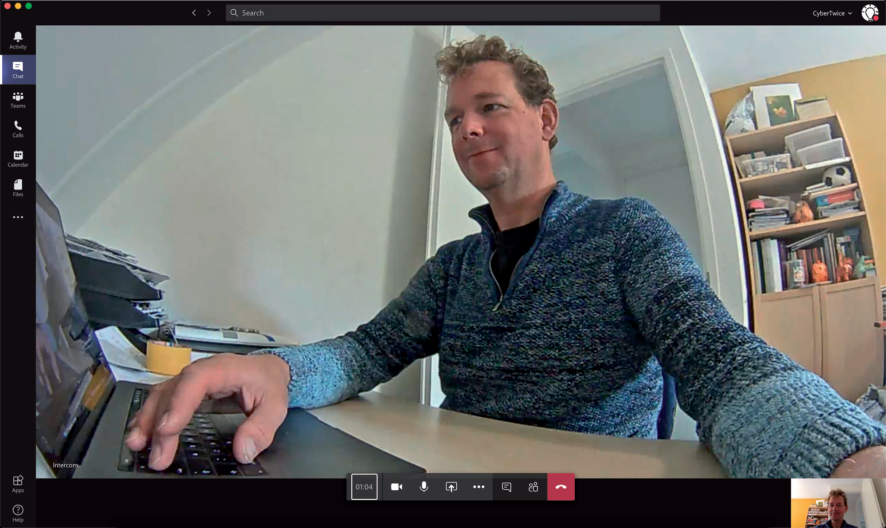
Making a Test Call
Section titled “Making a Test Call”Press the button on the Akuvox to initiate a call to the configured Teams user
If configured correctly, the Teams client will notify you of an incoming call
Answer the call by clicking the camera symbol
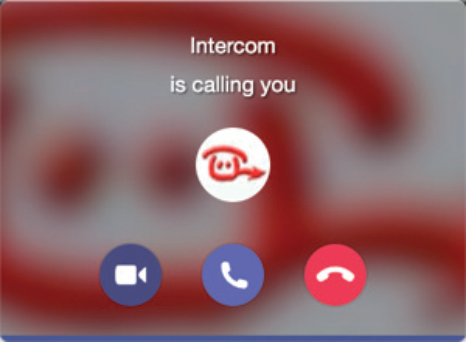
The call will be established and video will display within approximately 3 seconds
Quick Reference
Section titled “Quick Reference”CyberGate Connection Details
Section titled “CyberGate Connection Details”| Setting | Value |
|---|---|
| Server IP | cybergate.cybertwice.com |
| Outbound Proxy Server | cybergate.cybertwice.com |
| Transport Type | TCP |
| Recommended Video Resolution | 720p |
Document History
Section titled “Document History”| Version | Date | Author | Change |
|---|---|---|---|
| 1.0.0 | 2020-12-01 | KR | Initial version |
| 1.0.1 | 2021-01-13 | KR | Added page numbers, changed Transport Type |
| 1.0.2 | 2022-07-26 | KR | Added certified intercoms |
| 1.0.3 | 2024-11-14 | KR | Fixed layout, text, and added CyberGate app appendix |