AXIS A8105-E Network Video Doorstation
Version: 1.0.2 ENG
Date: August 26, 2022
Product: CyberTwice CyberGate with AXIS Network Video Doorstation
AXIS Network Video Doorstation Overview
Section titled “AXIS Network Video Doorstation Overview”
This document uses the AXIS A8105-E Network Video Doorstation as the reference device. The following AXIS Video Doorstations are also supported:
| Model | Description |
|---|---|
| A8004-VE | Network Video Door Station |
| A8105-E | Network Video Door Station |
| A8207-VE | Network Video Door Station |
| I8016-LVE | Network Video Intercom |
Configuration Steps
Section titled “Configuration Steps”Step 1: Connect to the AXIS
Section titled “Step 1: Connect to the AXIS”-
Connect the AXIS to the network and power it on
-
Open a web browser and navigate to the device’s IP address
-
Create a password for the ‘root’ user and click ‘OK’
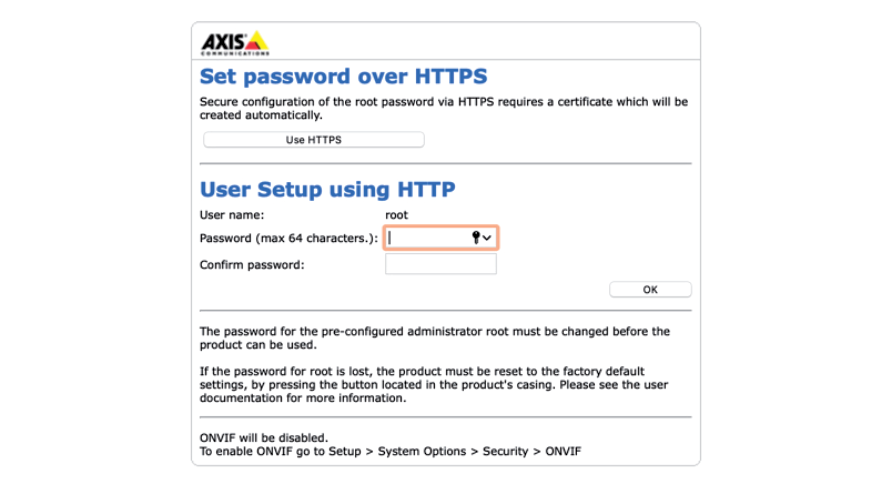
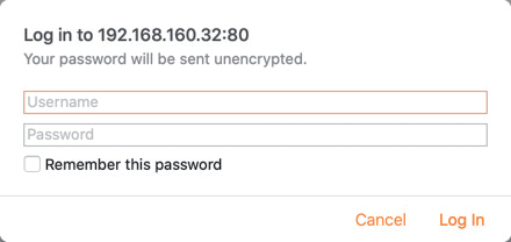
- Login as ‘root’ with the password you just created
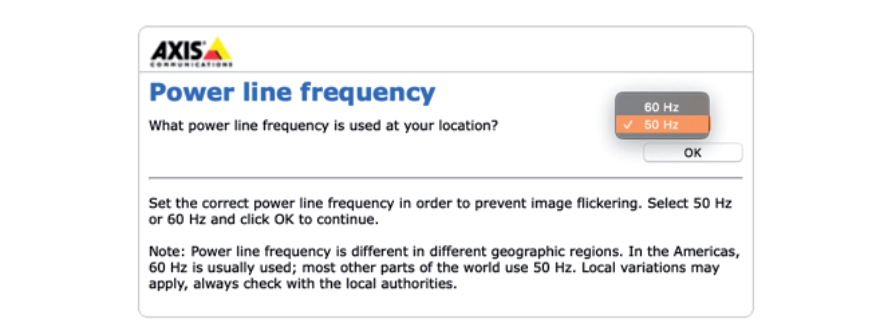
Step 2: Configure Initial Settings
Section titled “Step 2: Configure Initial Settings”- Set the Capture Mode
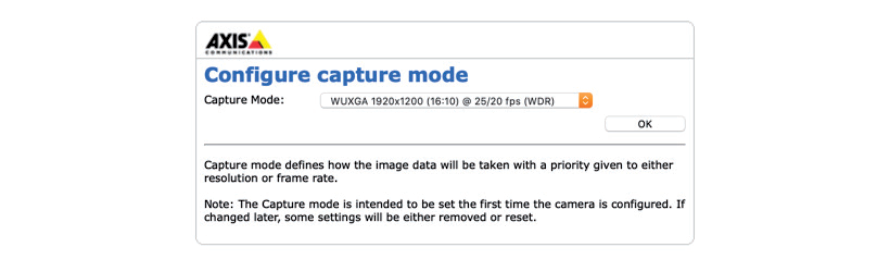
- Set the power line frequency for your region
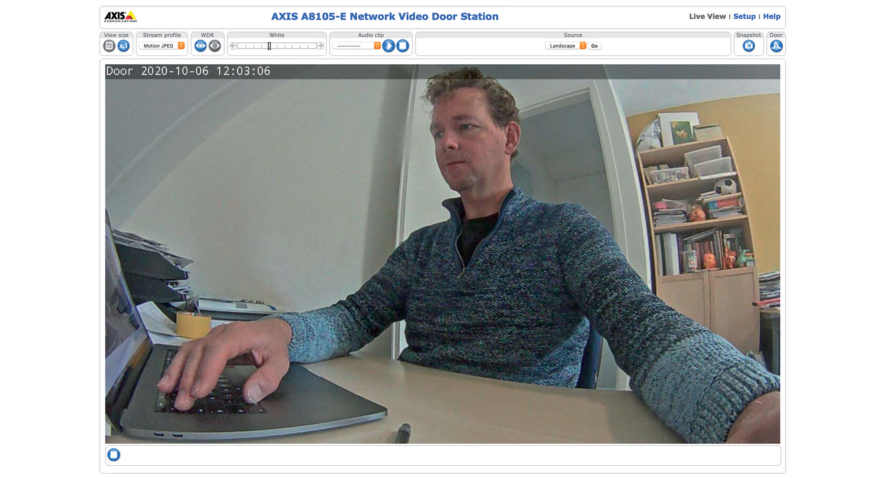
- When logged in, the live view opens
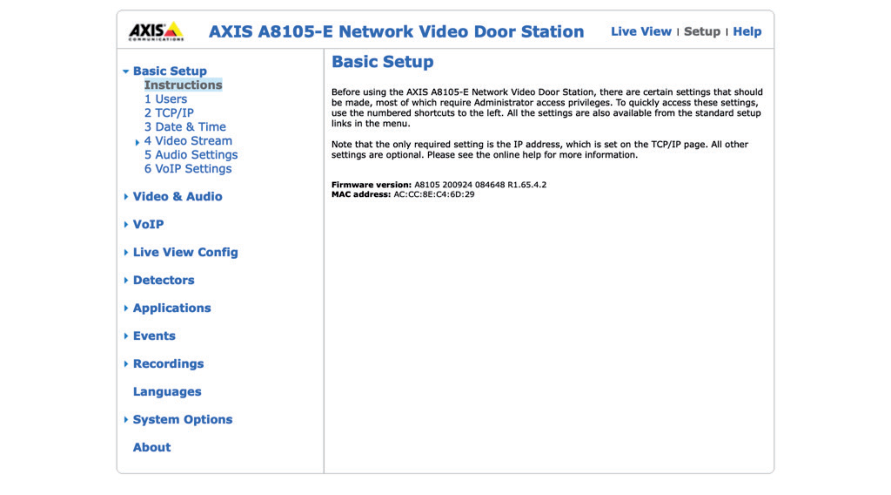
Step 3: Configure Date & Time
Section titled “Step 3: Configure Date & Time”- Click ‘Setup’ at the top of the page
- Click on ‘Date & Time’ to set the correct time zone
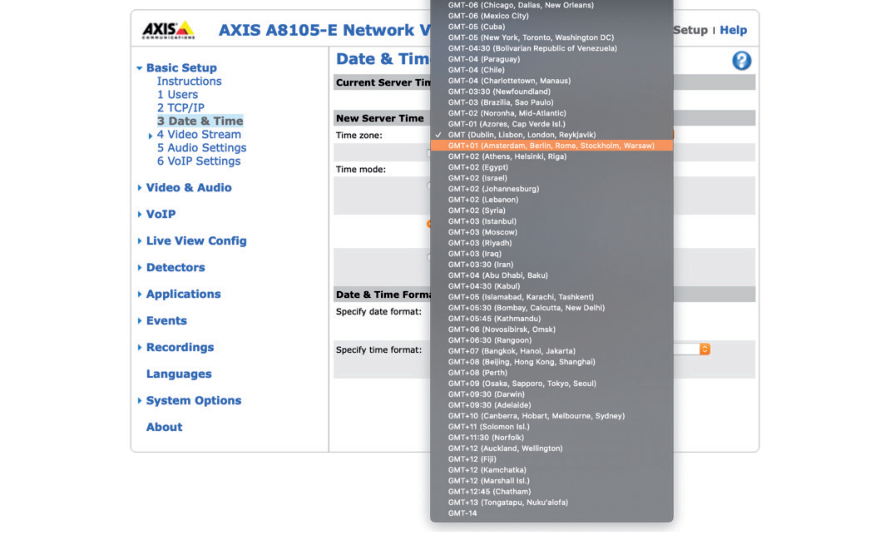
- Click ‘Save’ to confirm
Step 4: Configure VoIP Account
Section titled “Step 4: Configure VoIP Account”- Click on ‘VoIP Settings’ and then click ‘Configure’ at Account settings
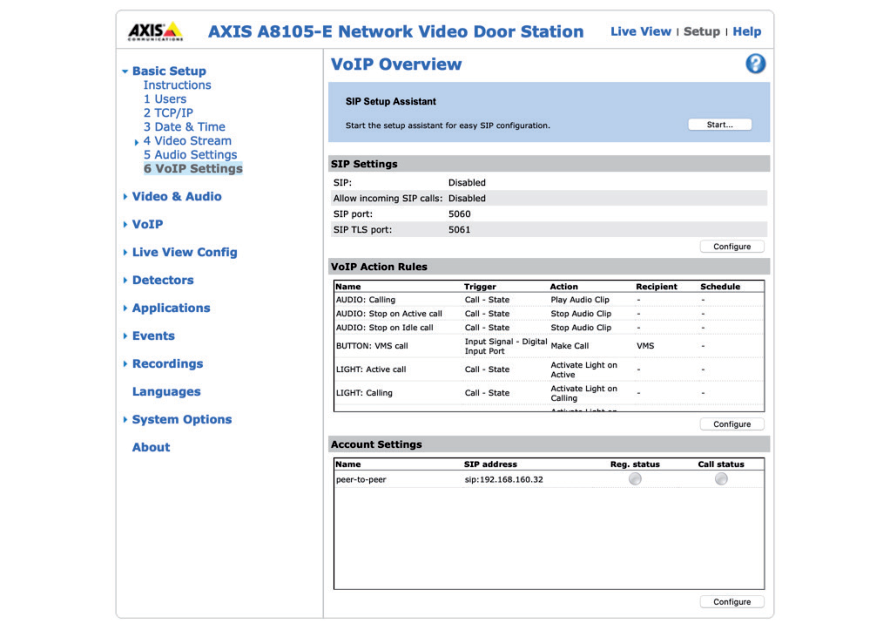
-
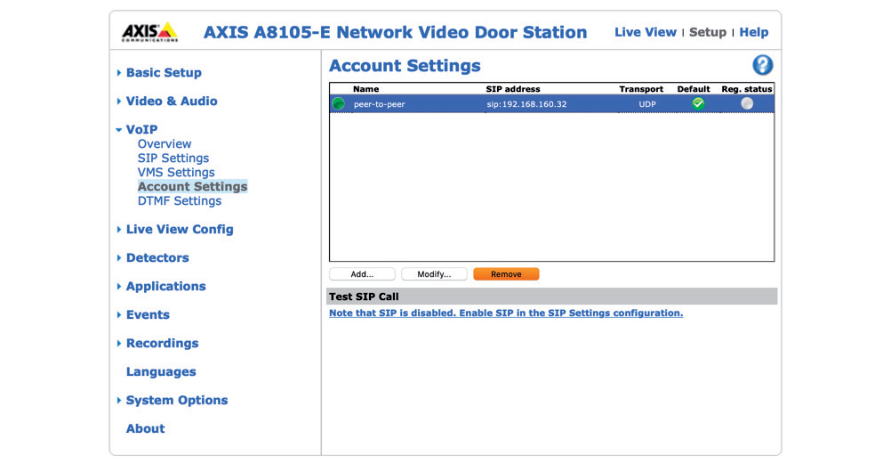
Remove the default ‘peer-to-peer’ entry by clicking ‘Remove’
-
Click ‘Add’ to add a new entry
- Configure the following settings:
| Field | Value |
|---|---|
| Name | Name of the SIP account (e.g., CyberGate) |
| Default account | ✅ Enable by checking the checkbox |
| User ID | Use the Username from CyberGate service |
| Authentication ID | Same as User ID |
| Password | Use the Password from CyberGate service |
| Caller ID | Use the Username from CyberGate service |
| Domain name | Use the domain name of your organization |
| Register address | cybergate.cybertwice.com |
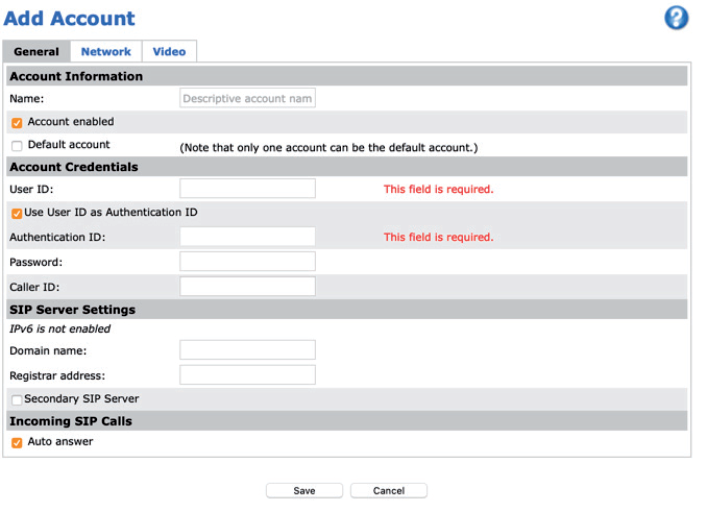
- Click ‘Save’ to confirm
Step 5: Configure Network Settings
Section titled “Step 5: Configure Network Settings”- Click ‘Network’ to set the SIP connection parameters
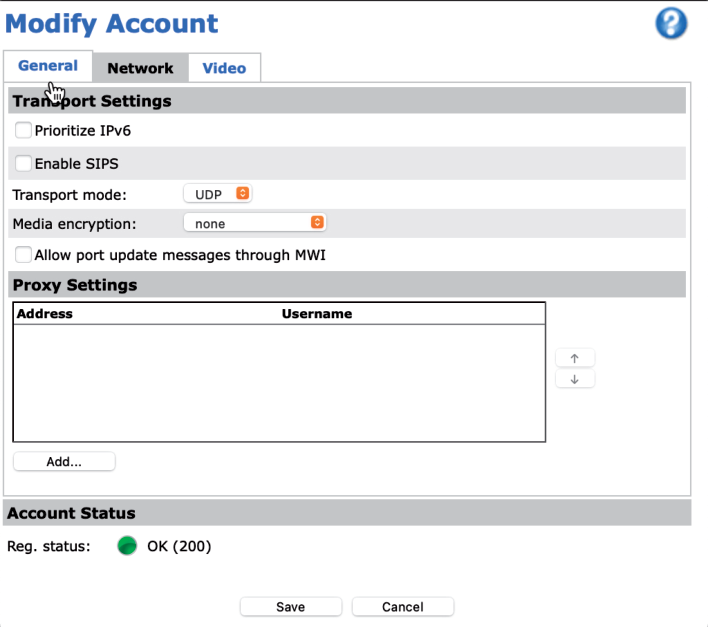
By default, the device uses UDP to connect to CyberGate. You can change it to TCP if needed.
Step 6: Enable Secure Connection (Optional)
Section titled “Step 6: Enable Secure Connection (Optional)”To establish a secure connection to CyberGate, modify the following settings:
| Field | Value |
|---|---|
| Transport Mode | TLS |
| Media Encryption | SRTP Mandatory |
Click ‘Save’ to confirm.
Note: These settings ensure that both SIP traffic and audio/video are encrypted.
Step 7: Configure Video Settings
Section titled “Step 7: Configure Video Settings”-
Click ‘Video’ to set the video parameters for SIP
-
Configure the following:
| Field | Value |
|---|---|
| Resolution | 720p |
| View area | Landscape |
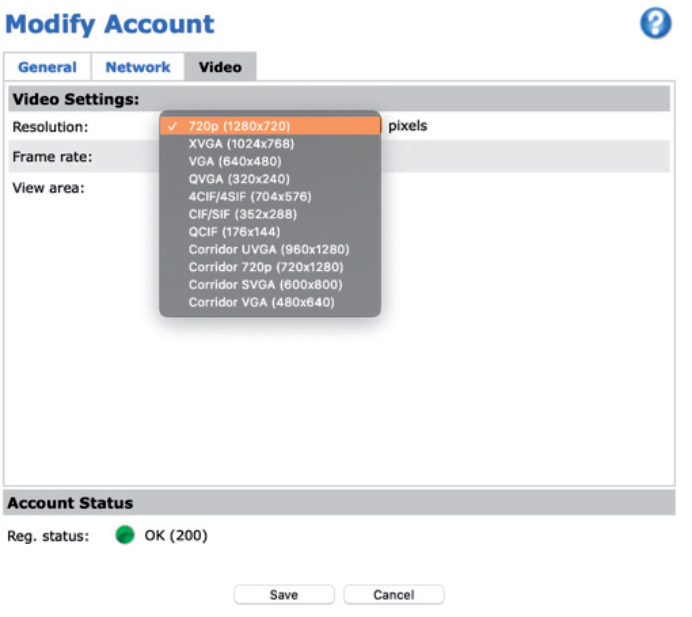
- Click ‘Save’ to confirm
Step 8: Enable SIP
Section titled “Step 8: Enable SIP”-
Click on ‘SIP Settings’
-
Enable SIP by checking ‘Enable SIP’
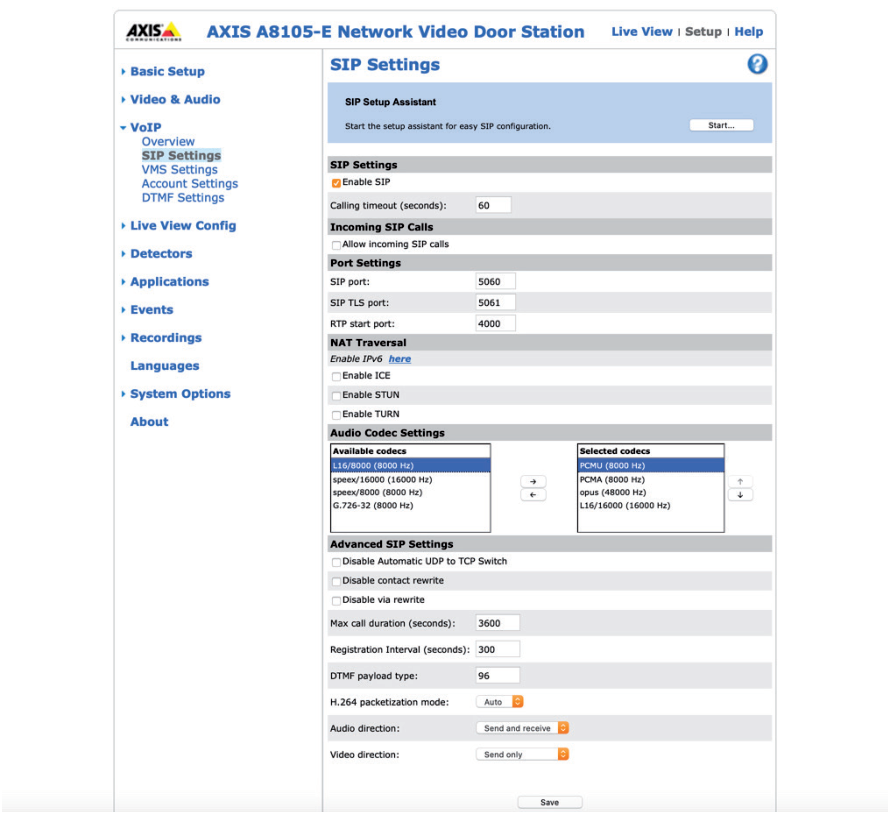
- Click ‘Save’ to confirm
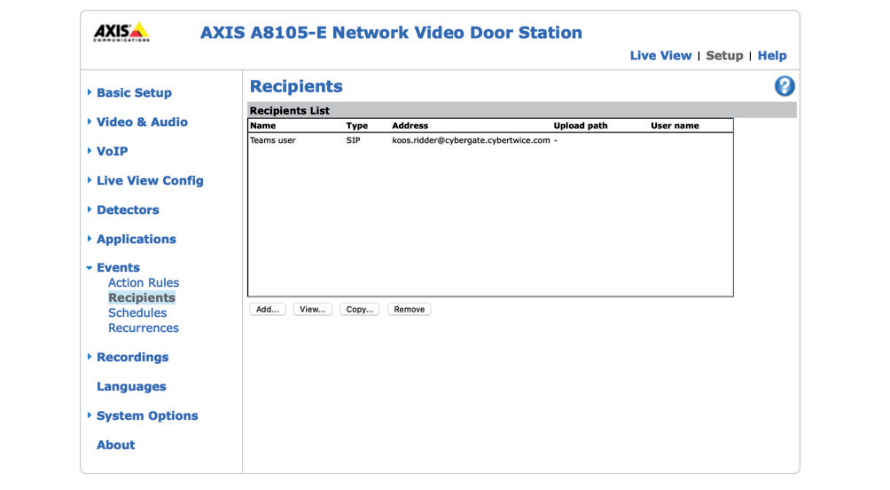
Step 9: Configure Call Recipient
Section titled “Step 9: Configure Call Recipient”- Click on ‘Events’
- Click on ‘Recipients’ and then ‘Add’ to add the recipient to call
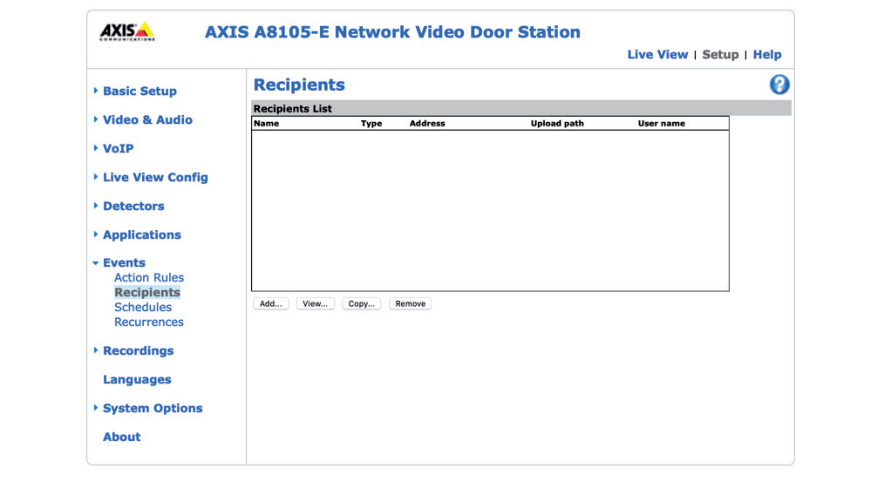
- Configure the following:
| Field | Value |
|---|---|
| Name | Name of the recipient (e.g., Teams User) |
| Type | Select SIP |
| To SIP address | name.name@cybergate.cybertwice.com |
Important: Use the Teams user address with
@cybergate.cybertwice.cominstead of your own domain.
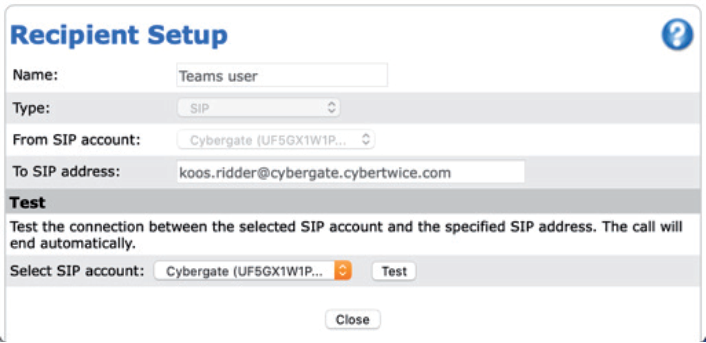
- Click ‘Close’
The recipient is now added.
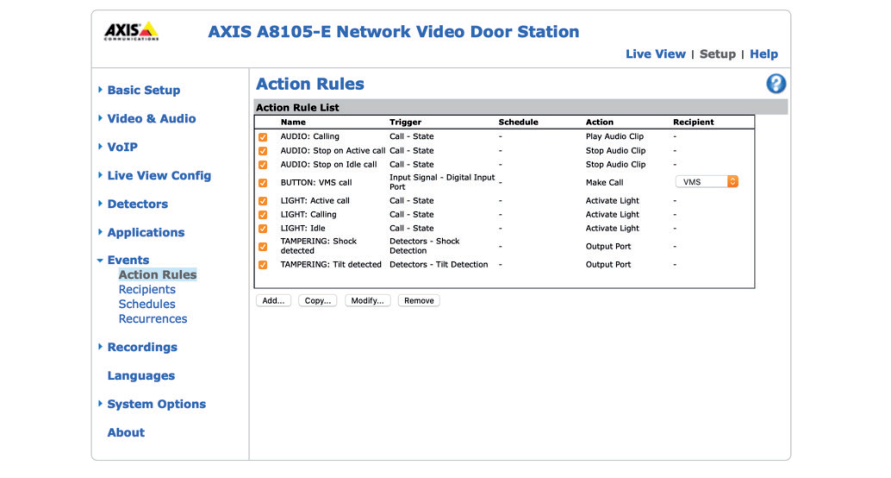
Step 10: Configure Action Rules
Section titled “Step 10: Configure Action Rules”-
Click on ‘Action Rules’
-
Select the Teams user at the ‘Button’ action

This configuration will call the Teams recipient when the button on the AXIS is pressed.
- create a dtmf rule.

Testing the Configuration
Section titled “Testing the Configuration”Configuration is now complete!
Making a Test Call
Section titled “Making a Test Call”-
Press the button on the AXIS to call the Teams recipient
-
If configured correctly, the Teams client will notify you of an incoming call
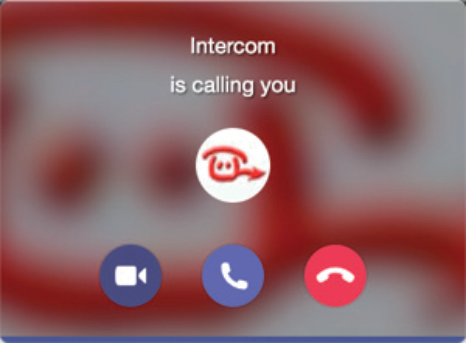
- Answer the call by clicking the answer button
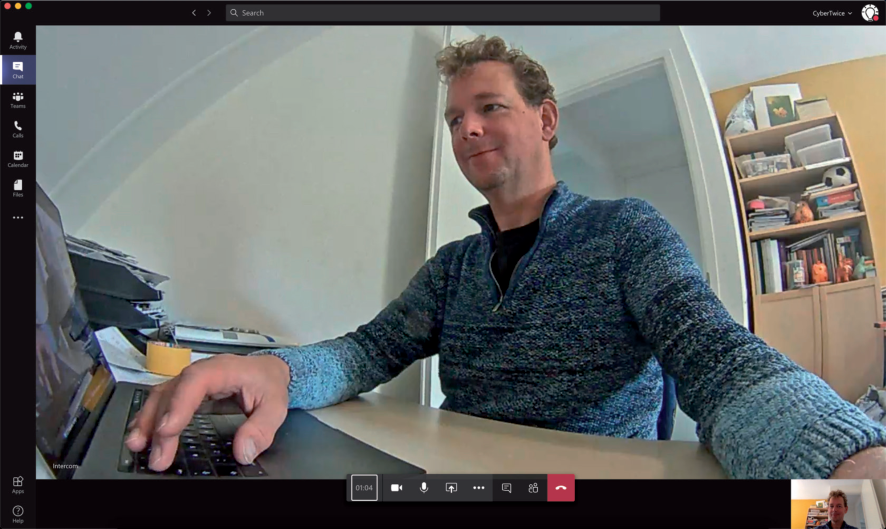
- The call will be established and video will display within approximately 3 seconds
Using DTMF for Door Opening
Section titled “Using DTMF for Door Opening”To run configured actions (such as door opening) from the Teams call:
-
Click on the three dots (…) in the call screen
-
Select ‘Keypad’
-
Use the DTMF code (as configured in VoIP → DTMF Settings) to trigger any configured action (as set in Events → Action Rules)
Note: For instructions on how to configure DTMF on the AXIS A8105-E, please see page 40 of the AXIS A8105-E manual, downloadable from the CyberTwice support site.
Quick Reference
Section titled “Quick Reference”CyberGate Connection Details
Section titled “CyberGate Connection Details”| Setting | Value |
|---|---|
| Register Address | cybergate.cybertwice.com |
| SIP Transport (Standard) | UDP or TCP |
| SIP Transport (Secure) | TLS |
| Media Encryption (Secure) | SRTP Mandatory |
| Recommended Video Resolution | 720p |
Teams User Address Format
Section titled “Teams User Address Format”username@cybergate.cybertwice.comReplace username with the Teams user’s email prefix (the part before @).
Document History
Section titled “Document History”| Version | Date | Author | Change |
|---|---|---|---|
| 1.0.0 | 2020-10-06 | KR | Initial version |
| 1.0.1 | 2021-01-13 | KR | Added page numbers and changed recipient SIP address |
| 1.0.2 | 2022-08-26 | KR | Added Secure SIP chapter |