Commend IP Speakers
Commend IP Speakers & CyberGate Configuration Guide
Section titled “Commend IP Speakers & CyberGate Configuration Guide”Version: 1.0.3 ENG
Date: November 1, 2024
Product: CyberTwice CyberGate with Commend IP Speakers
Supported Commend IP Speakers
Section titled “Supported Commend IP Speakers”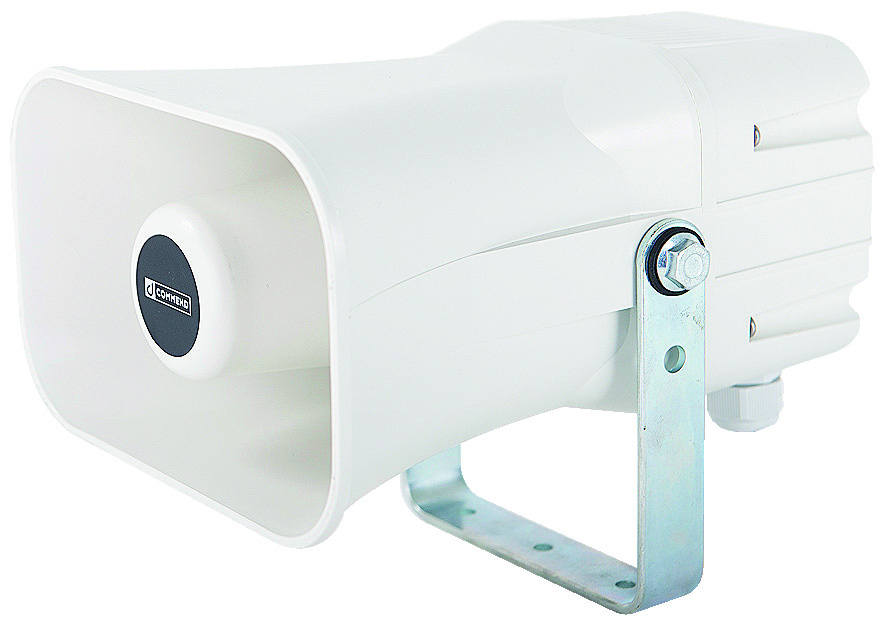
This document uses the Commend AFLS 10H HG Speaker as the reference device. The following Commend IP Speakers are also supported:
| Model | Description |
|---|---|
| AFLS 10H HG | IP Speaker (reference device) |
| AFLS 10H CW | IP Speaker |
| AFLS 10H PW | IP Speaker |
| AFLS 10H SC W | IP Speaker |
All listed Commend IP Speakers are certified for secure communication with CyberGate.
Note: This manual describes the most basic configuration of the Commend IP Speaker for use with CyberGate. Advanced Commend features can be used with CyberGate without issues, but are not described in this manual. Refer to Commend documentation for additional configuration options.
Security Recommendation
Section titled “Security Recommendation”Start by configuring the Commend using TCP first. If the connection and test calls are successful, modify the configuration to use secure communication. See Secure Communication over SIP-TLS for instructions.
Configuration Steps
Section titled “Configuration Steps”Step 1: Connect to the Commend
Section titled “Step 1: Connect to the Commend”- Connect the Commend to the network
- Power it on
- Open a web browser and navigate to the device’s IP address
- Sign in with the configured or supplied password
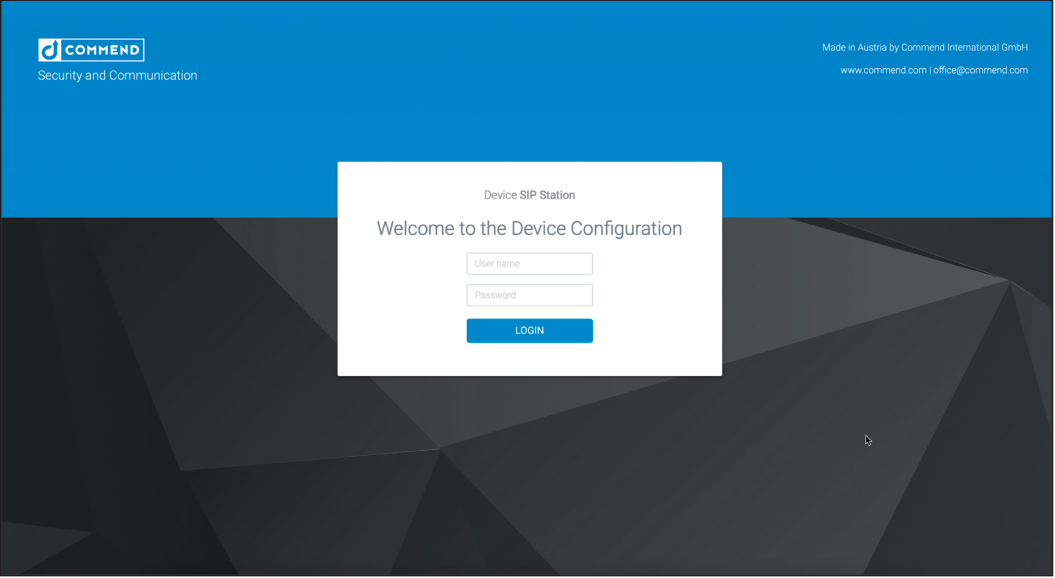
After signing in successfully, the Home menu will appear.

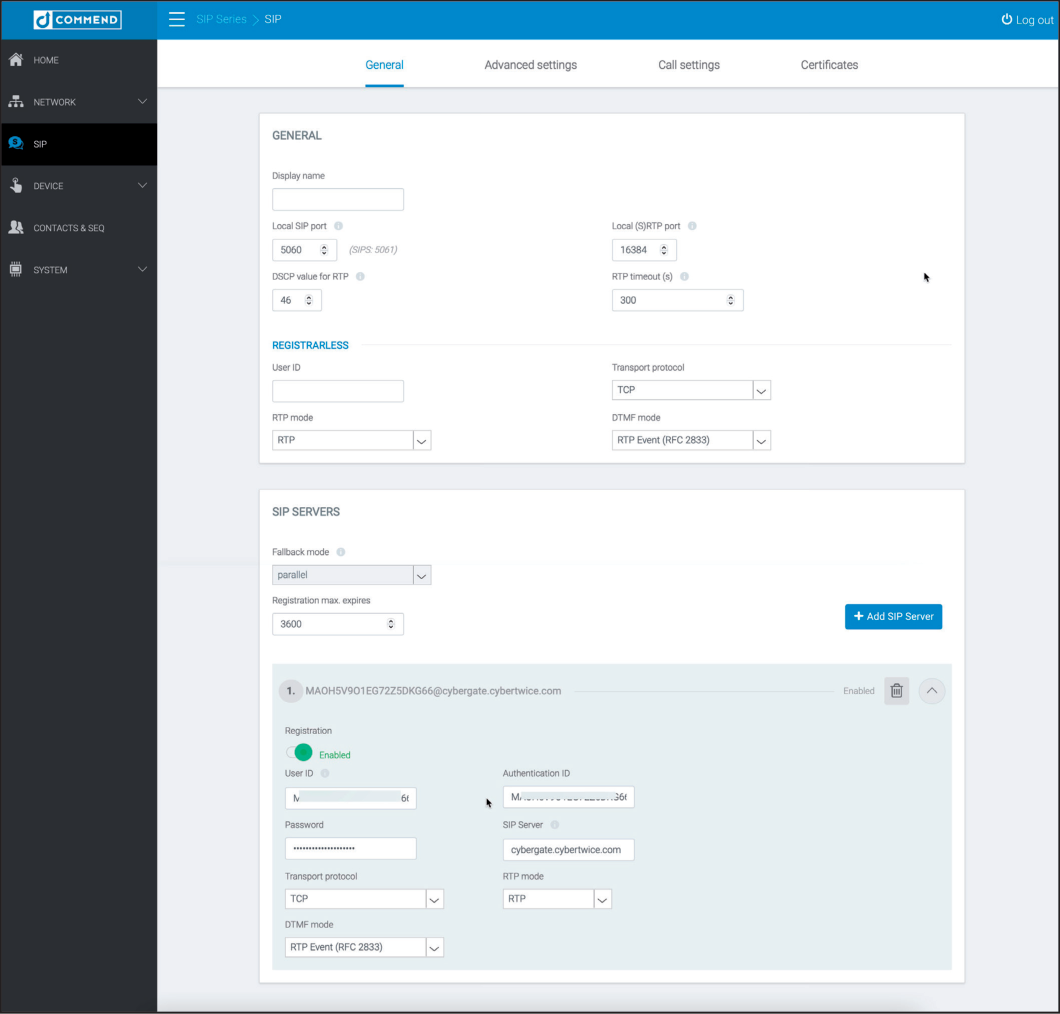
Step 2: Configure SIP Settings
Section titled “Step 2: Configure SIP Settings”- Navigate to the SIP menu
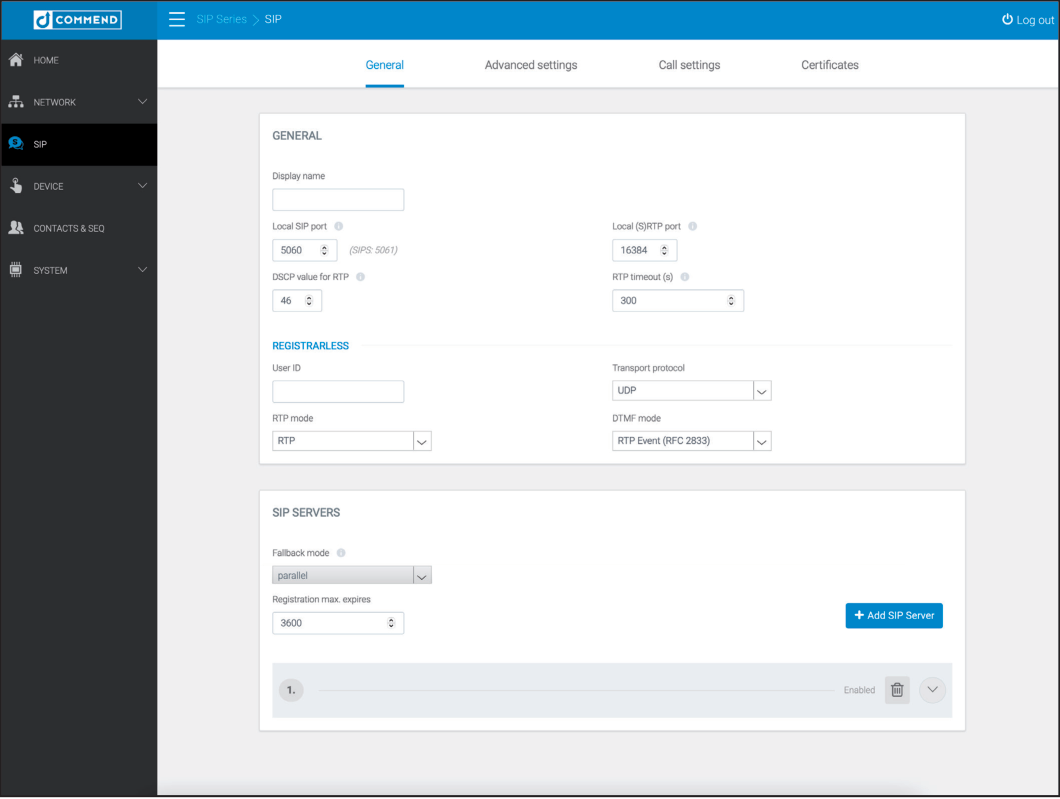
- Open SIP Server 1 and configure the following settings:
| Field | Value |
|---|---|
| Registration | Enable registration |
| User ID | Define a name (one word) for the speaker (e.g., office) |
| Authentication ID | Use the Username from CyberGate Management Portal |
| Authentication Password | Use the Password from CyberGate Management Portal |
| SIP Server | cybergate.cybertwice.com |
| Transport Protocol | TCP |
- Click ‘Save’ when done
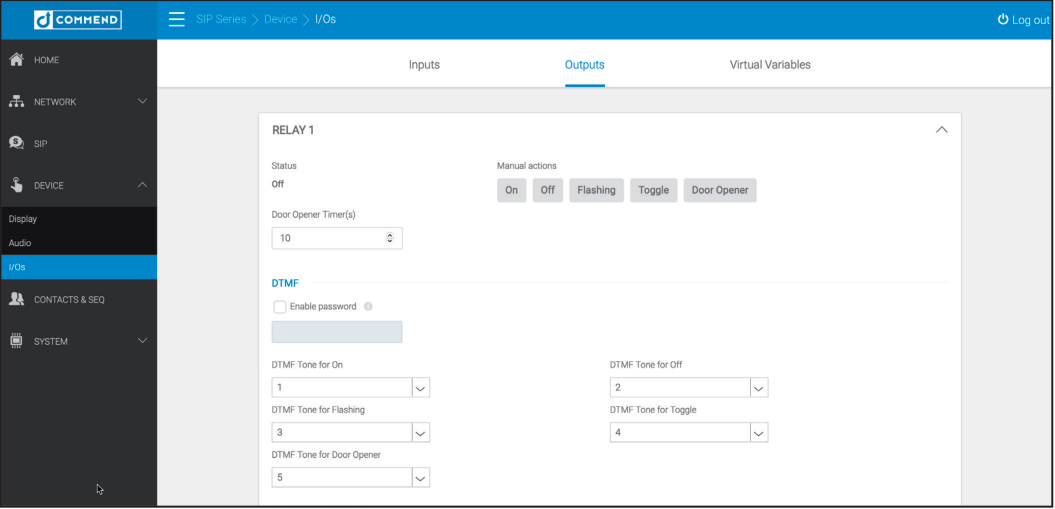
Step 3: Configure Relay (Optional)
Section titled “Step 3: Configure Relay (Optional)”If you want to use the internal relays on the Commend, configure DTMF tones:
- Navigate to the Device → I/Os menu
- Define the DTMF tones for internal relay 1, relay 2, or both

Example: In this configuration, DTMF tones 1-5 are used for relay 1.
Step 4: Test the Configuration
Section titled “Step 4: Test the Configuration”The basic configuration of the Commend for use with CyberGate is now complete. Test the functionality by initiating a test call to a Teams user.
- Navigate to the Contacts & Seq menu
- At WEBCALL, add a Destination using the Teams user address format
Teams User Address Format
Section titled “Teams User Address Format”| Teams User | Destination Address |
|---|---|
koos.ridder@mycompany.com | koos.ridder@cybergate.cybertwice.com |
- Click ‘Call’ to initiate a test call to the Teams user
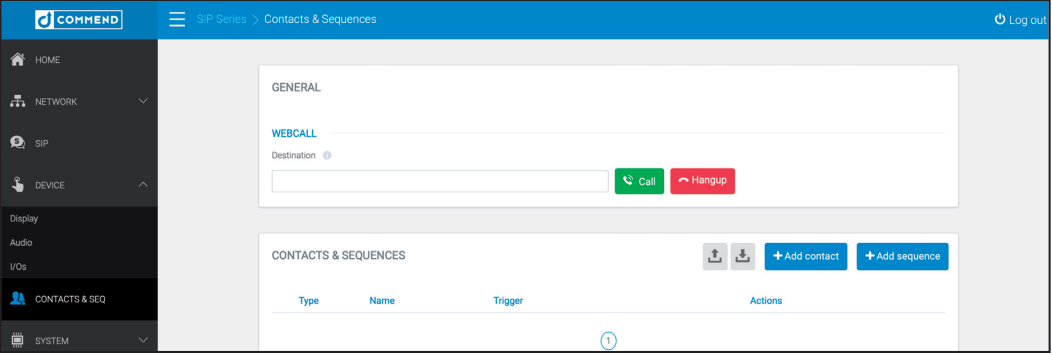
- Answer the call and verify that audio from Teams plays through the Commend speaker
Step 5: Configure CyberGate Admin Portal
Section titled “Step 5: Configure CyberGate Admin Portal”Before calls can be initiated from Microsoft Teams to the Commend, additional configuration in the CyberGate Admin portal is necessary.
- Navigate to: https://admin.cybergate.cybertwice.com
- Log in using a Microsoft account with admin privileges
- Navigate to Device Settings menu
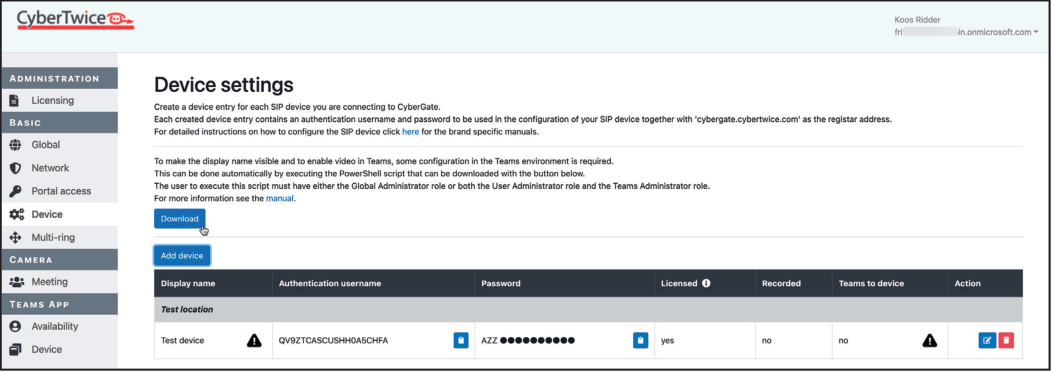
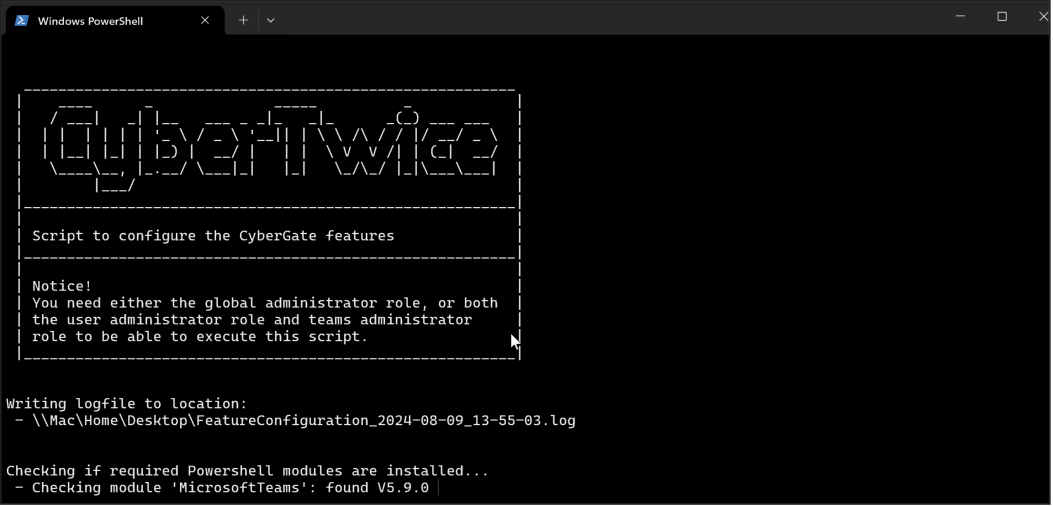
- If the display name shows a warning symbol ⚠️, download and run the Feature configuration PowerShell script:
- Click the blue ‘Download’ button to download the script
- Open PowerShell on your PC with administrator privileges
- Run:
.\FeatureConfiguration.ps1 - When prompted, authenticate with the same Microsoft account used for the CyberGate Admin portal
Note: If no warning symbol is shown, skip this step.
After successful execution, the warning symbol will disappear and the ‘Teams to device’ column will change from ‘no’ to ‘yes’, indicating that the Commend can now be called from Microsoft Teams.
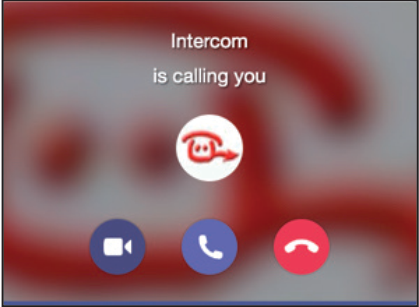
Calling from Microsoft Teams
Section titled “Calling from Microsoft Teams”To initiate a call from Microsoft Teams to the Commend:
- Login to Microsoft Teams
- Navigate to the ‘Calls’ menu
- Either:
- Type the display name of the Commend directly in the call field, or
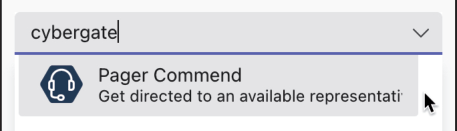
- Search for ‘cybergate’ to see all your CyberGate devices
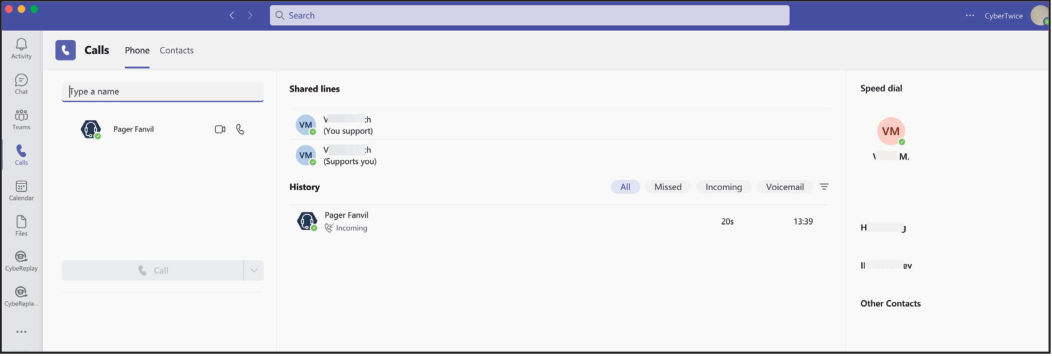
- Select the Commend to call and click the blue ‘Call’ button
- The Commend will answer automatically
Tip: When an internal relay is configured, click the three dots (…) in the call screen and select ‘Keypad’. Use the keypad to operate the relay with DTMF tones.
Secure Communication over SIP-TLS
Section titled “Secure Communication over SIP-TLS”For encrypted communication with CyberGate, modify the configuration as follows:
Step 1: Download CA Root Certificate
Section titled “Step 1: Download CA Root Certificate”Download the CA Root Certificate from the CyberTwice support site:
https://support.cybertwice.com/knowledgebase.php?article=36
Step 2: Configure TLS Settings
Section titled “Step 2: Configure TLS Settings”- Navigate to the SIP → General menu
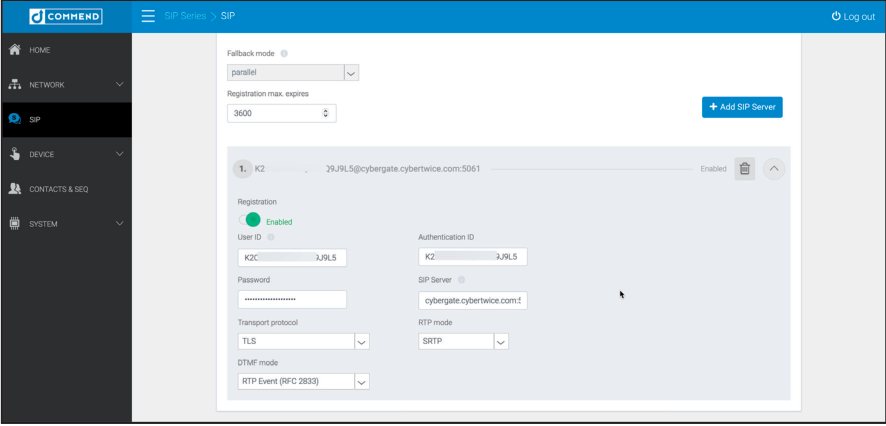
- Modify the following settings:
| Field | Value |
|---|---|
| SIP Server | cybergate.cybertwice.com:5061 |
| Transport Protocol | TLS |
| RTP Mode | SRTP |
- Click ‘Save’ when done
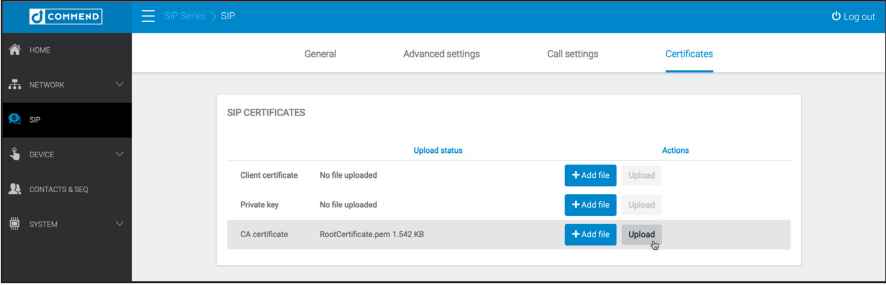
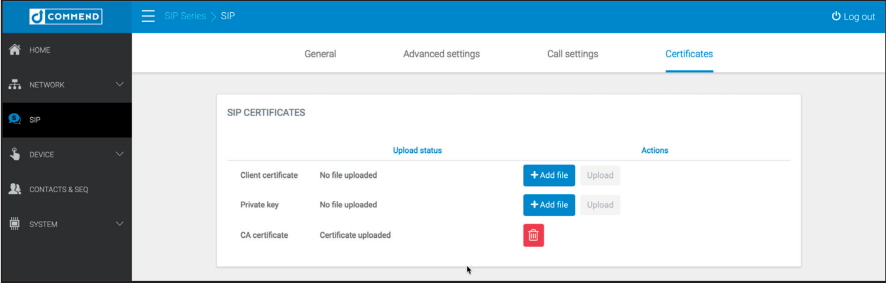
Step 3: Upload Certificate
Section titled “Step 3: Upload Certificate”- Navigate to the SIP → Certificates menu
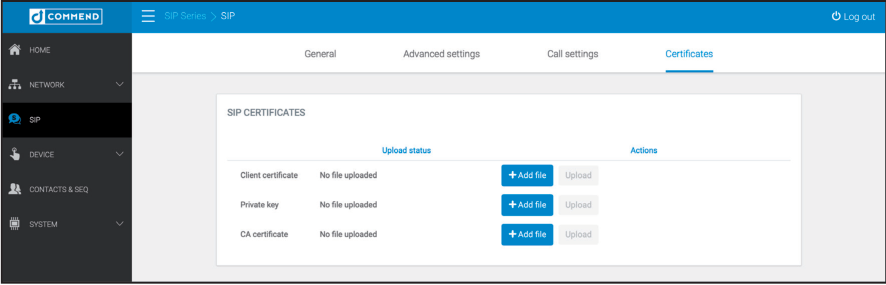
- At ‘CA Certificates’, click ‘Add file’
- Select and upload the downloaded CA Root Certificate
- Click ‘Upload’ to store the certificate in the Commend
Step 4: Verify Secure Connection
Section titled “Step 4: Verify Secure Connection”Check the registration status in the ‘Home’ menu to confirm the secure connection is active.
All SIP and audio traffic to/from CyberGate will now be encrypted.
Quick Reference
Section titled “Quick Reference”CyberGate Connection Details
Section titled “CyberGate Connection Details”| Setting | Value |
|---|---|
| SIP Server | cybergate.cybertwice.com |
| SIP Server (Secure) | cybergate.cybertwice.com:5061 |
| Transport (Standard) | TCP |
| Transport (Secure) | TLS |
| RTP Mode (Secure) | SRTP |
Teams User Address Format
Section titled “Teams User Address Format”username@cybergate.cybertwice.comReplace username with the Teams user’s email prefix (the part before @).
Certificate Download
Section titled “Certificate Download”CA Root Certificate: https://support.cybertwice.com/knowledgebase.php?article=36
Document History
Section titled “Document History”| Version | Date | Author | Change |
|---|---|---|---|
| 1.0.0 | 2022-05-04 | KR | Initial version |
| 1.0.1 | 2022-05-16 | KR | Fixed typos |
| 1.0.2 | 2022-08-29 | KR | Added Security (SIP TLS and SRTP) |
| 1.0.3 | 2024-11-01 | KR | Updated layout |