DNAKE and CyberGate
DNAKE and CyberGate
Devices covered in this TechNote
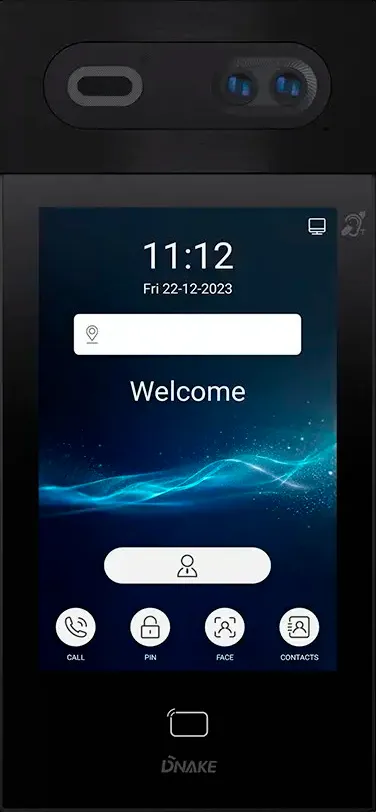
For this document we used two different DNAKE intercoms to connect to CyberGate:
- DNAKE S617 (from now on named 'DNAKE 617')
- DNAKE 280SD-C12 (from now on named 'DNAKE 280')
Both devices have different interfaces and are described separately below.
Configure the DNAKE S617
Follow the steps in this section to configure the DNAKE S617 and connect it to CyberGate.
Sign in to the DNAKE S617 web interface
- Connect the DNAKE S617 to the network and power it on.
- Open a web browser to the IP address of the DNAKE S617.
- Sign in as admin with the configured or supplied password of the DNAKE.
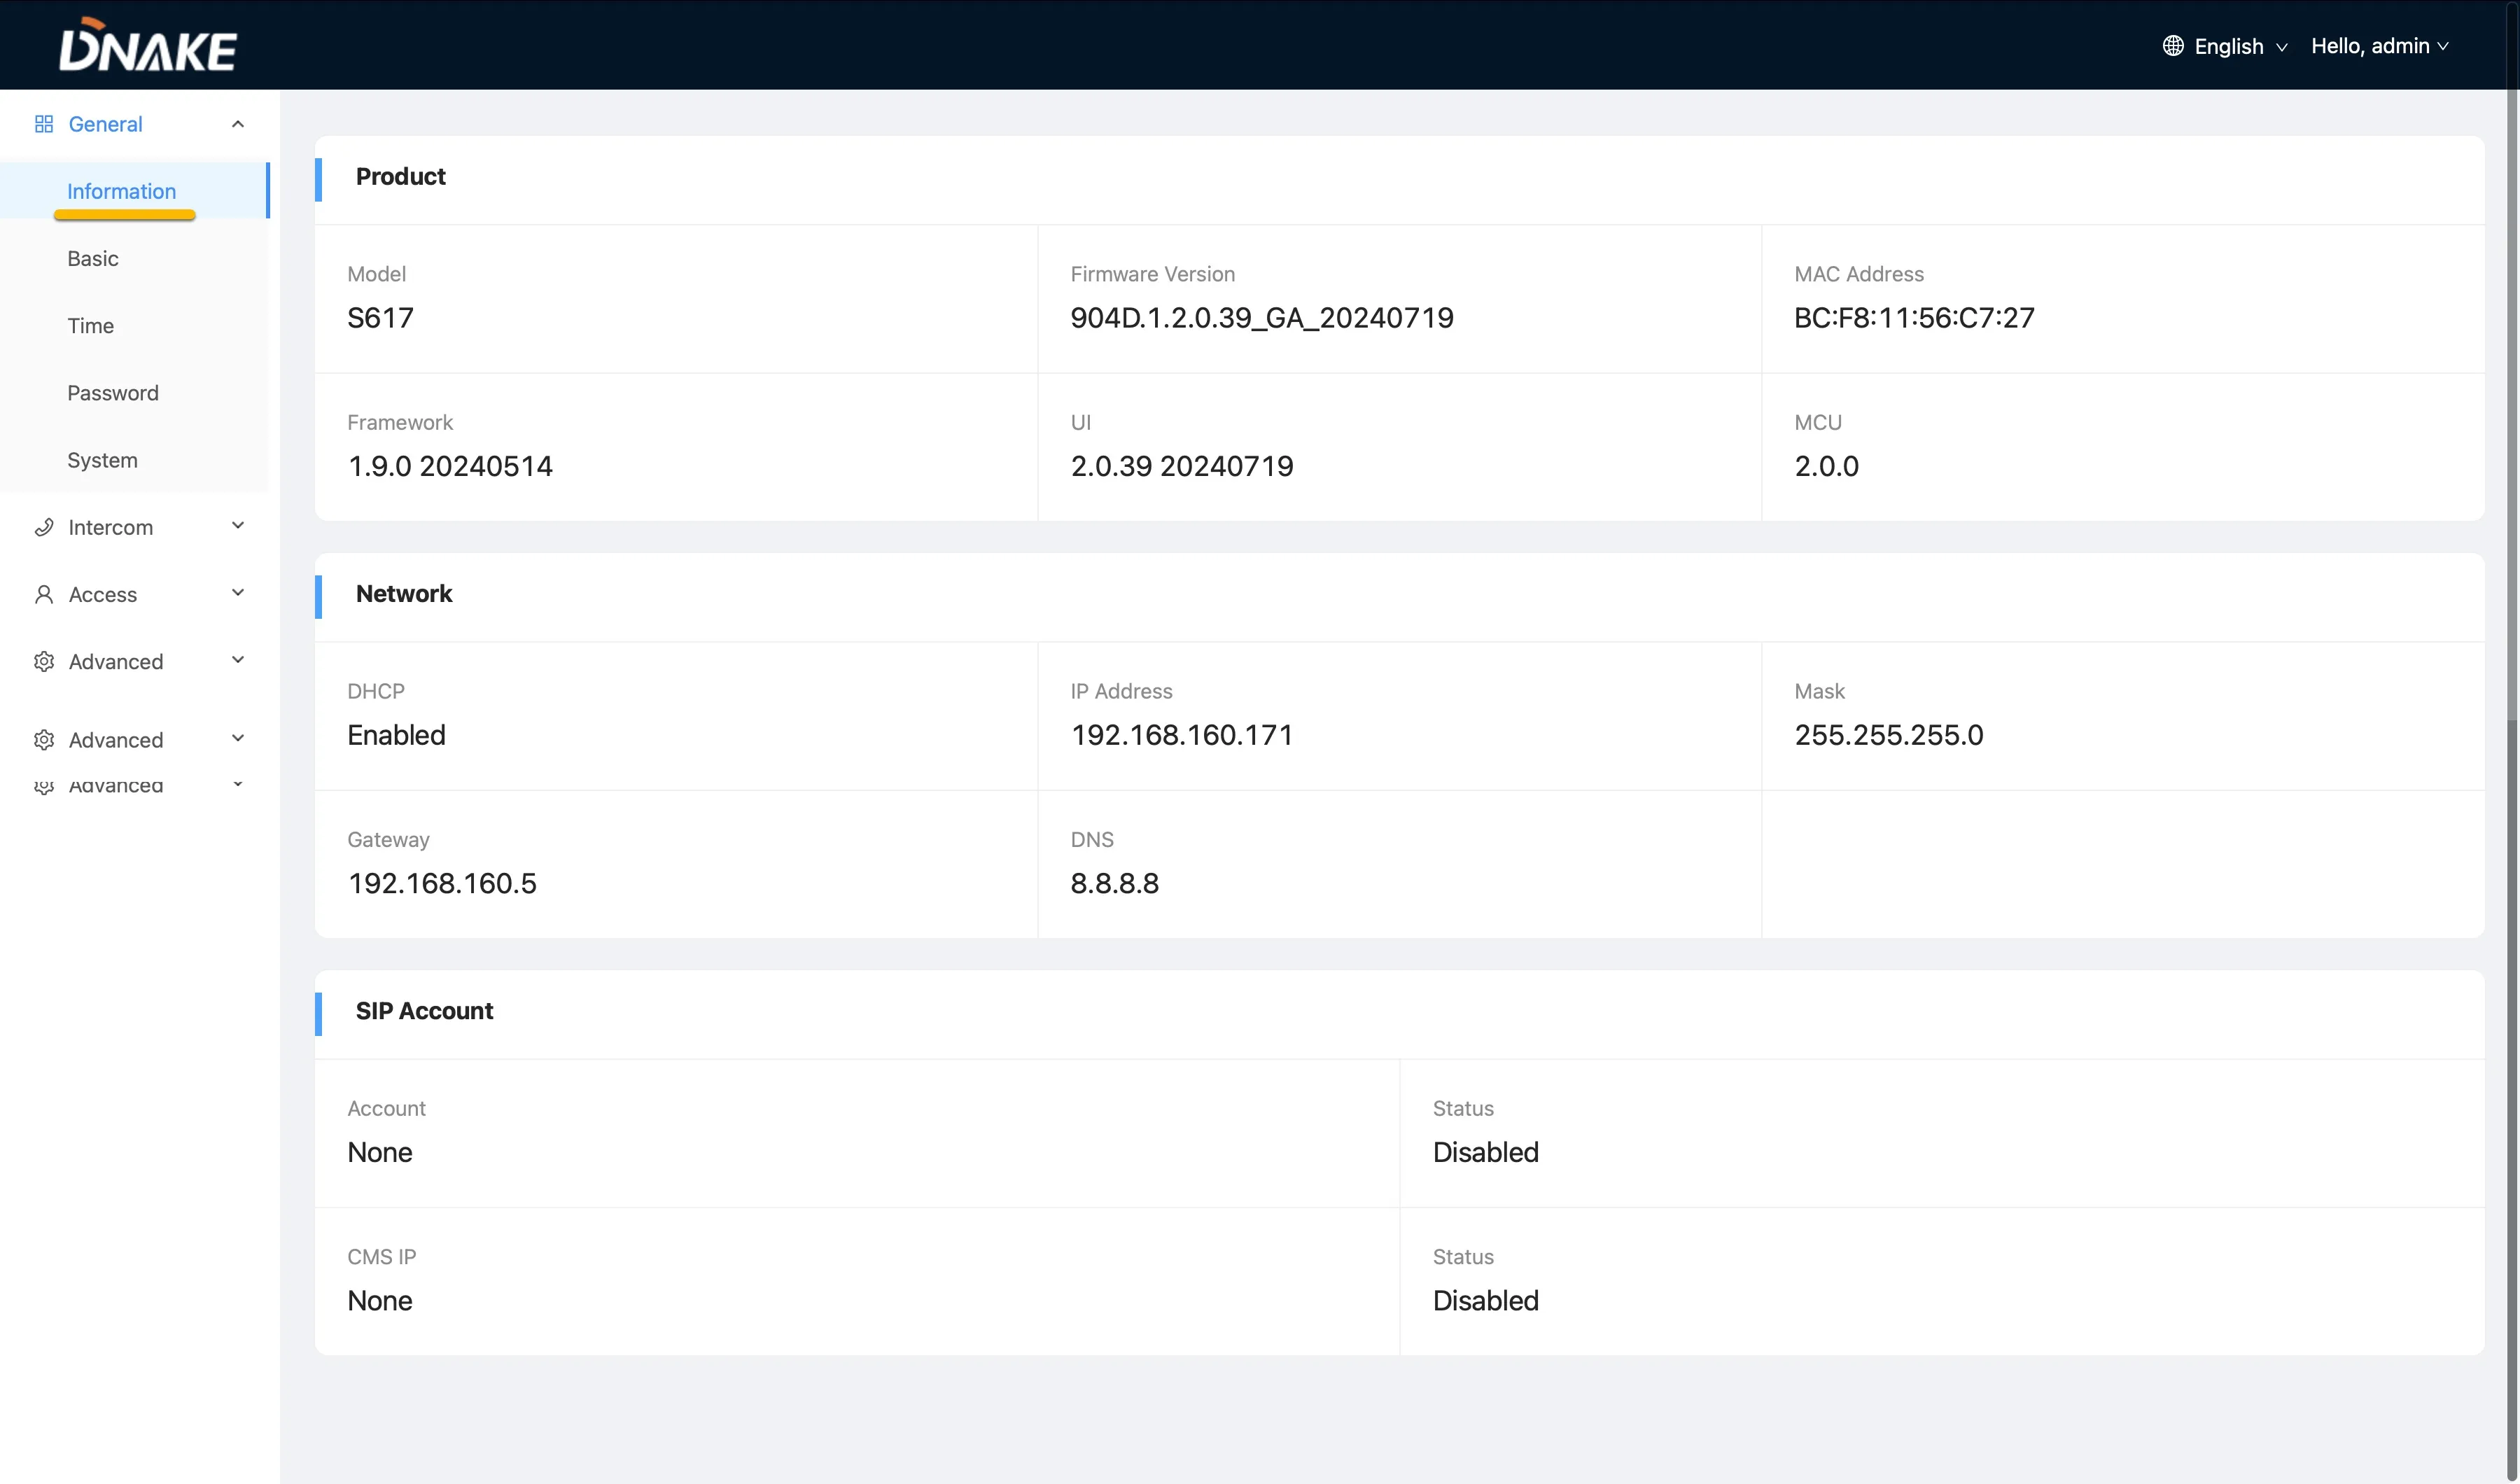
When signed in successfully, the first menu shown is the Main menu.
Set the video resolution (DNAKE S617)
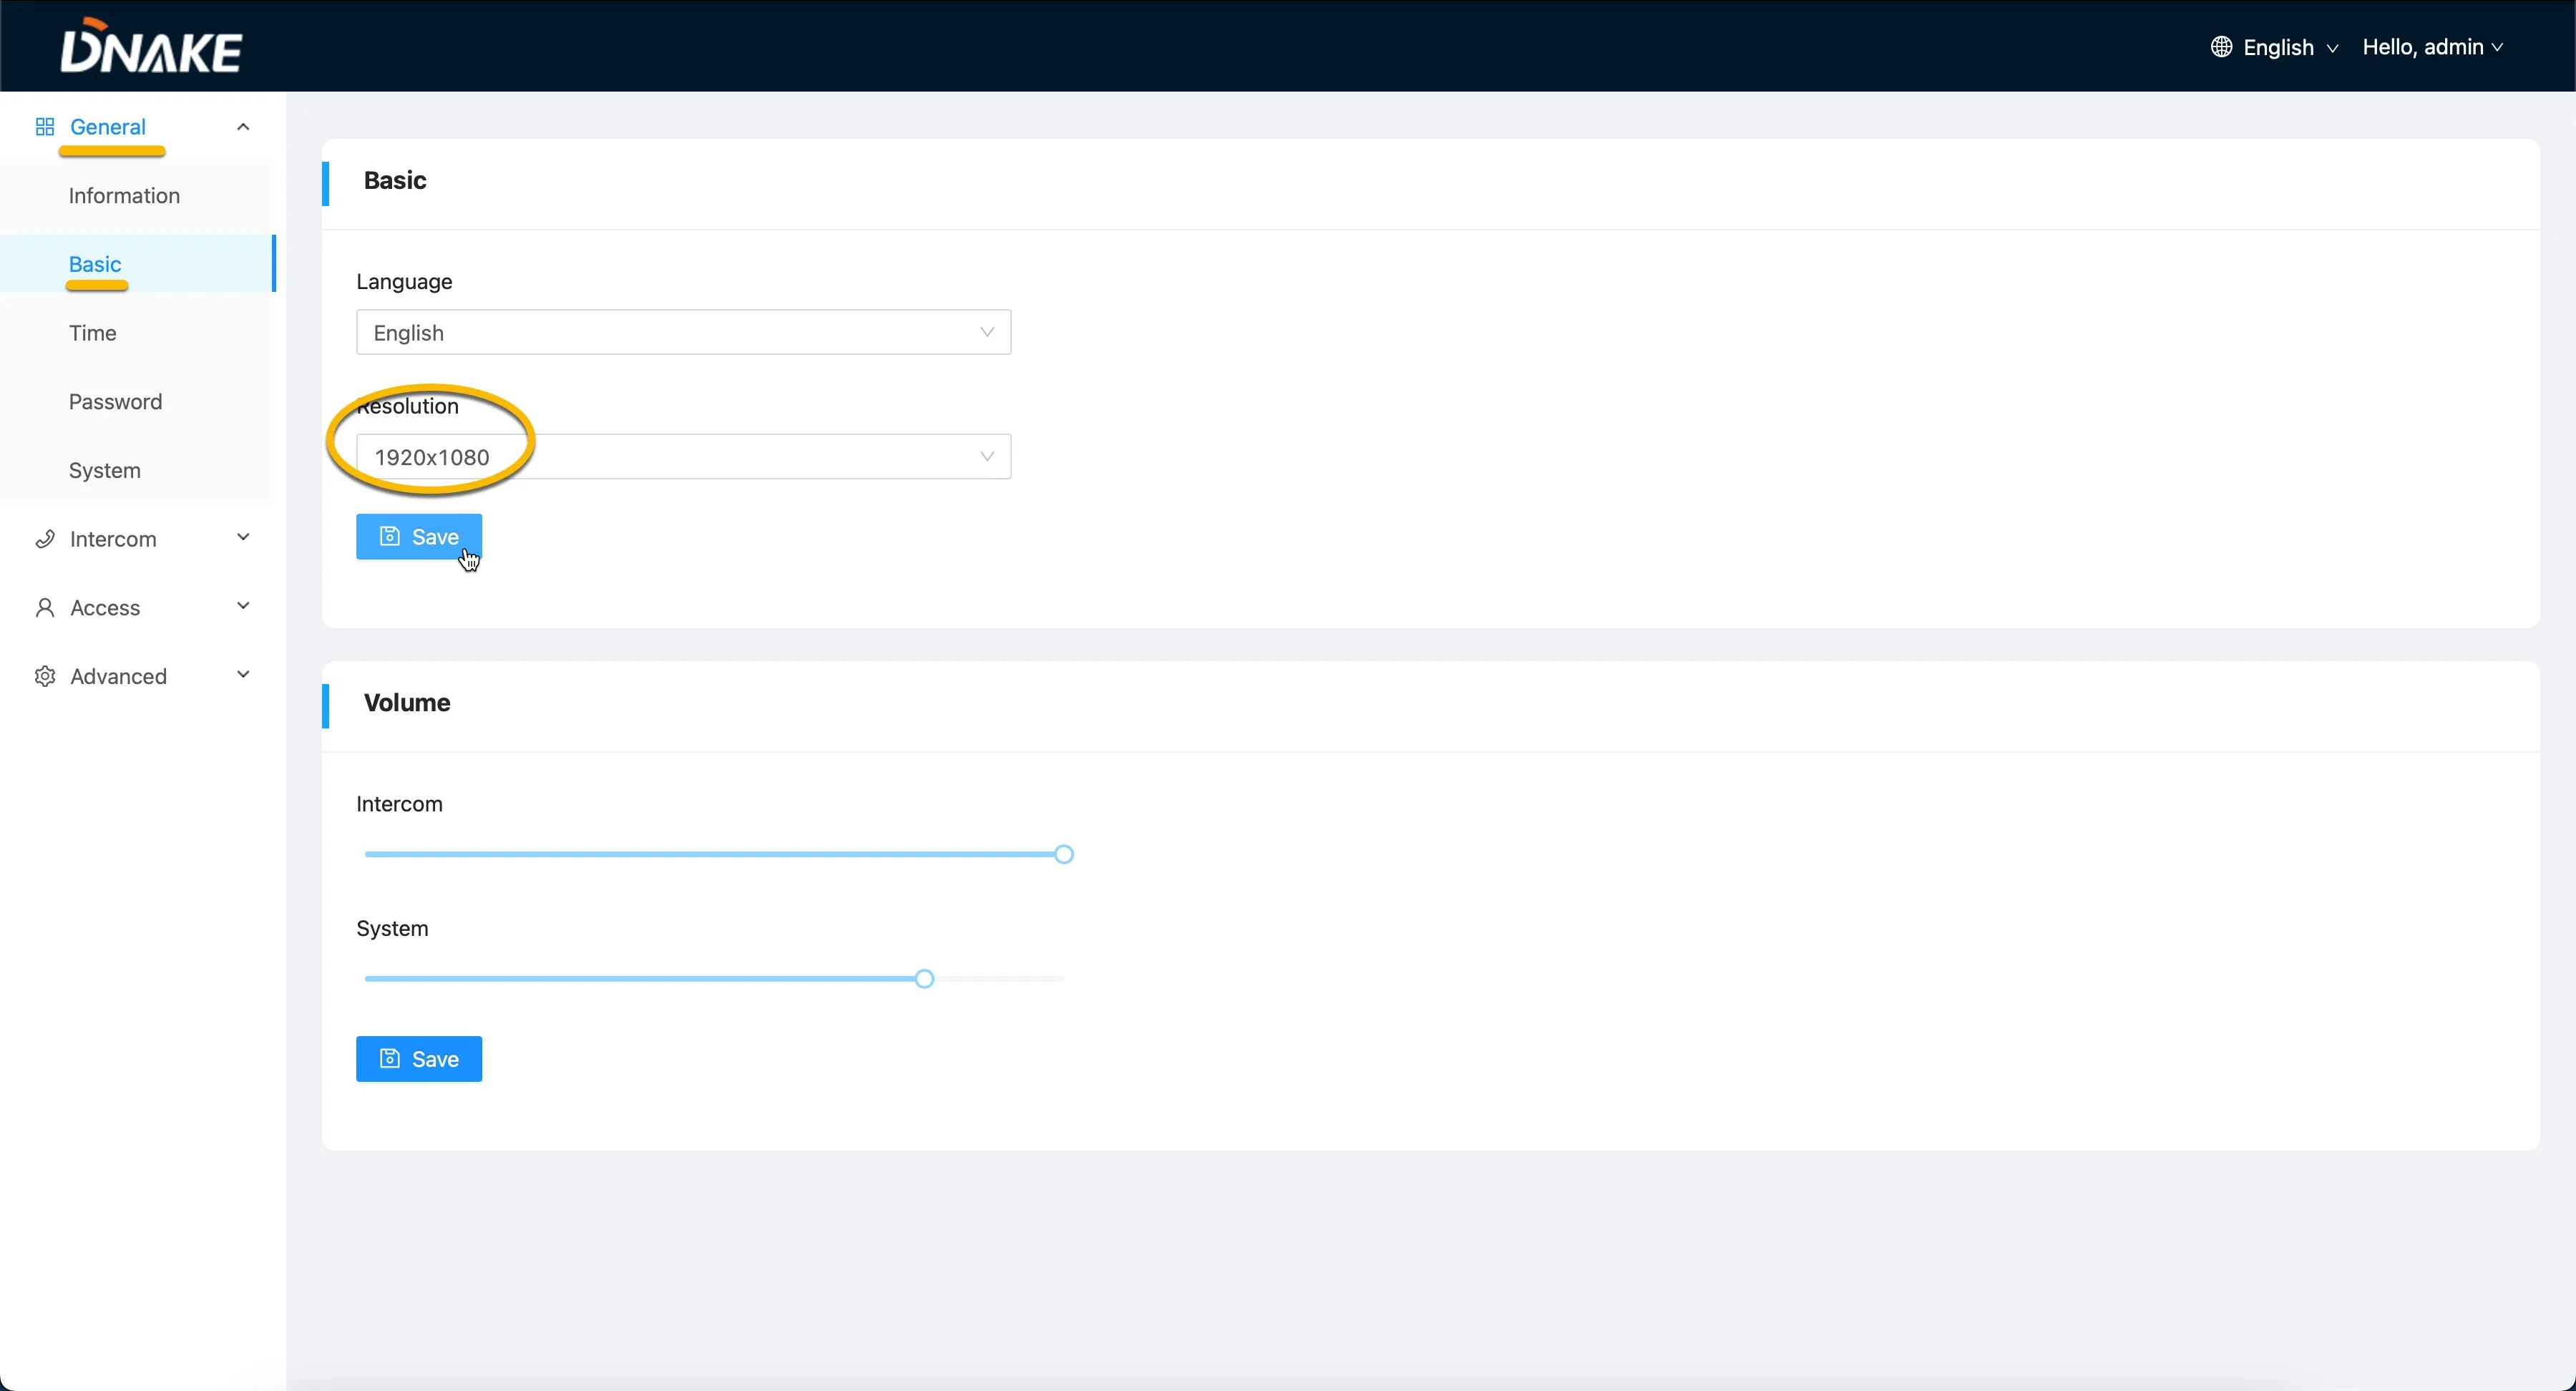
- Navigate to the menu General > Basic.
- Change the following information:
Basic | |
|---|---|
Resolution | Change to 1920x1080 |
- Click the blue Save button when done.
Set the time zone (DNAKE S617)
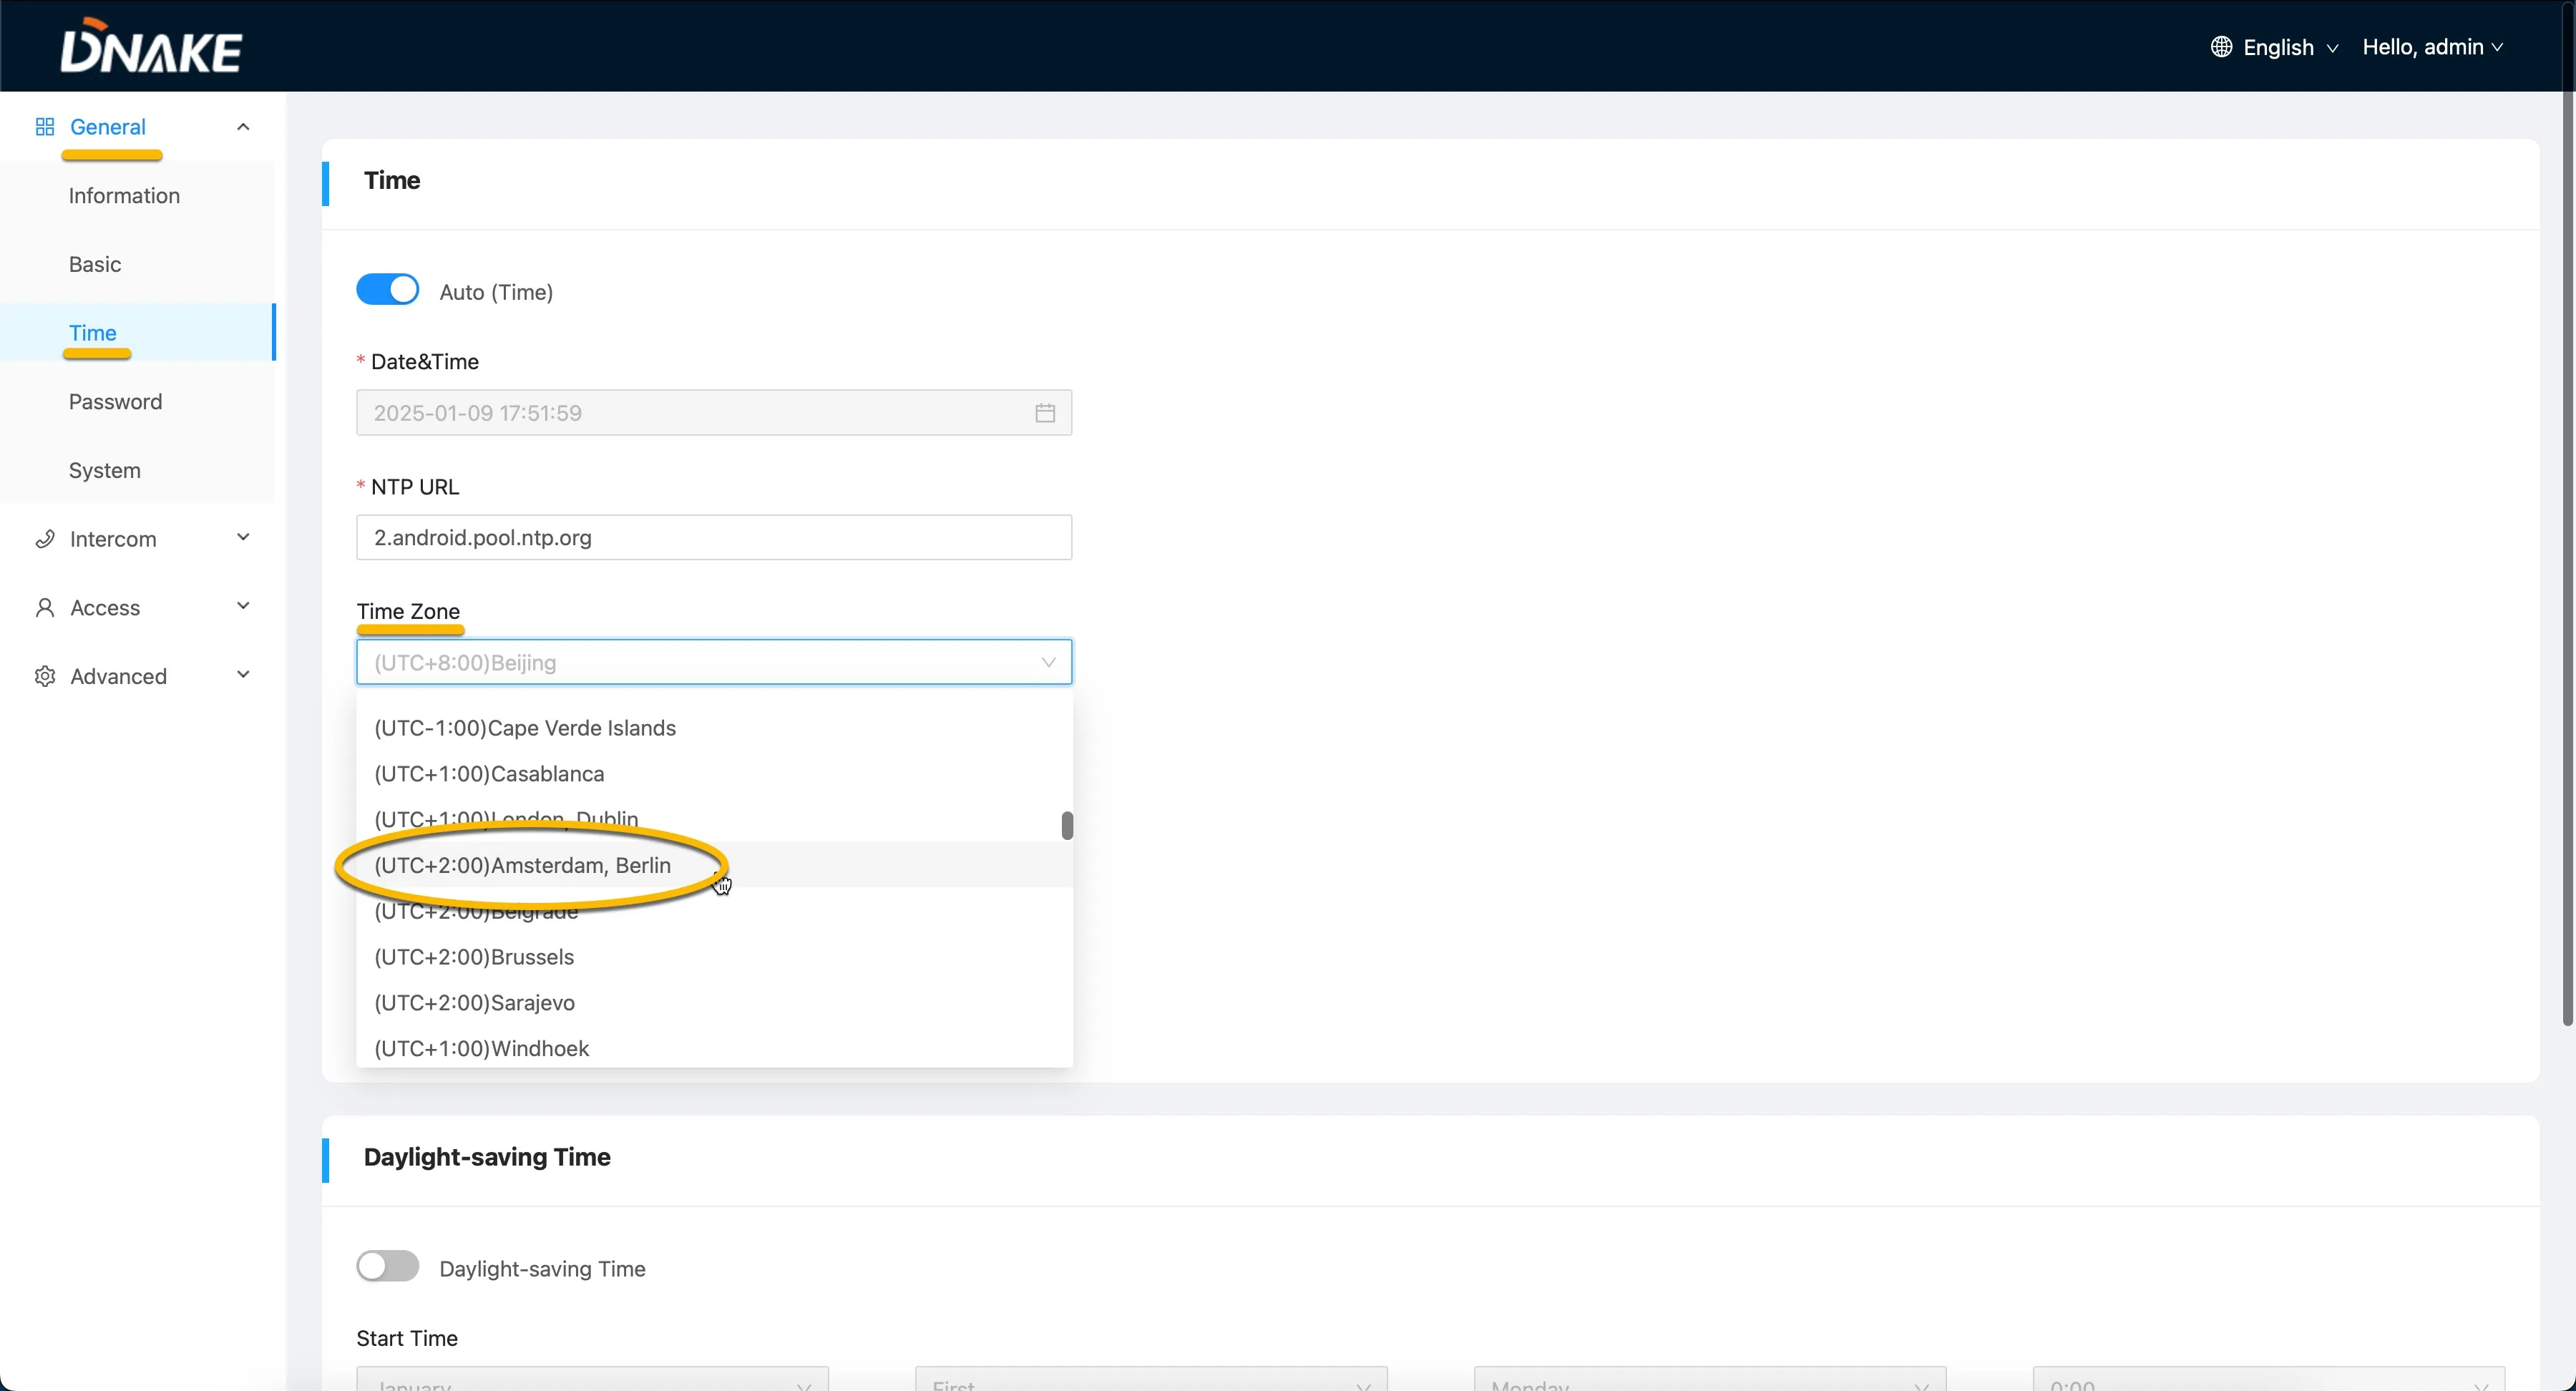
- Navigate to the menu General > Time.
- Select the correct time zone and click the blue Save button when done.
Configure the SIP settings (DNAKE S617)
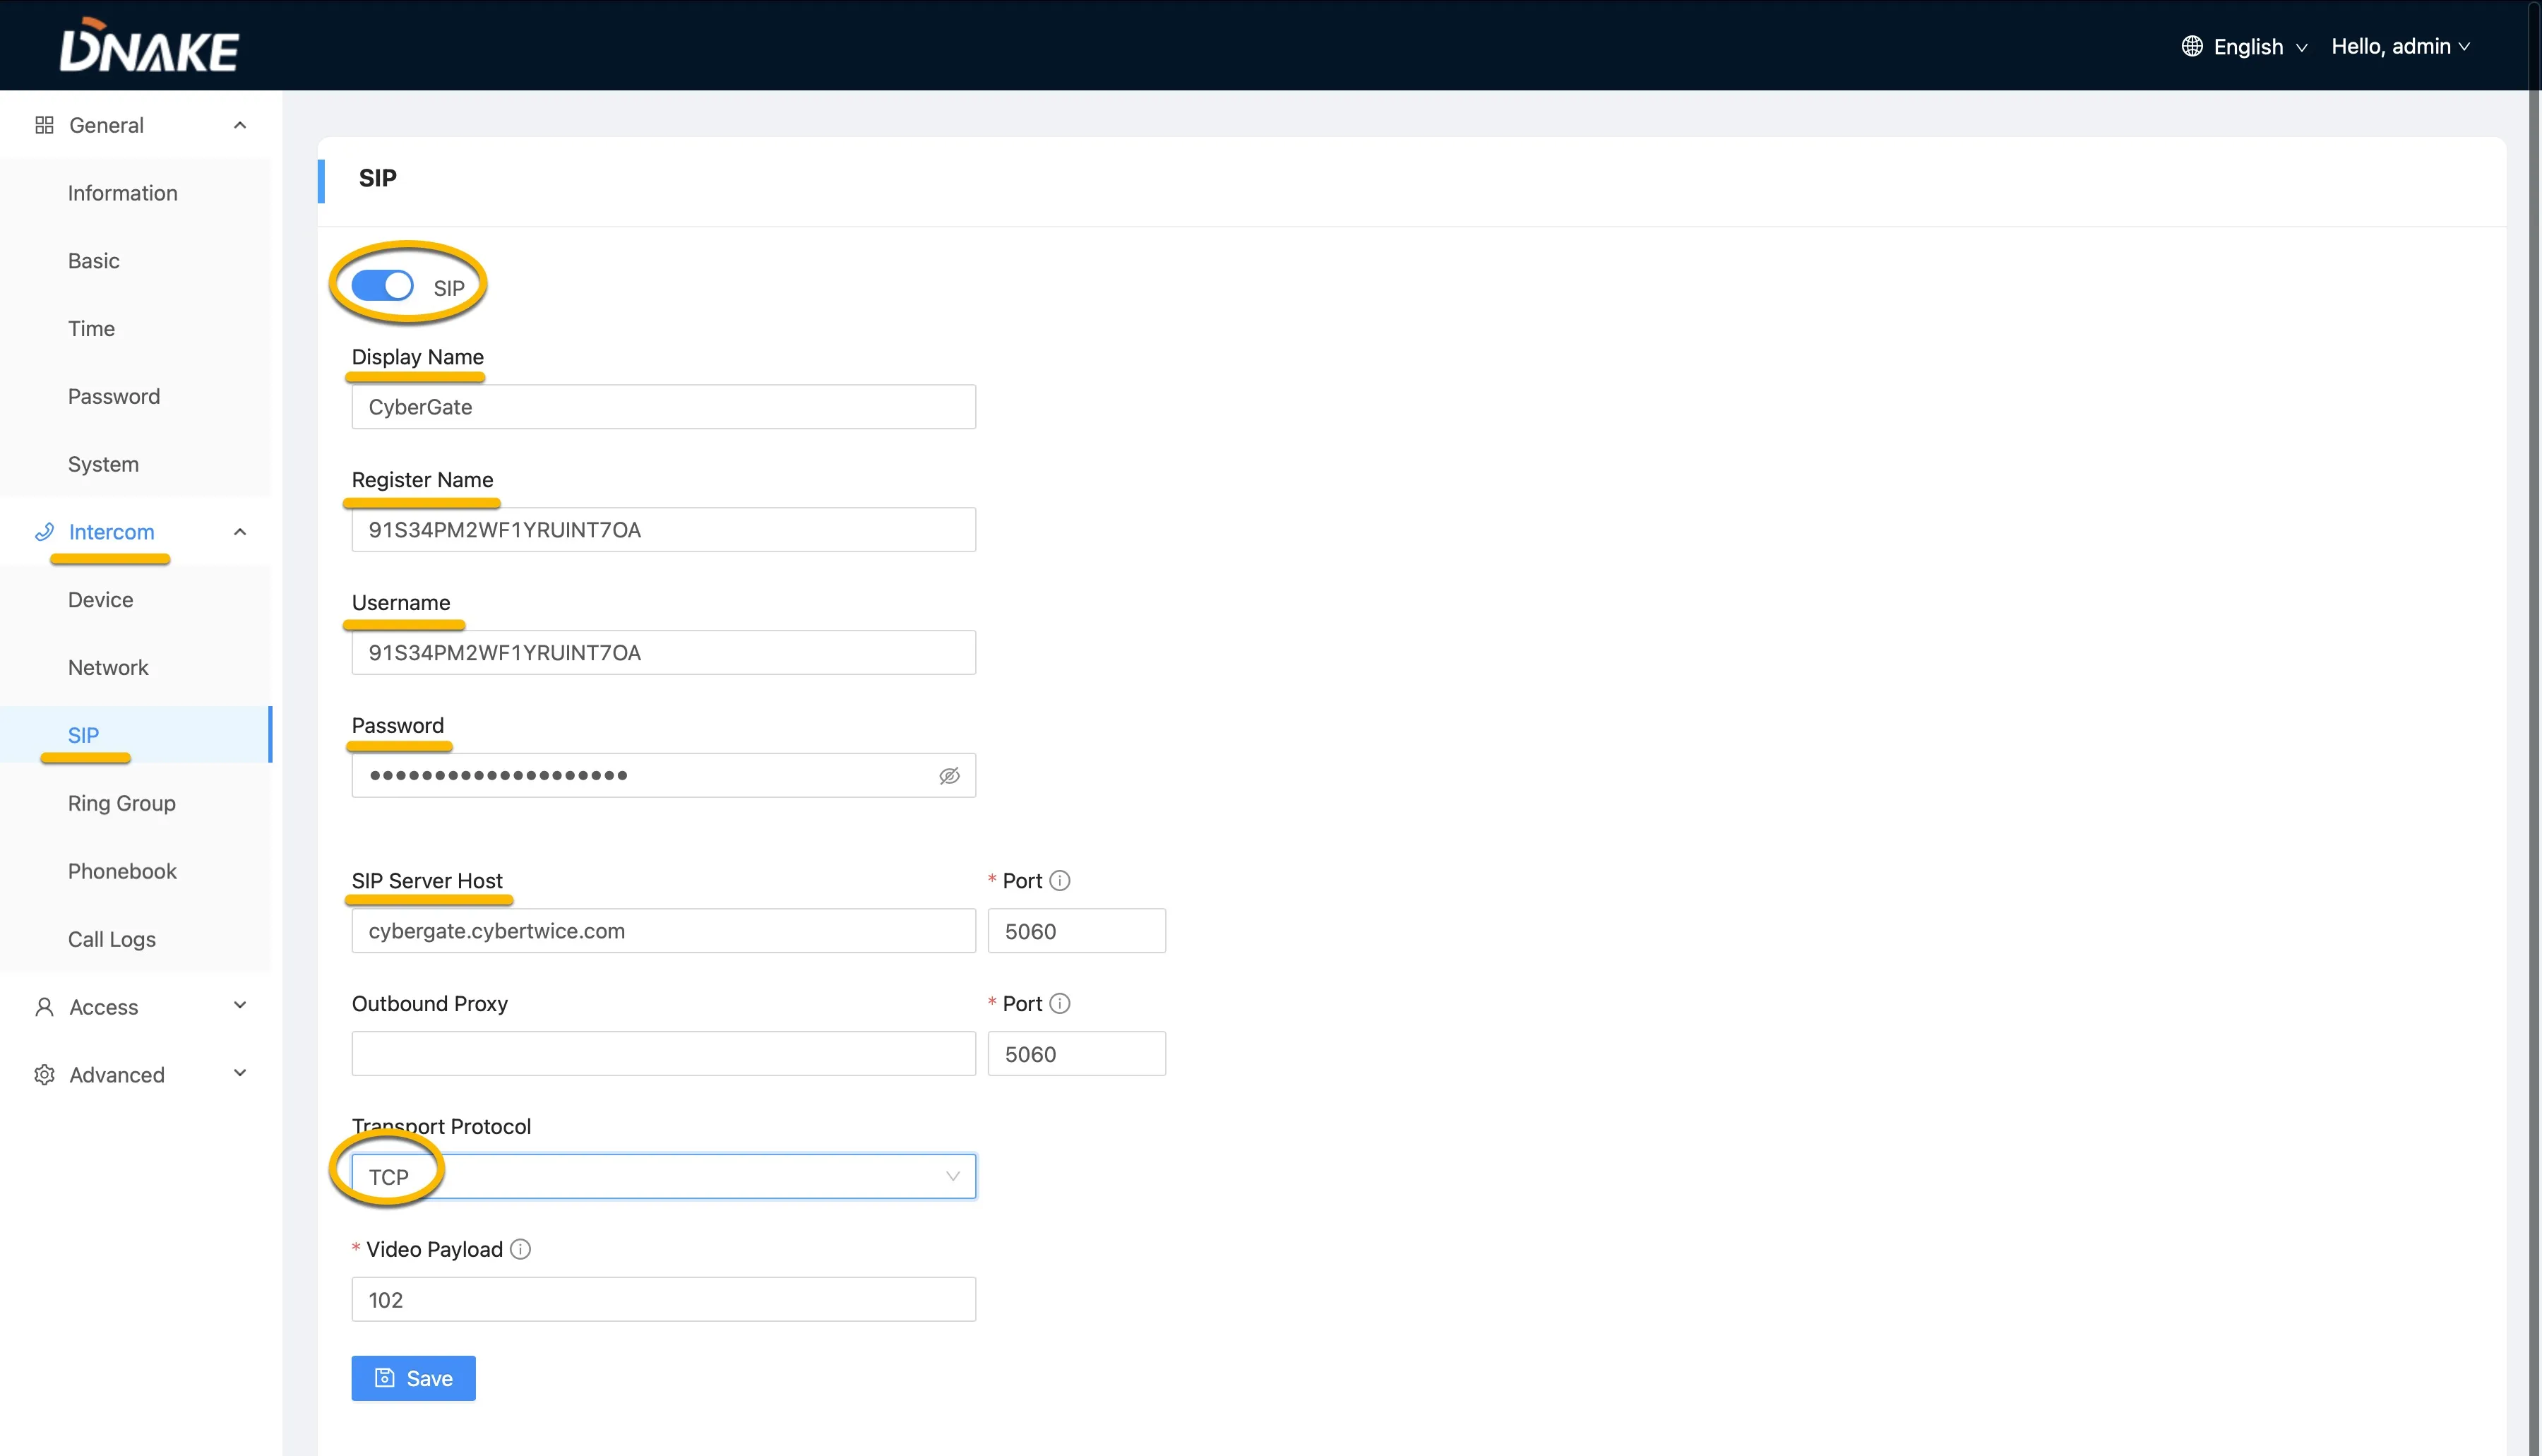
- Navigate to the menu Intercom > SIP.
- Enable SIP and provide / change the following information:
SIP Settings | |
|---|---|
Enable | Enable SIP |
Display name | Descriptive name of the configuration (in this example 'CyberGate') |
Register name | Use the Username provided by the CyberGate Management Portal |
Username | Use the Username provided by the CyberGate Management Portal |
Password | Use the Password provided by the CyberGate Management Portal |
SIP Server Host | cybergate.cybertwice.com |
Transport Protocol | Change to TCP |
- Click the blue Save button when done.
Add a Teams user to the phonebook (DNAKE S617)
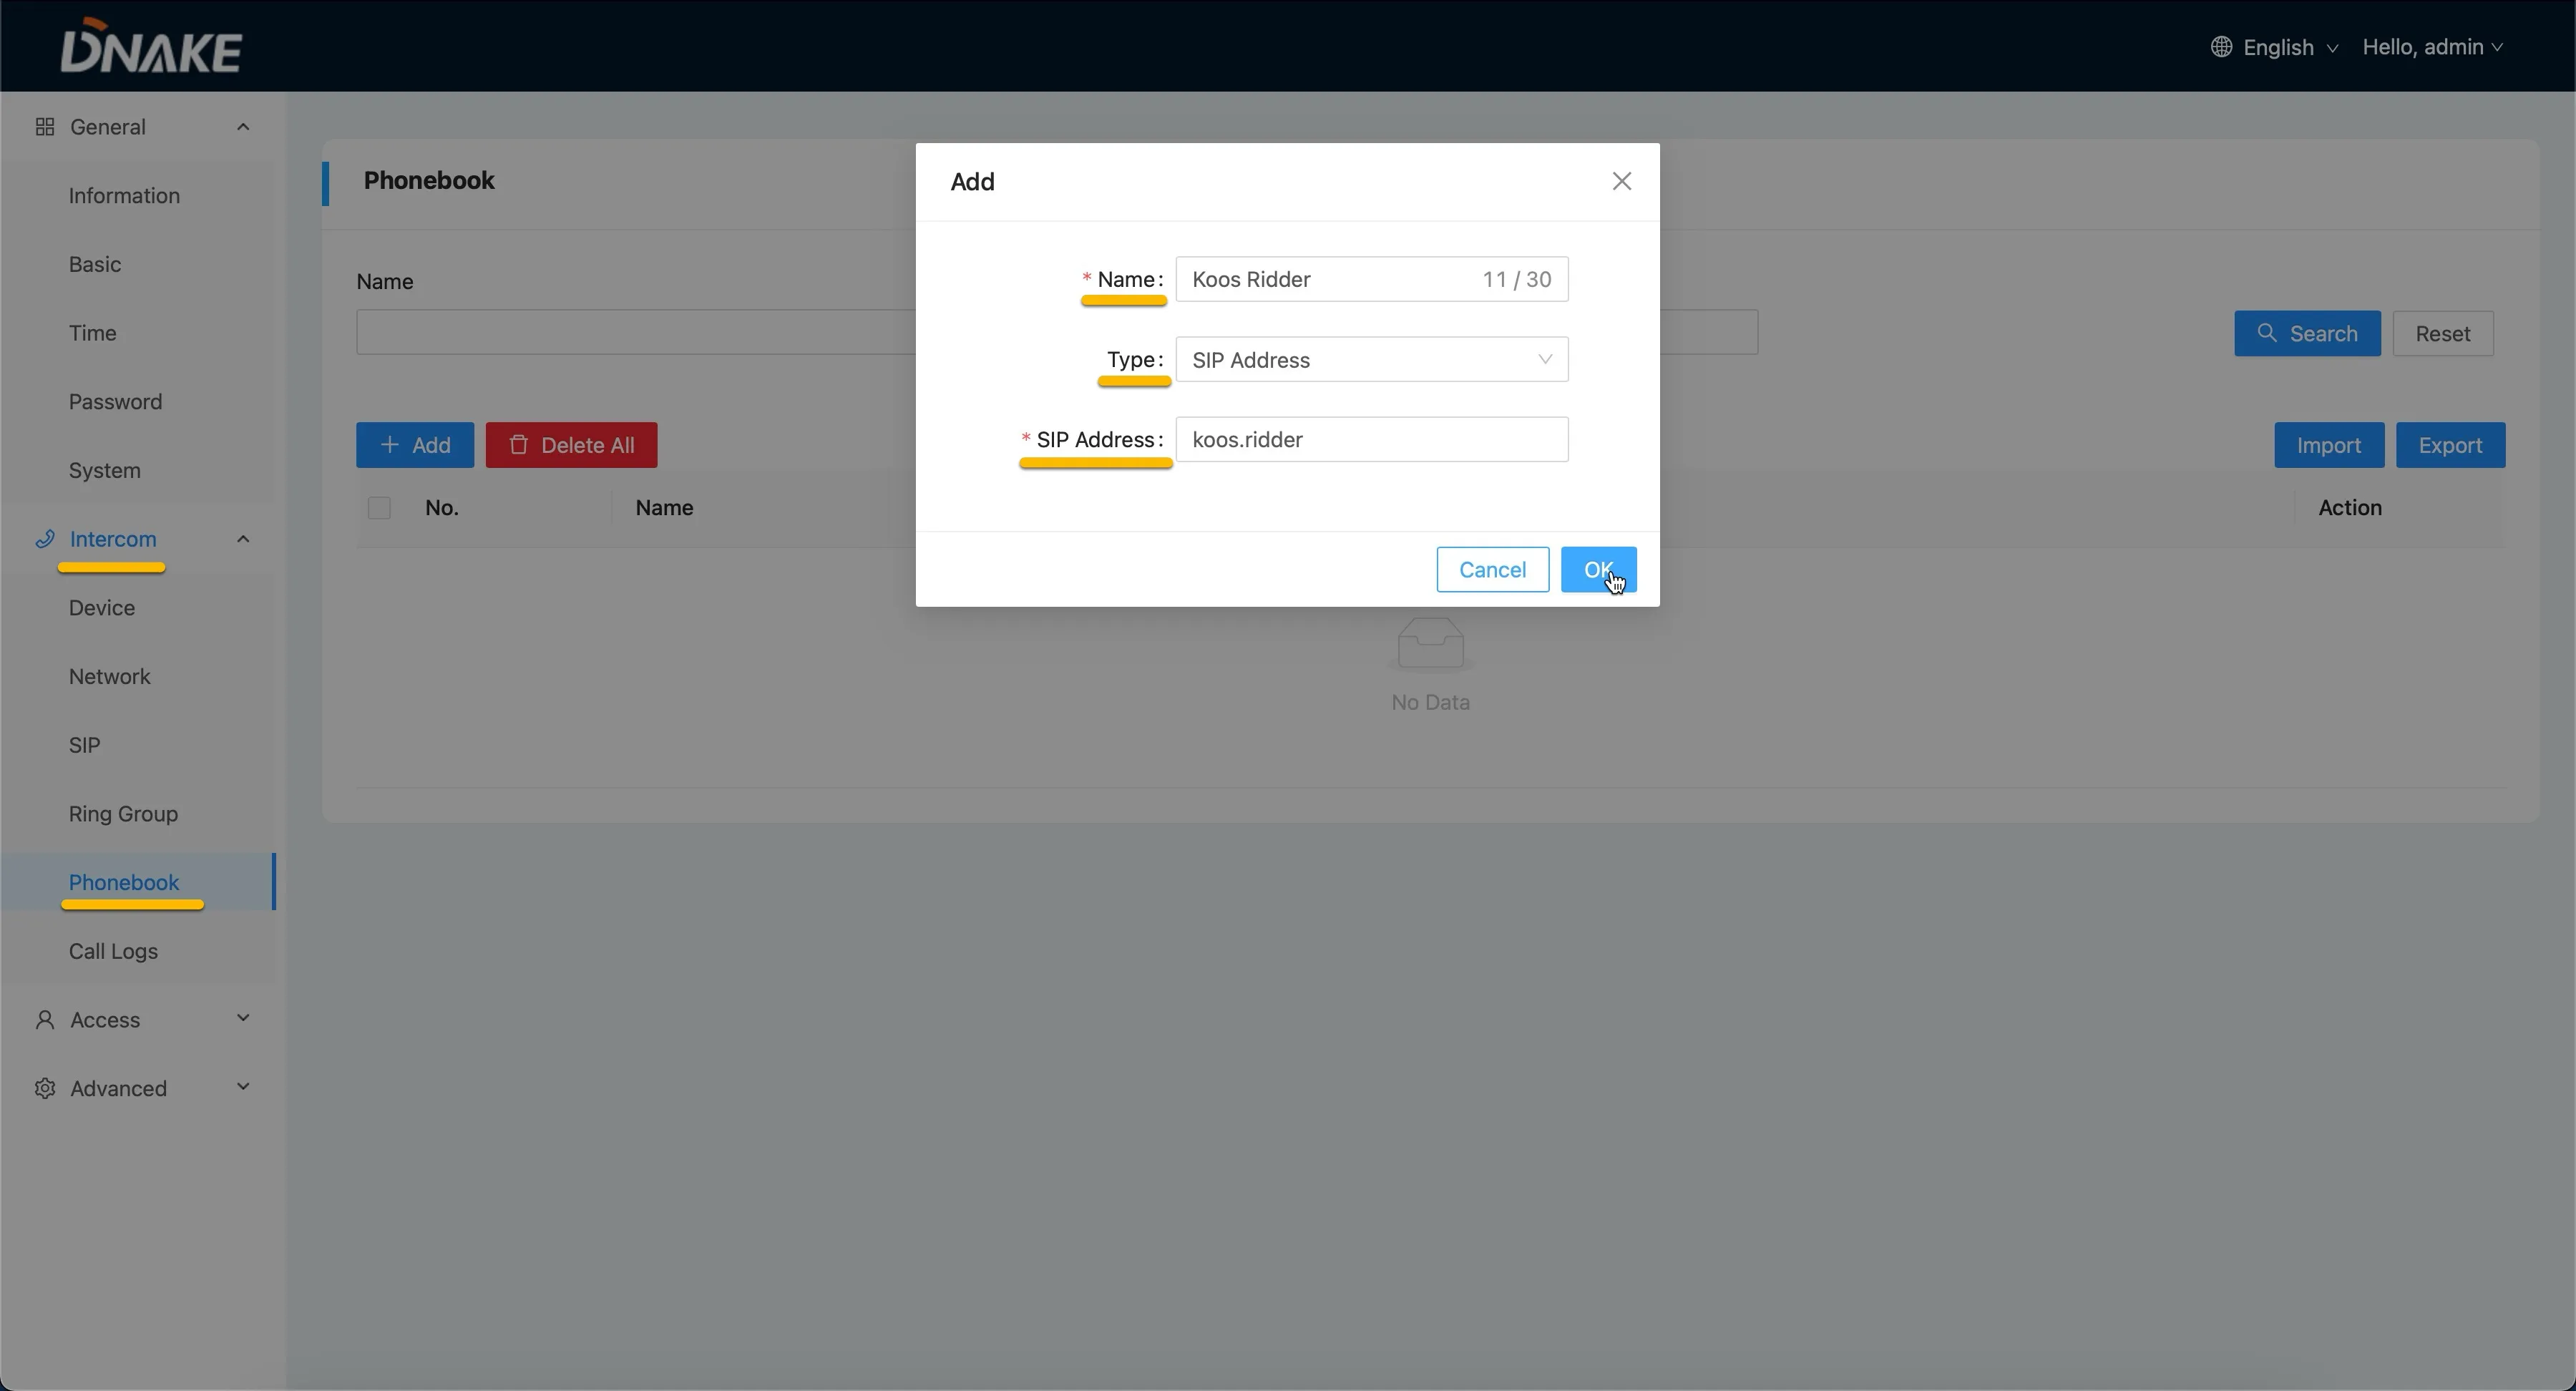
- Navigate to the menu Intercom > Phonebook.
- Click the blue Add button to add an address book entry.
- Provide / change the following information:
Add | |
|---|---|
Name | The name of the address book entry |
Type | Change to SIP Address |
SIP Address | Teams user to dial * |
- Add the Teams user to dial. Use the Teams user name but without the domain:
* For example, the user 'Koos Ridder', with the Teams name:
will translate to this destination address:
koos.ridder
- Click the OK button when done.
Test the call and open the door (DNAKE S617)
Configuration of the DNAKE S617 is now done.
- On the touchscreen of the DNAKE S617, navigate to the directory to see the user to dial.
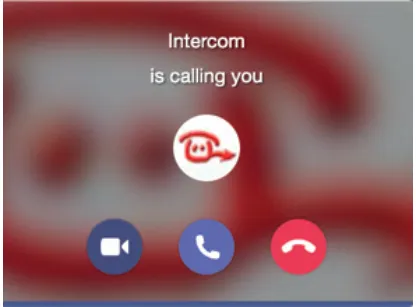
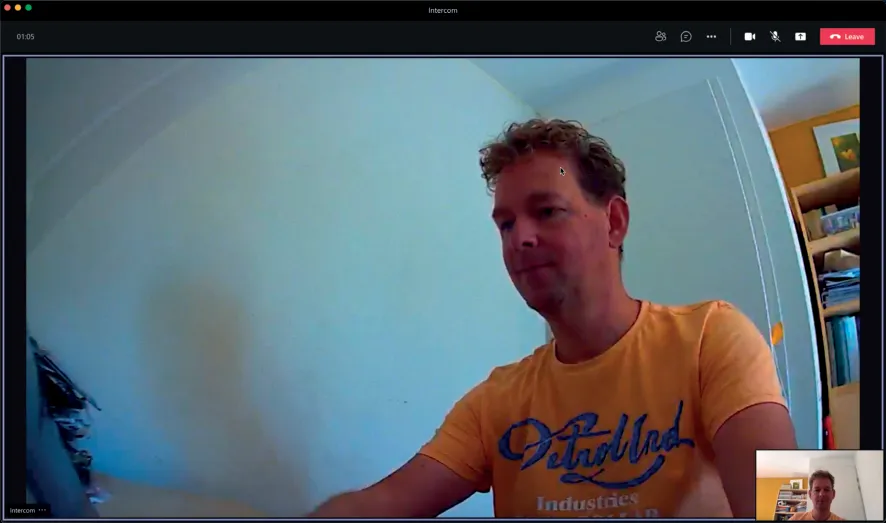
- Click on the user to initiate a call to the Microsoft Teams user. The call will be established and video will be displayed within ±3 seconds.
- To open the door from the Teams call, open the dialpad (top bar of the call screen).
- Select the # on the dialpad. This will trigger the relay in the DNAKE S617 and open the door.
A more convenient way to open the door during a call is to use the CyberGate for Teams app. See the CyberGate App for Teams manual on this site on how to to install and use the CyberGate for Teams app.
Configure the DNAKE 280
Follow the steps in this section to configure the DNAKE 280 and connect it to CyberGate.
Sign in to the DNAKE 280 web interface
- Connect the DNAKE 280 to the network and power it on.
- Open a web browser to the IP address of the DNAKE 280.
- Sign in as admin with the configured or supplied password of the DNAKE.
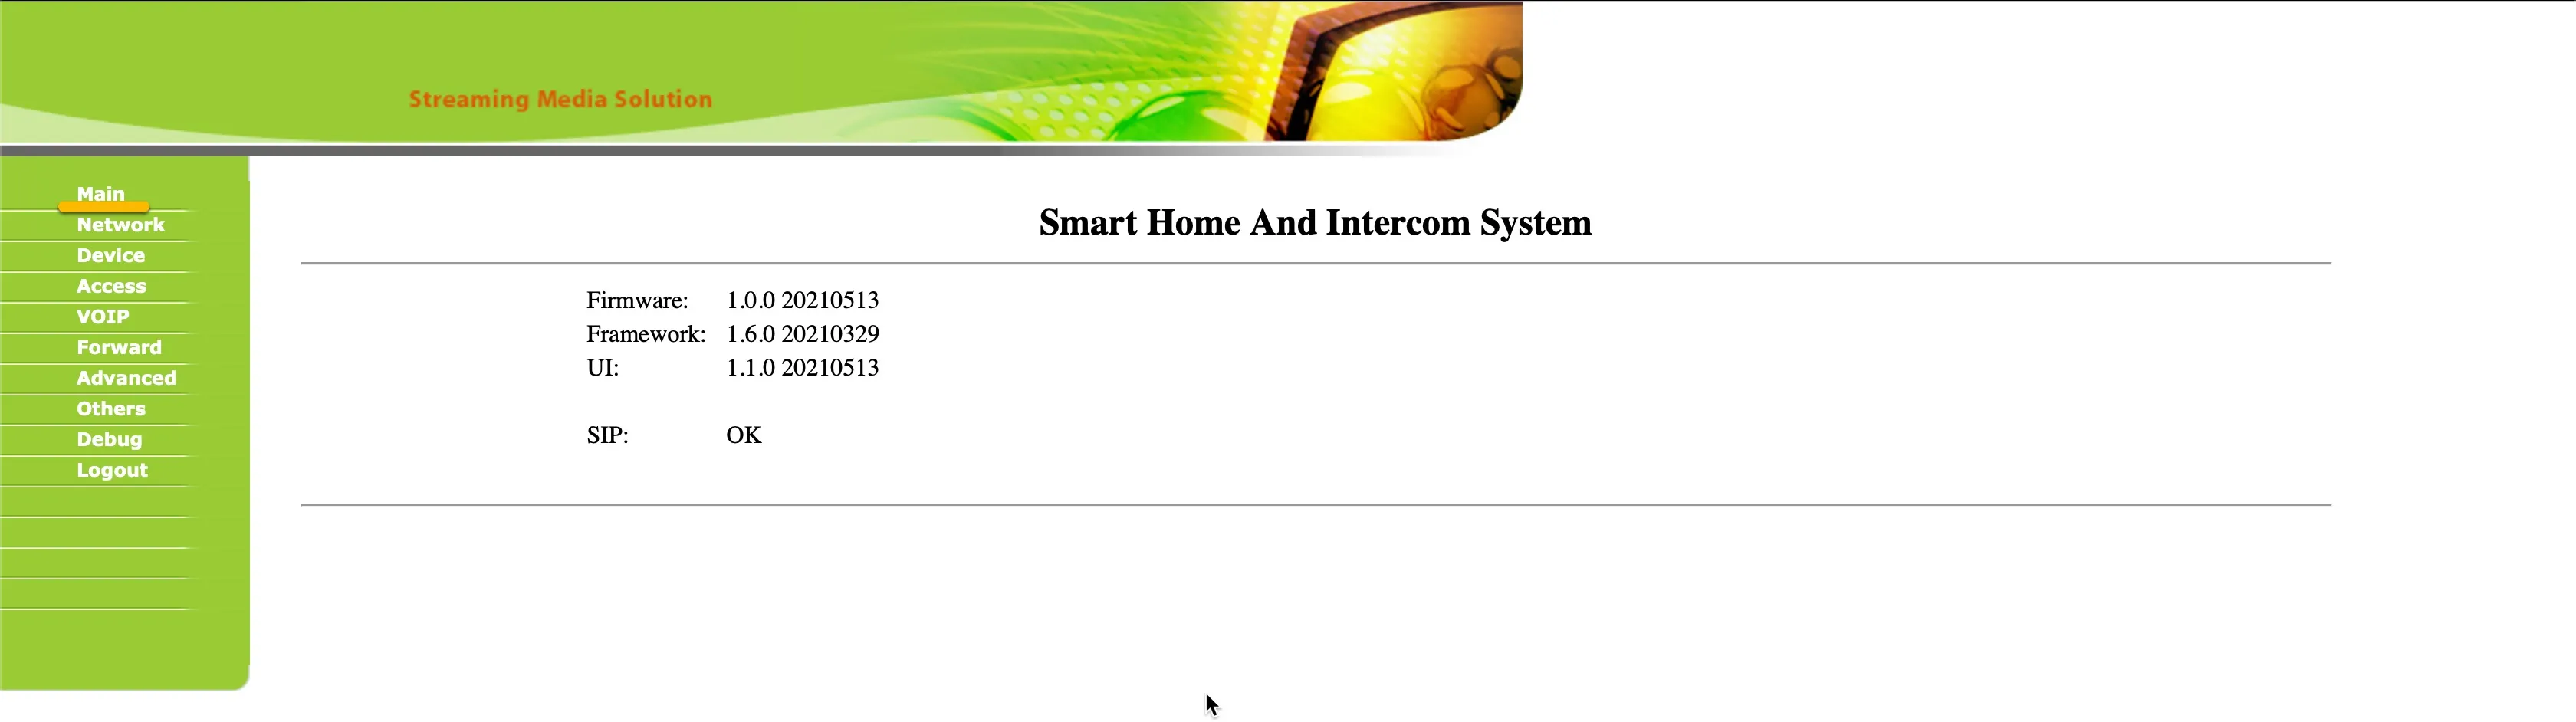
When signed in successfully, the first menu shown is the Main menu.
Set the video resolution (DNAKE 280)
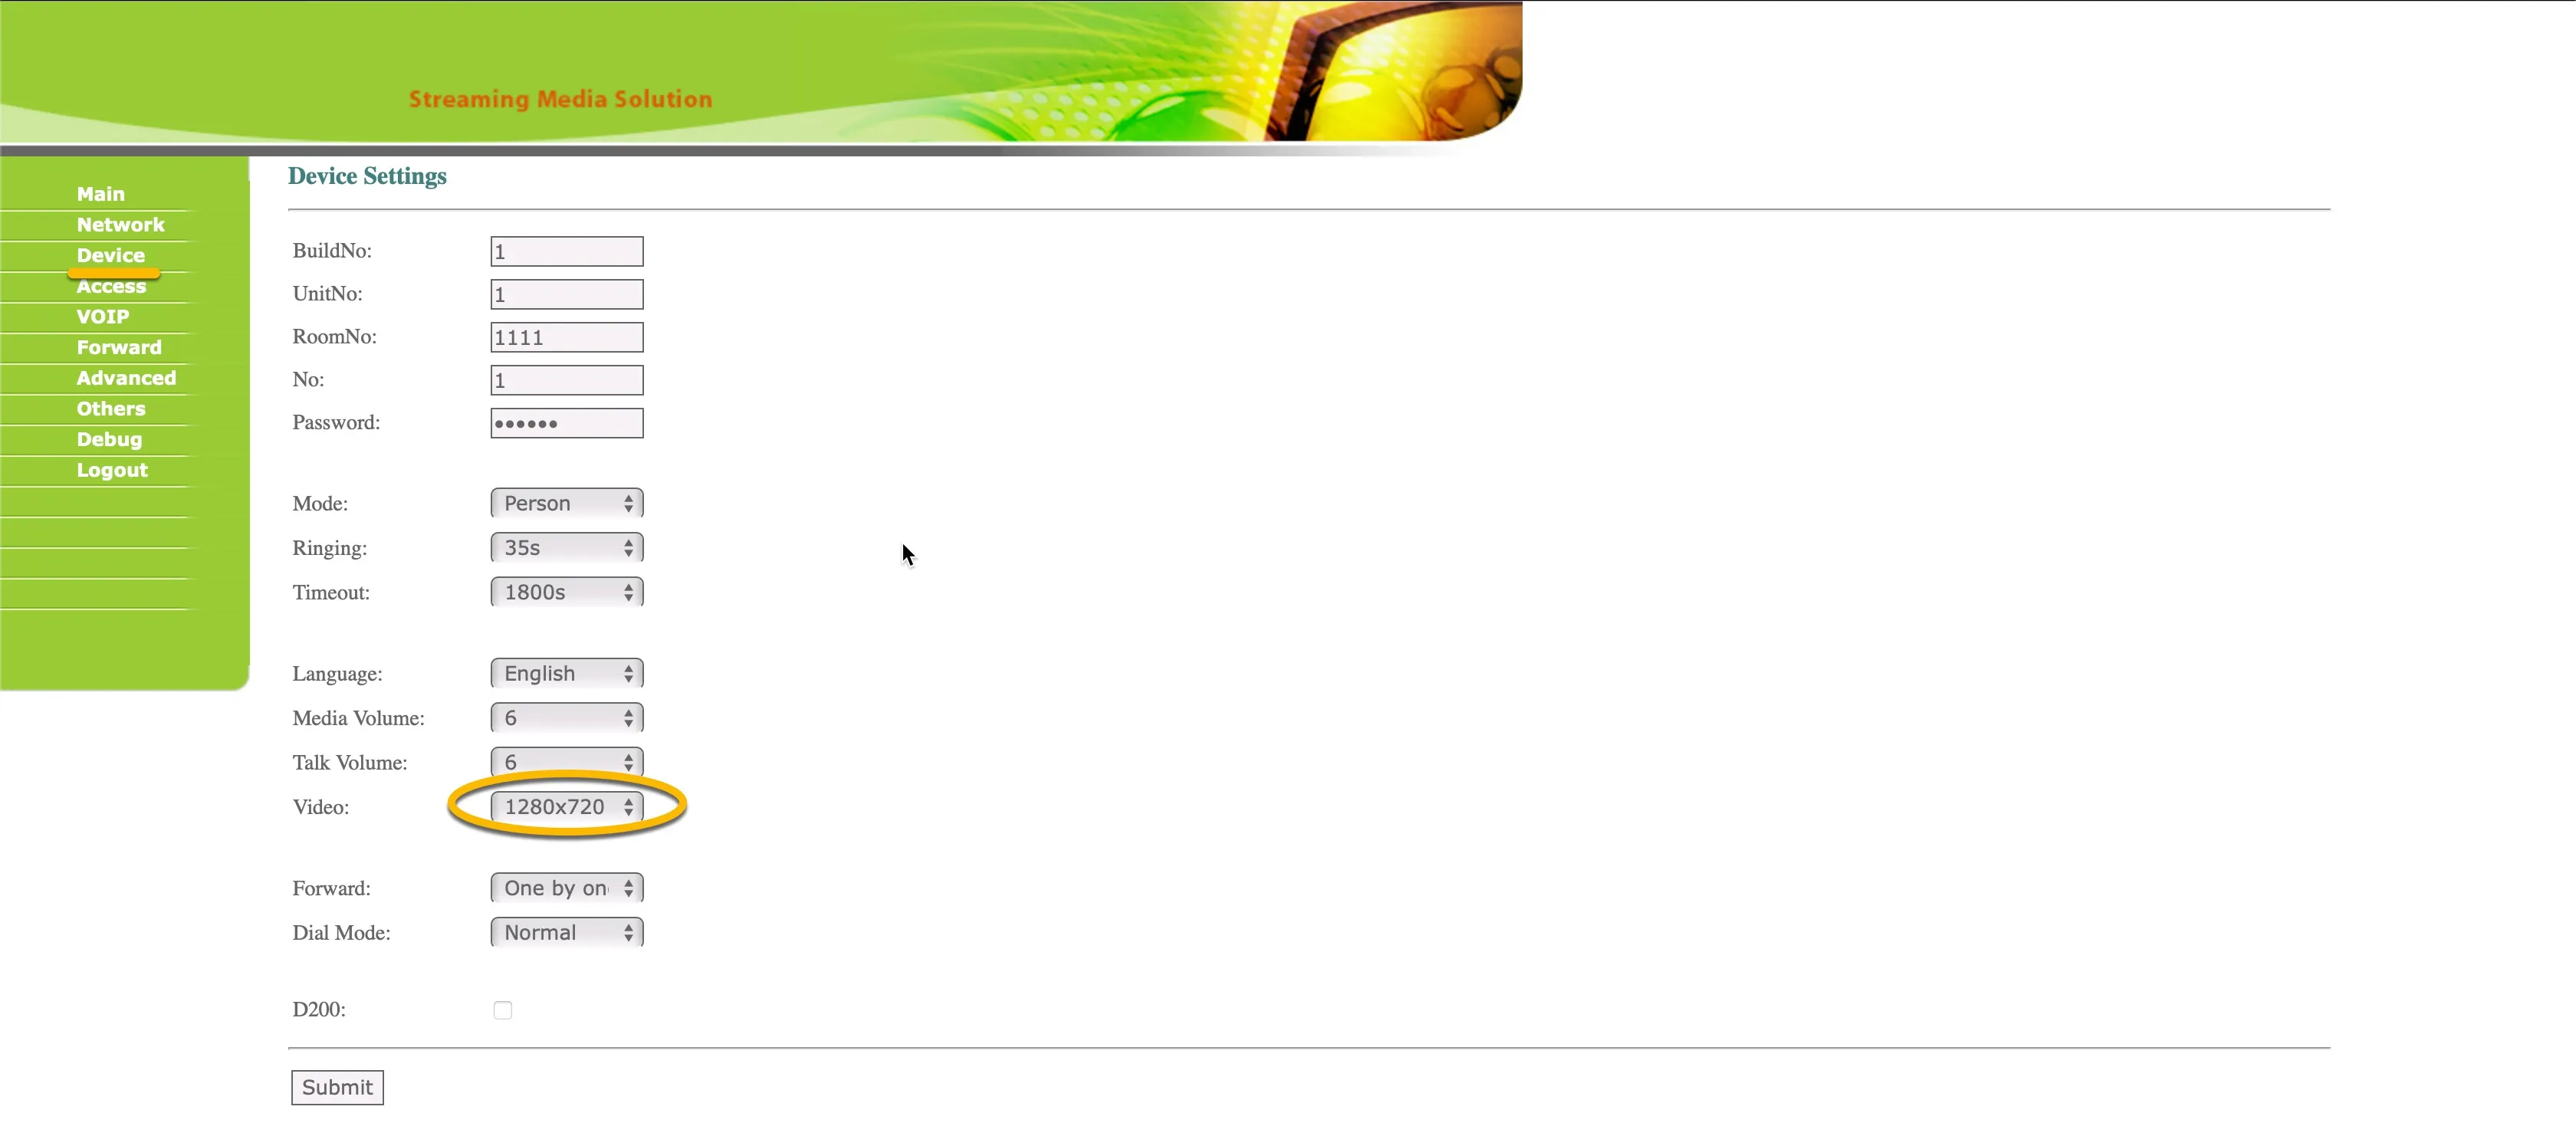
- Navigate to the menu Device.
- Change the following information:
Device Settings | |
|---|---|
Video | Change to 1280x720 |
- Click the Submit button when done.
Configure the SIP settings (DNAKE 280)
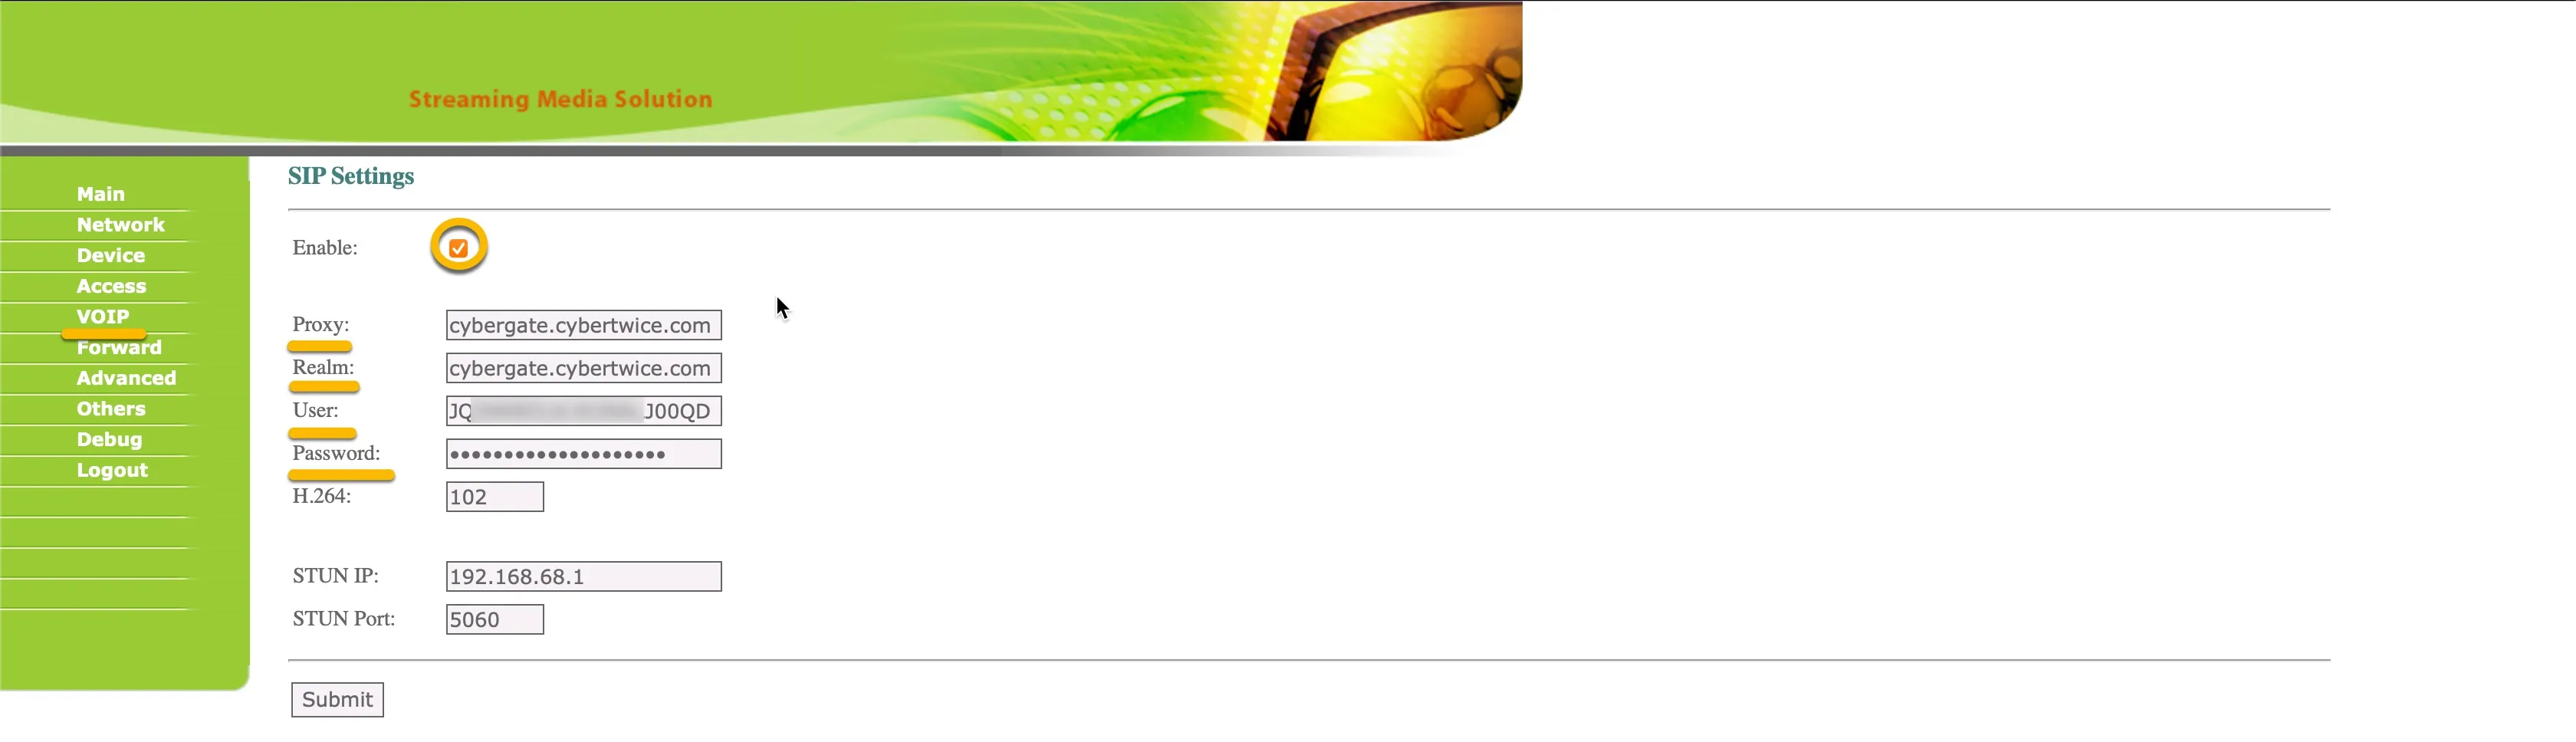
- Navigate to the menu VOIP.
- Provide / change the following information:
SIP Settings | |
|---|---|
Enable | Enable SIP |
Proxy | cybergate.cybertwice.com |
Realm | cybergate.cybertwice.com |
User | Use the Username provided by the CyberGate Management Portal |
Password | Use the Password provided by the CyberGate Management Portal |
- Click the Submit button when done.
Configure the Quick Call number (DNAKE 280)
- Navigate to the menu Advanced.
- Provide / change the following information:
Advanced Settings | |
|---|---|
Quick Call | Enable Quick Call |
URL |
- Click the Submit button when done.
Configuration of the DNAKE 280 is now finished. Pressing the call button on the DNAKE 280 will initiate a call to the number you've configured in the Advanced menu at URL.
Create a Call group for the DNAKE 280 in the CyberGate Management Portal
As the configured number (123) is not a valid Teams user within your Teams environment, you must configure a Call group via the CyberGate Management Portal. The Call group enables you to 'translate' the dialed number (123) to one or more valid and existing Teams user(s).
Follow the steps in the manual CyberGate Call Group Settings on this site on how to create a Call group.
What happens when a visitor presses the call button (DNAKE 280)
The configuration is now done. The following sequence will take place when pressing the call button on the DNAKE 280:
- The DNAKE will place a call to the CyberGate using the number 123
- The CyberGate will answer the call to 123 and recognizes the 123 number as a configured Call group.
- The CyberGate checks what Teams user(s) to call (as configured in the Call group) and will place the call to the Teams users in this group.
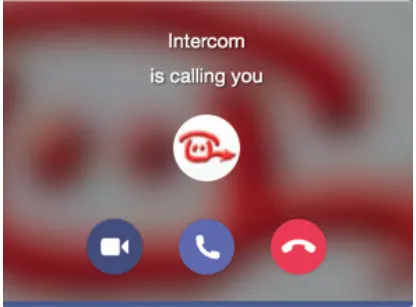
- The Teams user that answers the incoming call in Teams (by clicking the camera symbol) will be connected to the DNAKE
The call will be established and video will be displayed within ±3 seconds.
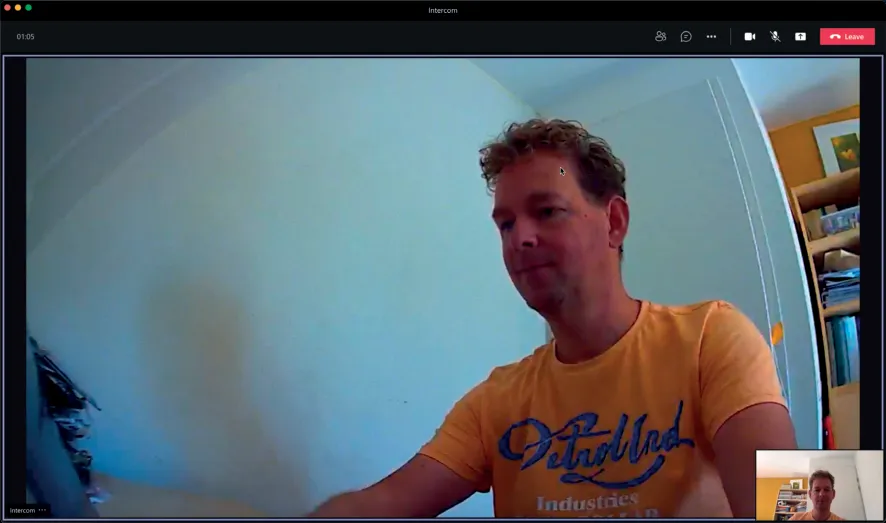
Open the door from the Teams call (DNAKE 280)
- To open the door from the Teams call, click on the three dots (...) in the call screen and select the Keypad.
- Use either the # or the * code. This will trigger the relay in the DNAKE and open the door.
A more convenient way to open the door during a call is to use the CyberGate for Teams app. See the CyberGate App for Teams manual on this site on how to to install and use the CyberGate for Teams app.