Suprema and CyberGate
Suprema and CyberGate
Prerequisites
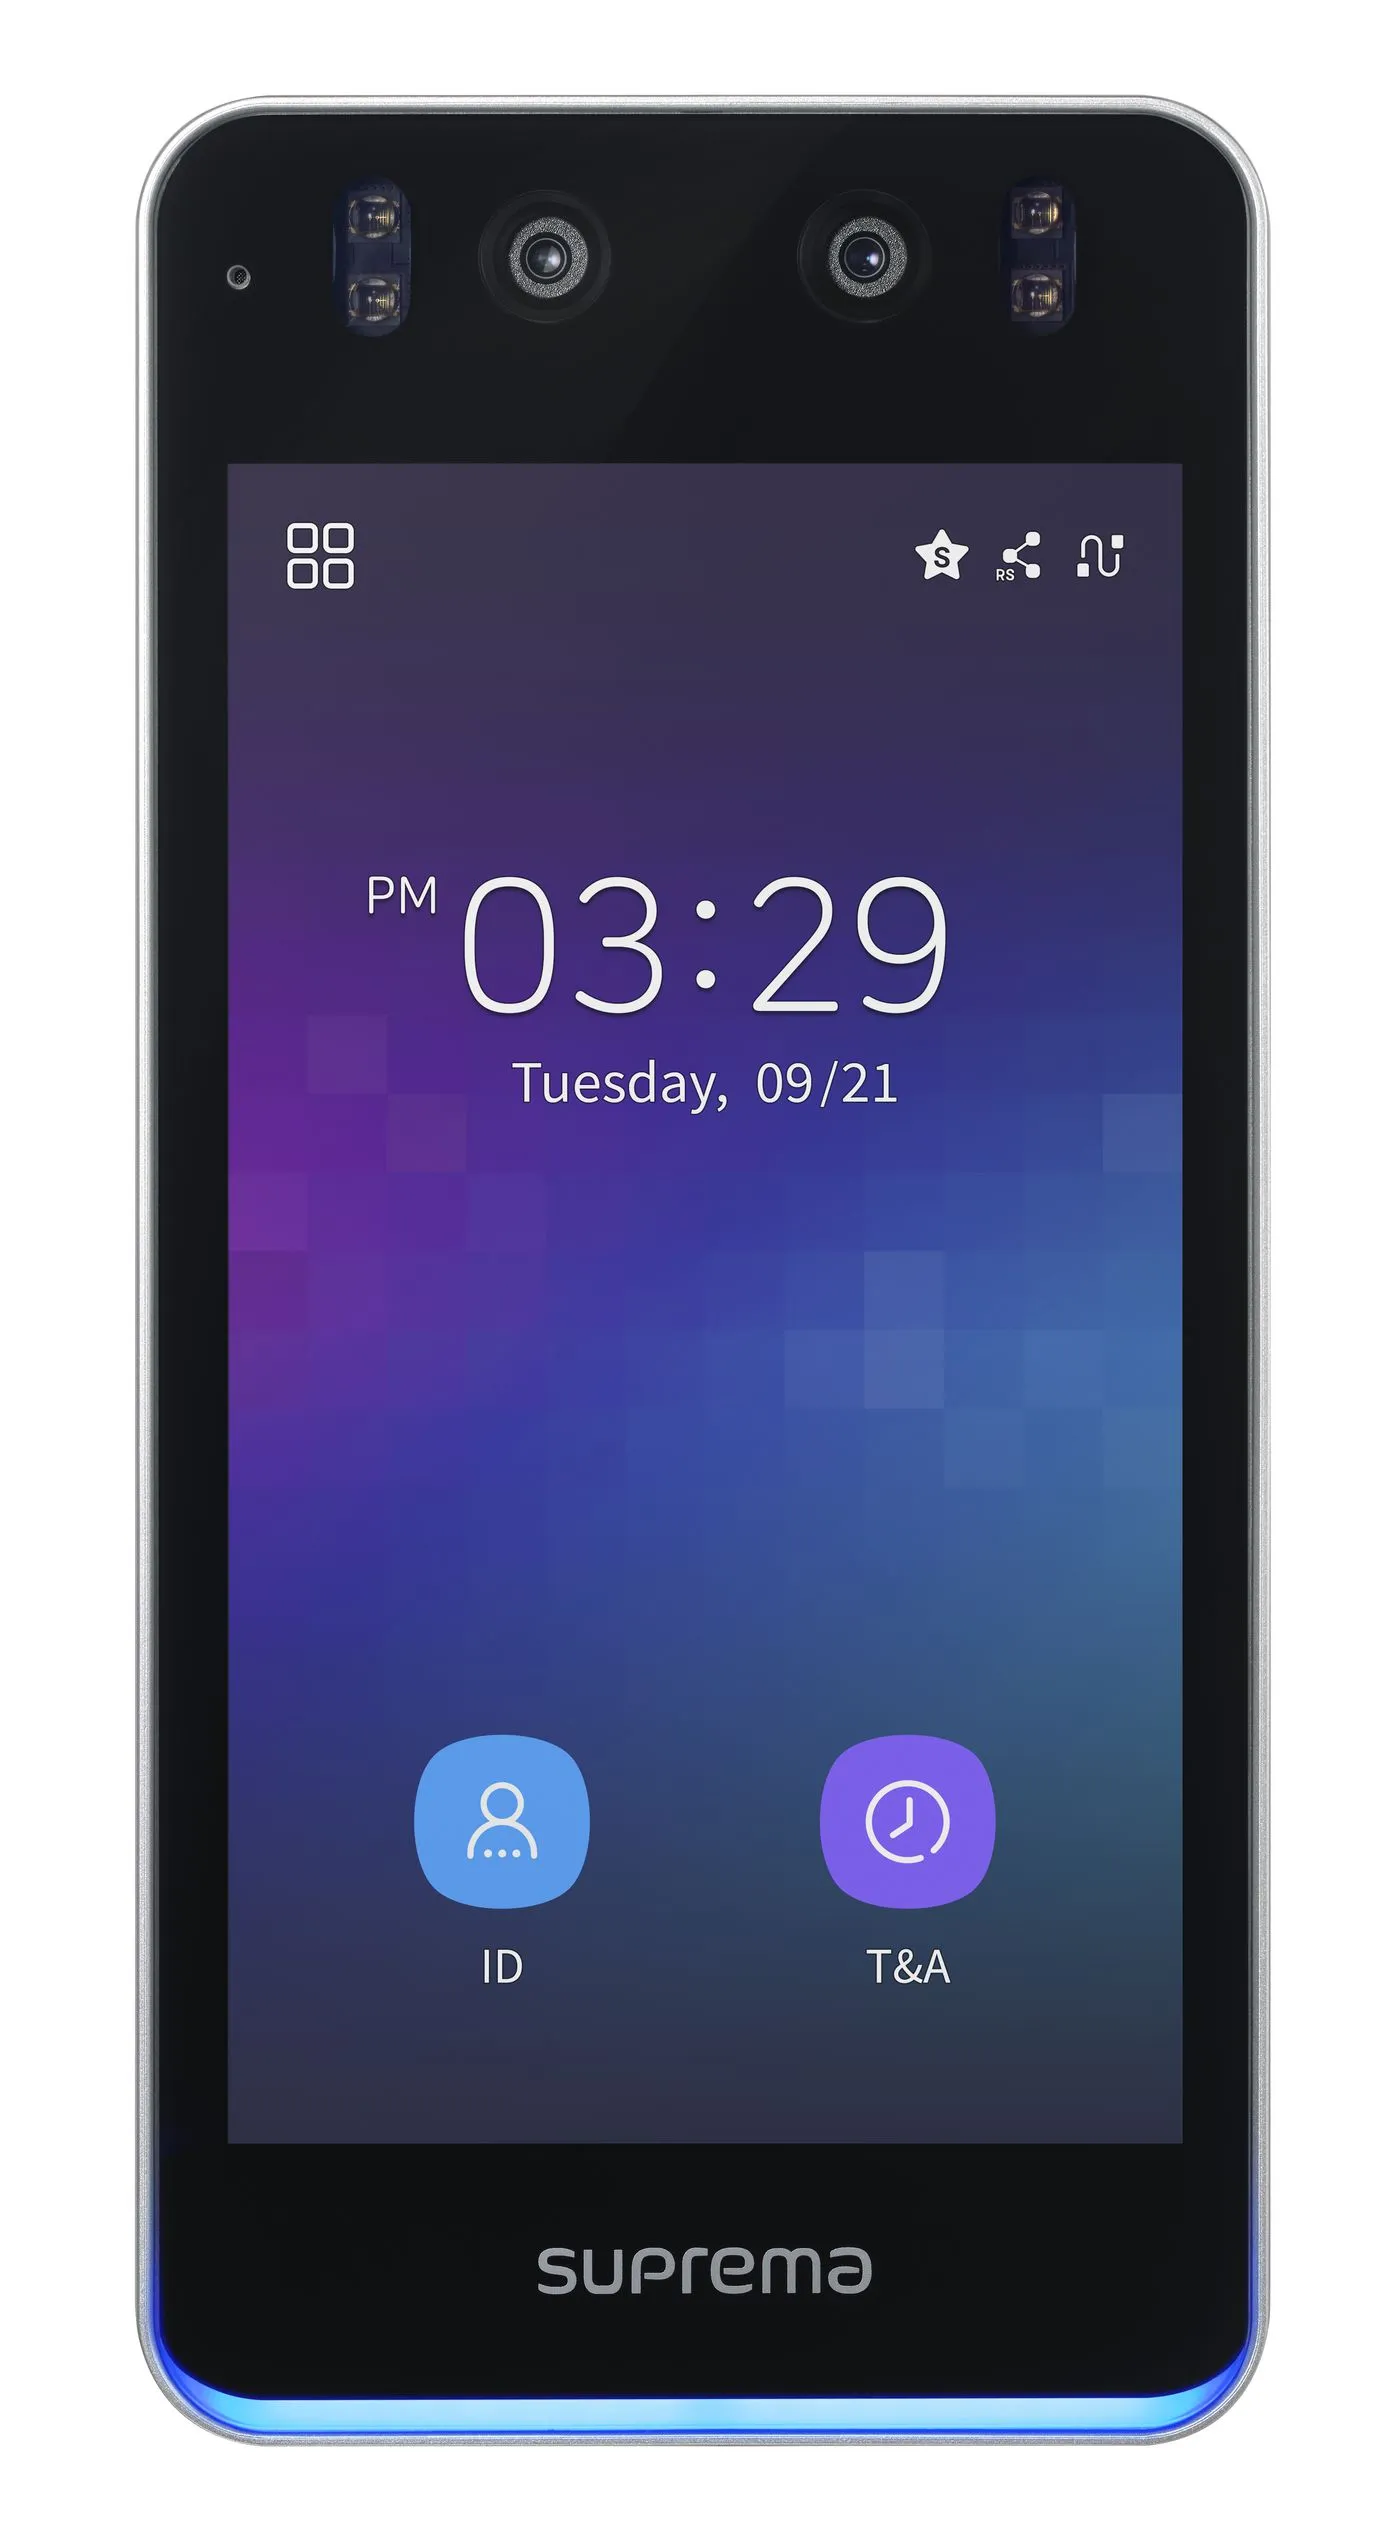
For this document we used the Suprema BioStation 3 (from now on named ‘Suprema’) to connect to the CyberGate service (from now on named ‘CyberGate’).
Make sure the firmware version of the BioStation 3 is version 1.1.0 or higher.
The Suprema needs to be configured using the BioStar 2 software and using the touch interface on the BioStation 3. Follow the steps below in order: first the BioStar 2 configuration, then the setting on the Suprema touch screen.
Configure the Suprema in BioStar 2
Connect to the Suprema
- Open the BioStar 2 software and search for the device.
- When the device is found, click on the device to log in and open the settings page.
Configure the intercom (SIP) settings
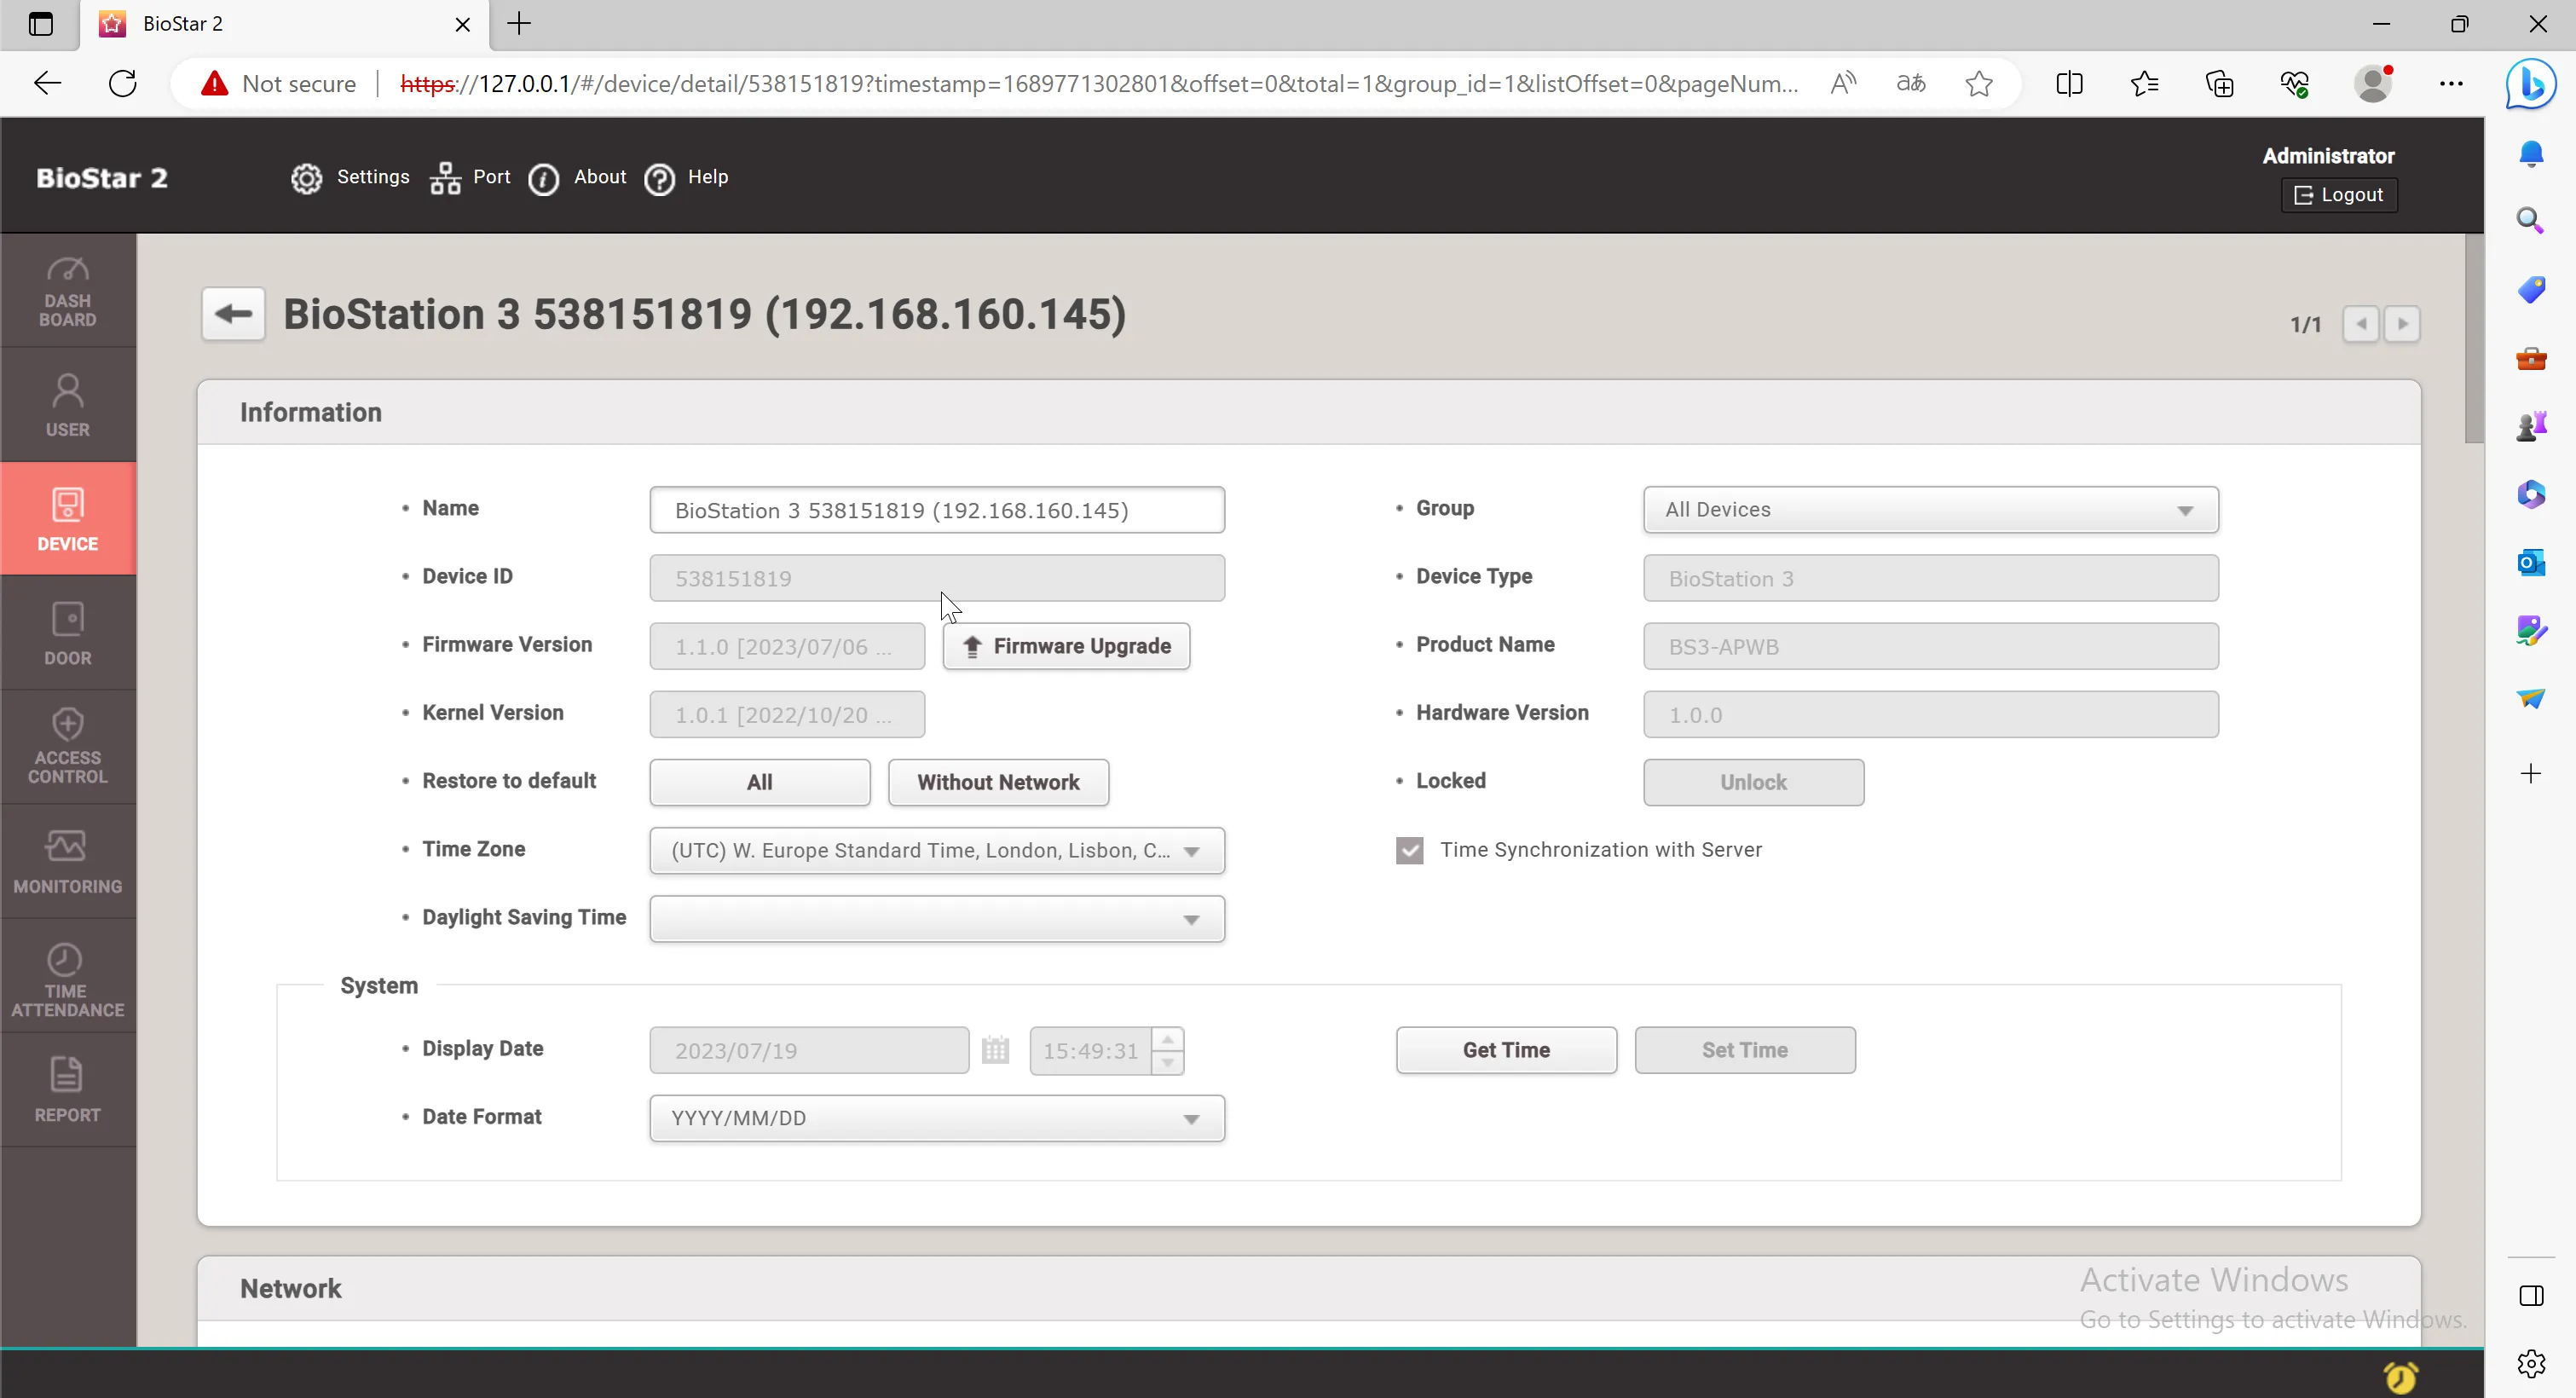
- Scroll down to the Intercom section.
- Provide / change the following information:
Intercom | Select ‘Use’ |
|---|---|
SIP Server Address | cybergate.cybertwice.com |
SIP Username | Use the Username provided by the CyberGate Management Portal |
Authorization ID | Use the Username provided by the CyberGate Management Portal |
Password | Use the Password provided by the CyberGate Management Portal |
Display Extension Number | Teams user name without the domain * |
Extension Number | Teams user name without the domain * |
Display name | Name the user to call, will be displayed on the Suprema display |
* For example, the user ‘John Doe’, with the Teams name: [email protected] will translate to this destination address: john.doe
- Click the ‘Apply’ button to save.
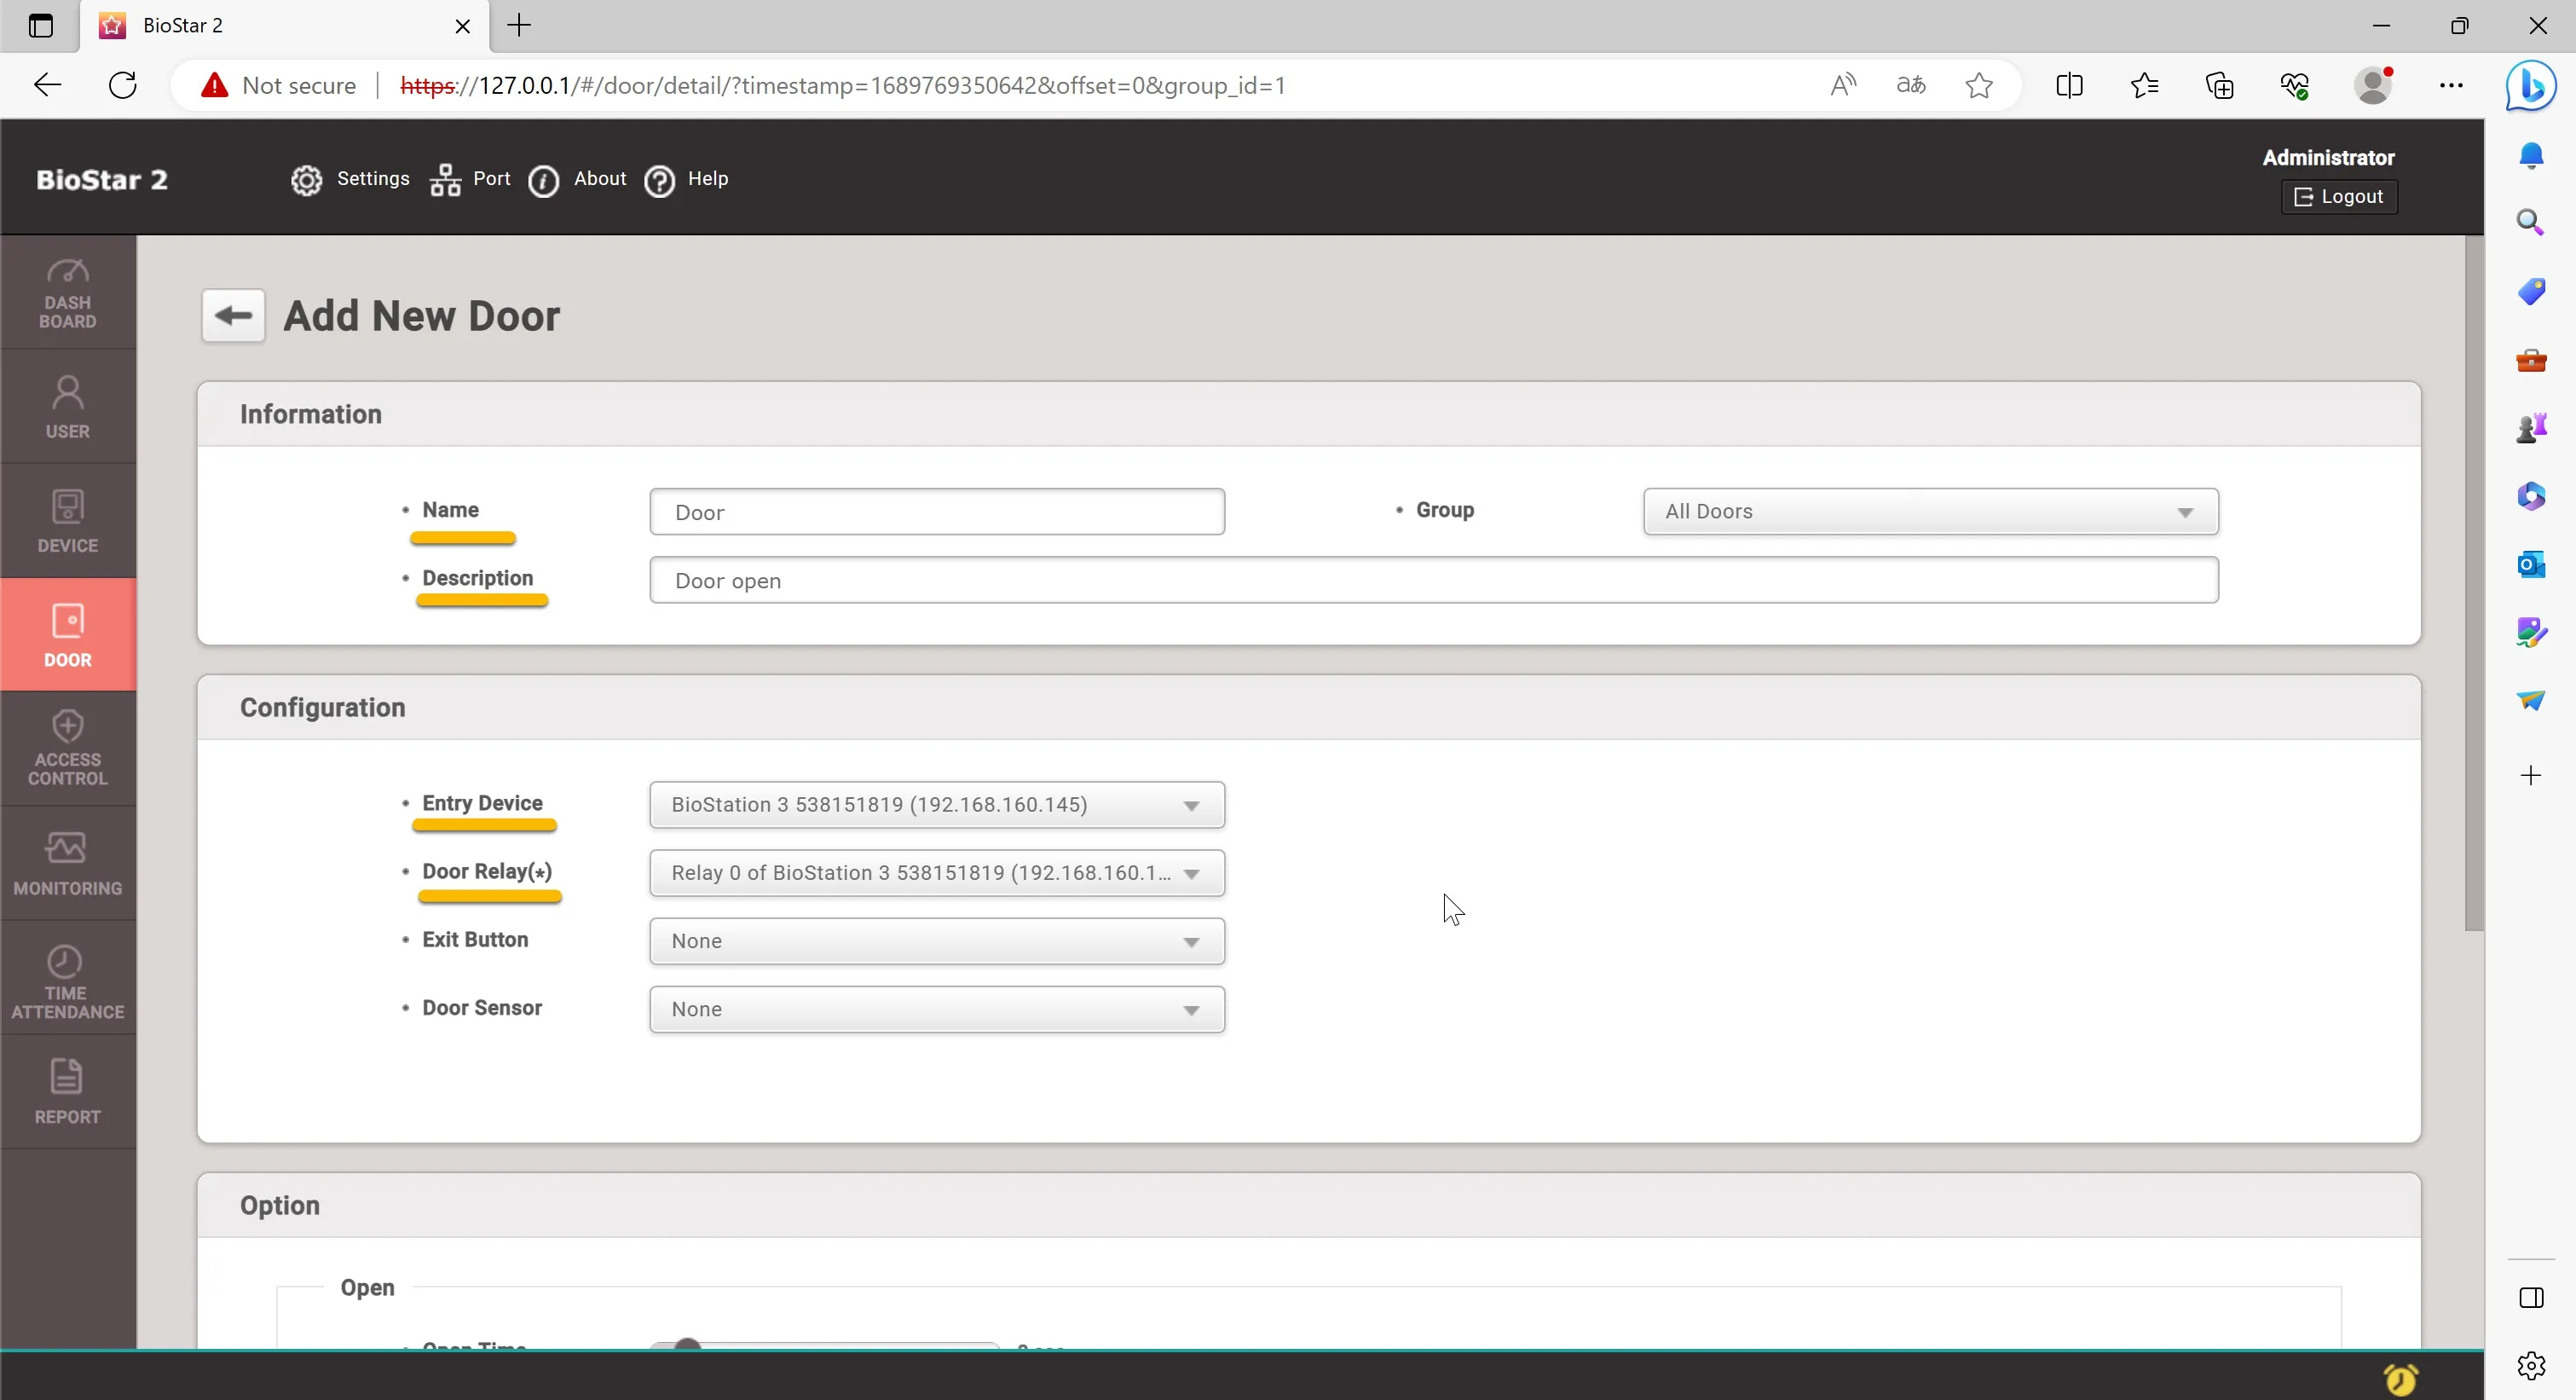
Configure the door open feature
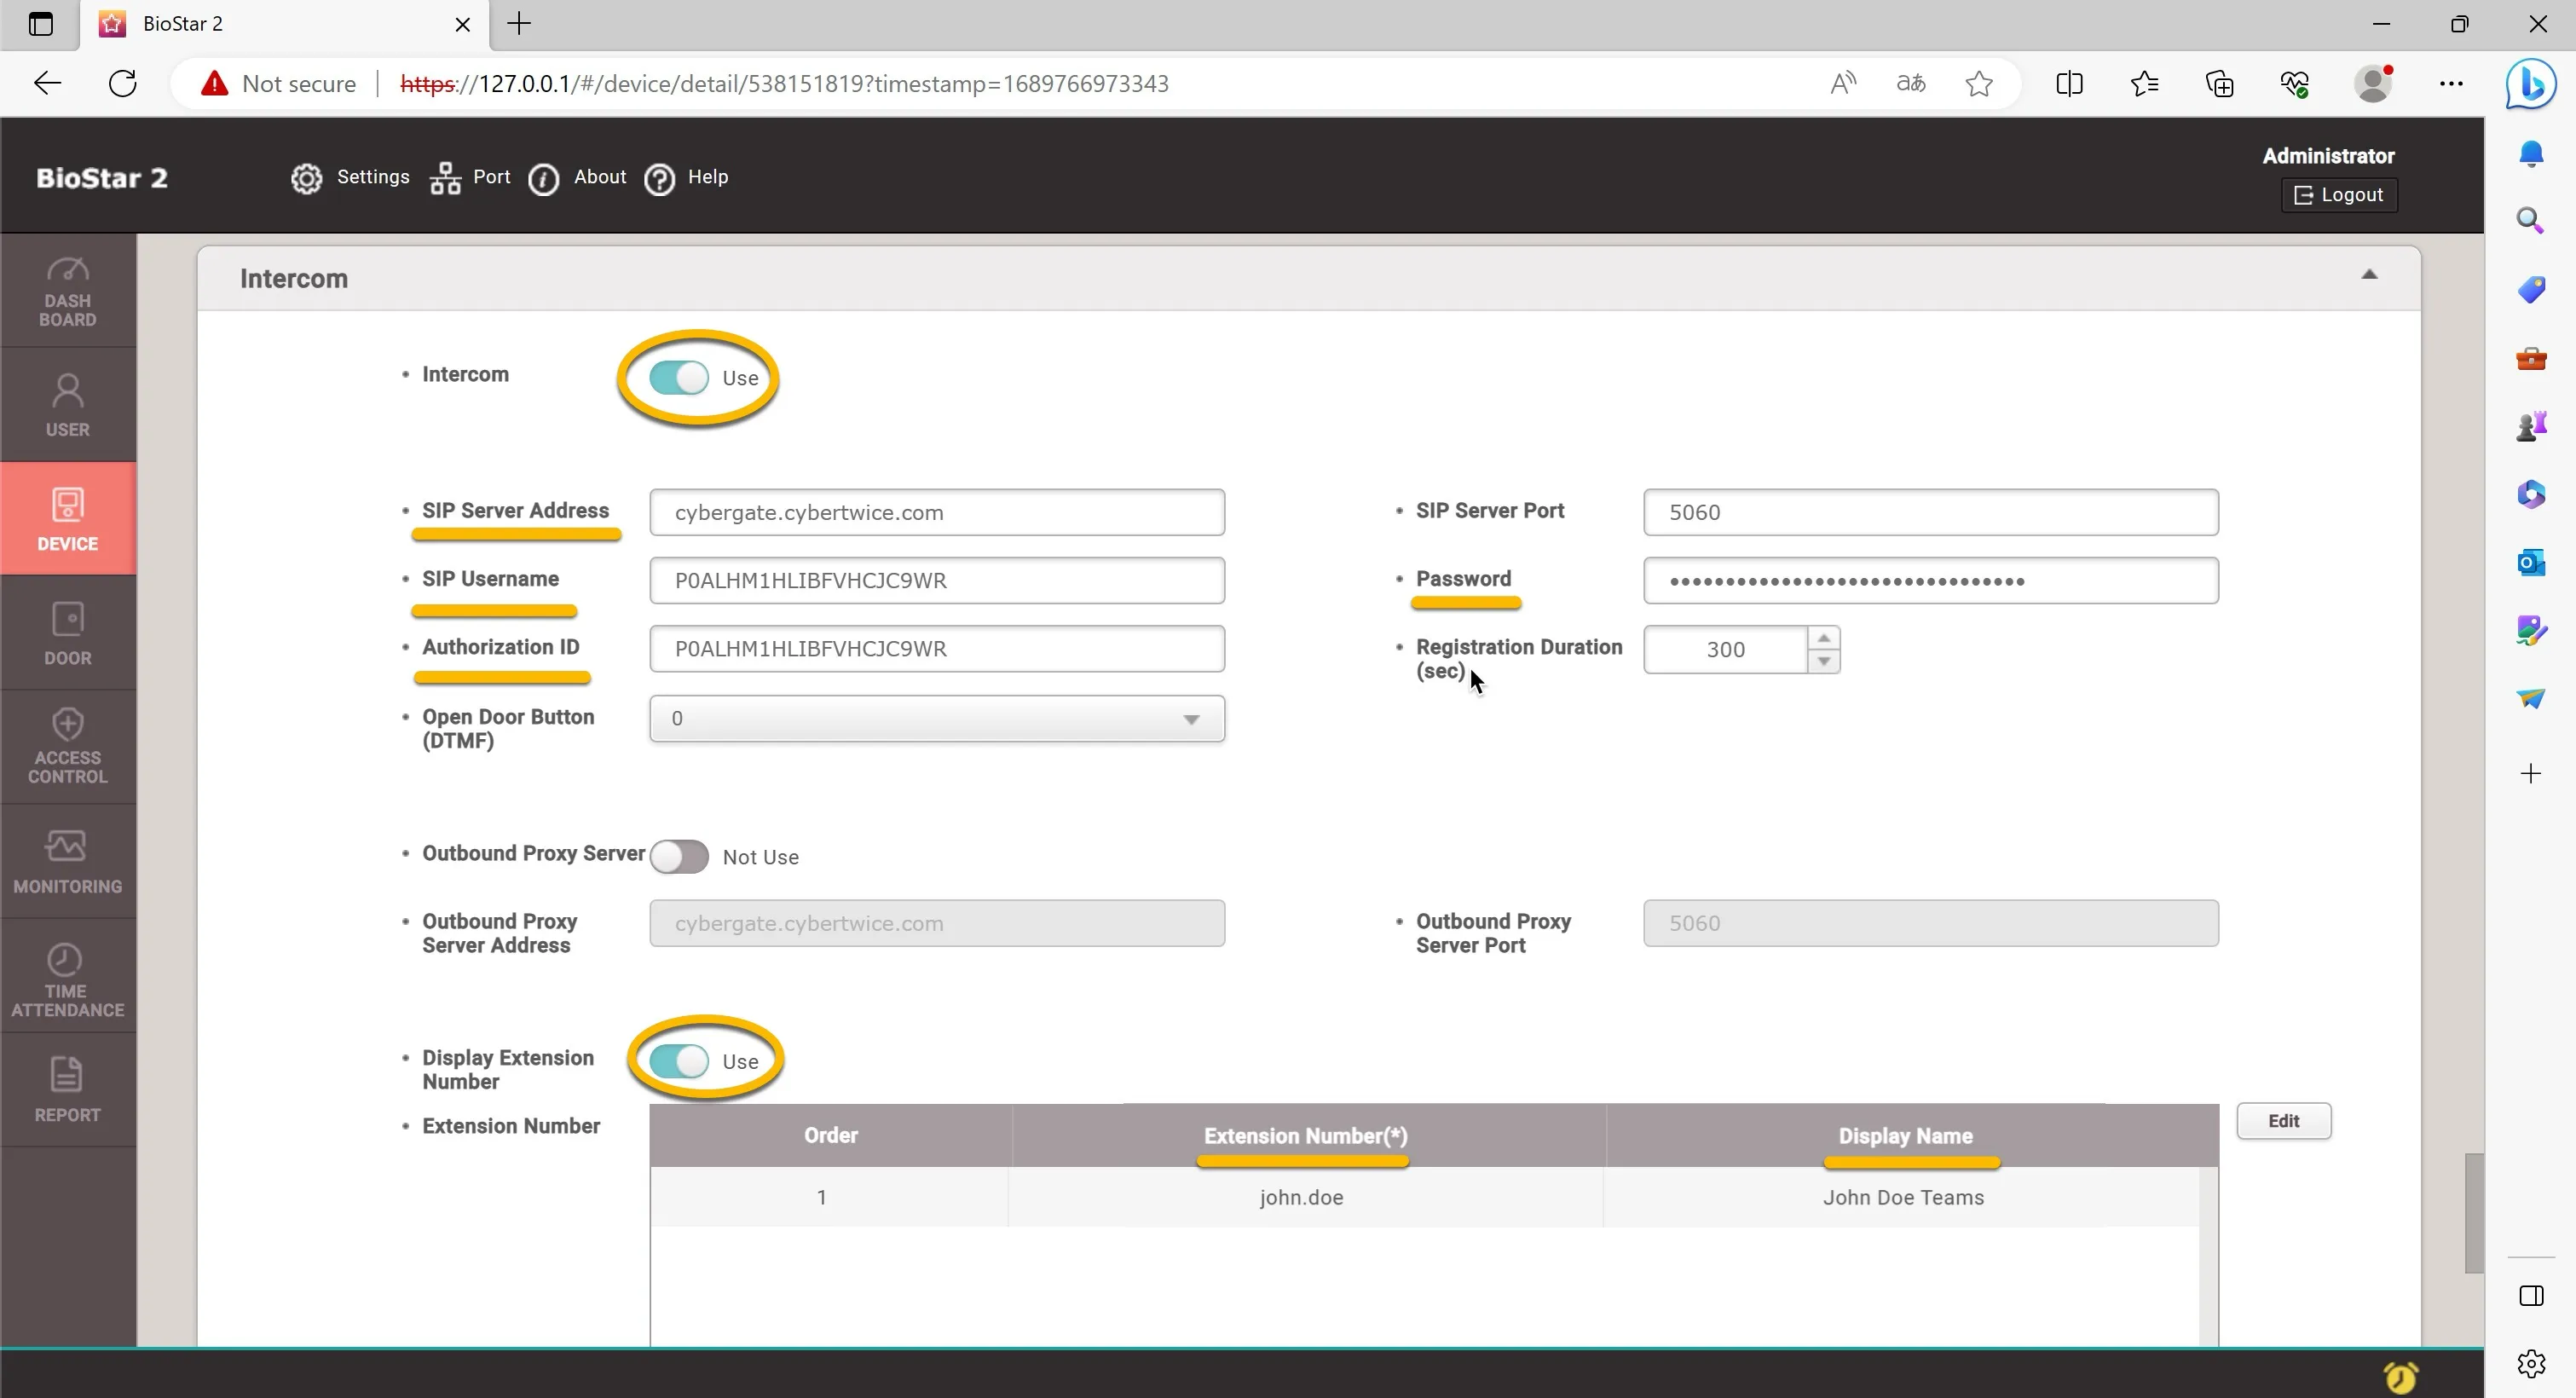
- Navigate to the Door menu.
- Click the ‘Add Door’ button.
- Provide / change the following information:
Name | Name the door to open (in this example ‘Door’) |
|---|---|
Description | Describe this door (in this example ‘Door open’) |
Entry Device | Select the BioStation 3 |
Door Relay | Select the relay in the BioStation 3 |
- Click the ‘Apply’ button to save.
Configuration using the BioStar 2 software is now done. The last step in the configuration of the Suprema has to be done directly on the Suprema using the touch screen.
Set the SIP transport to TCP on the Suprema touch screen
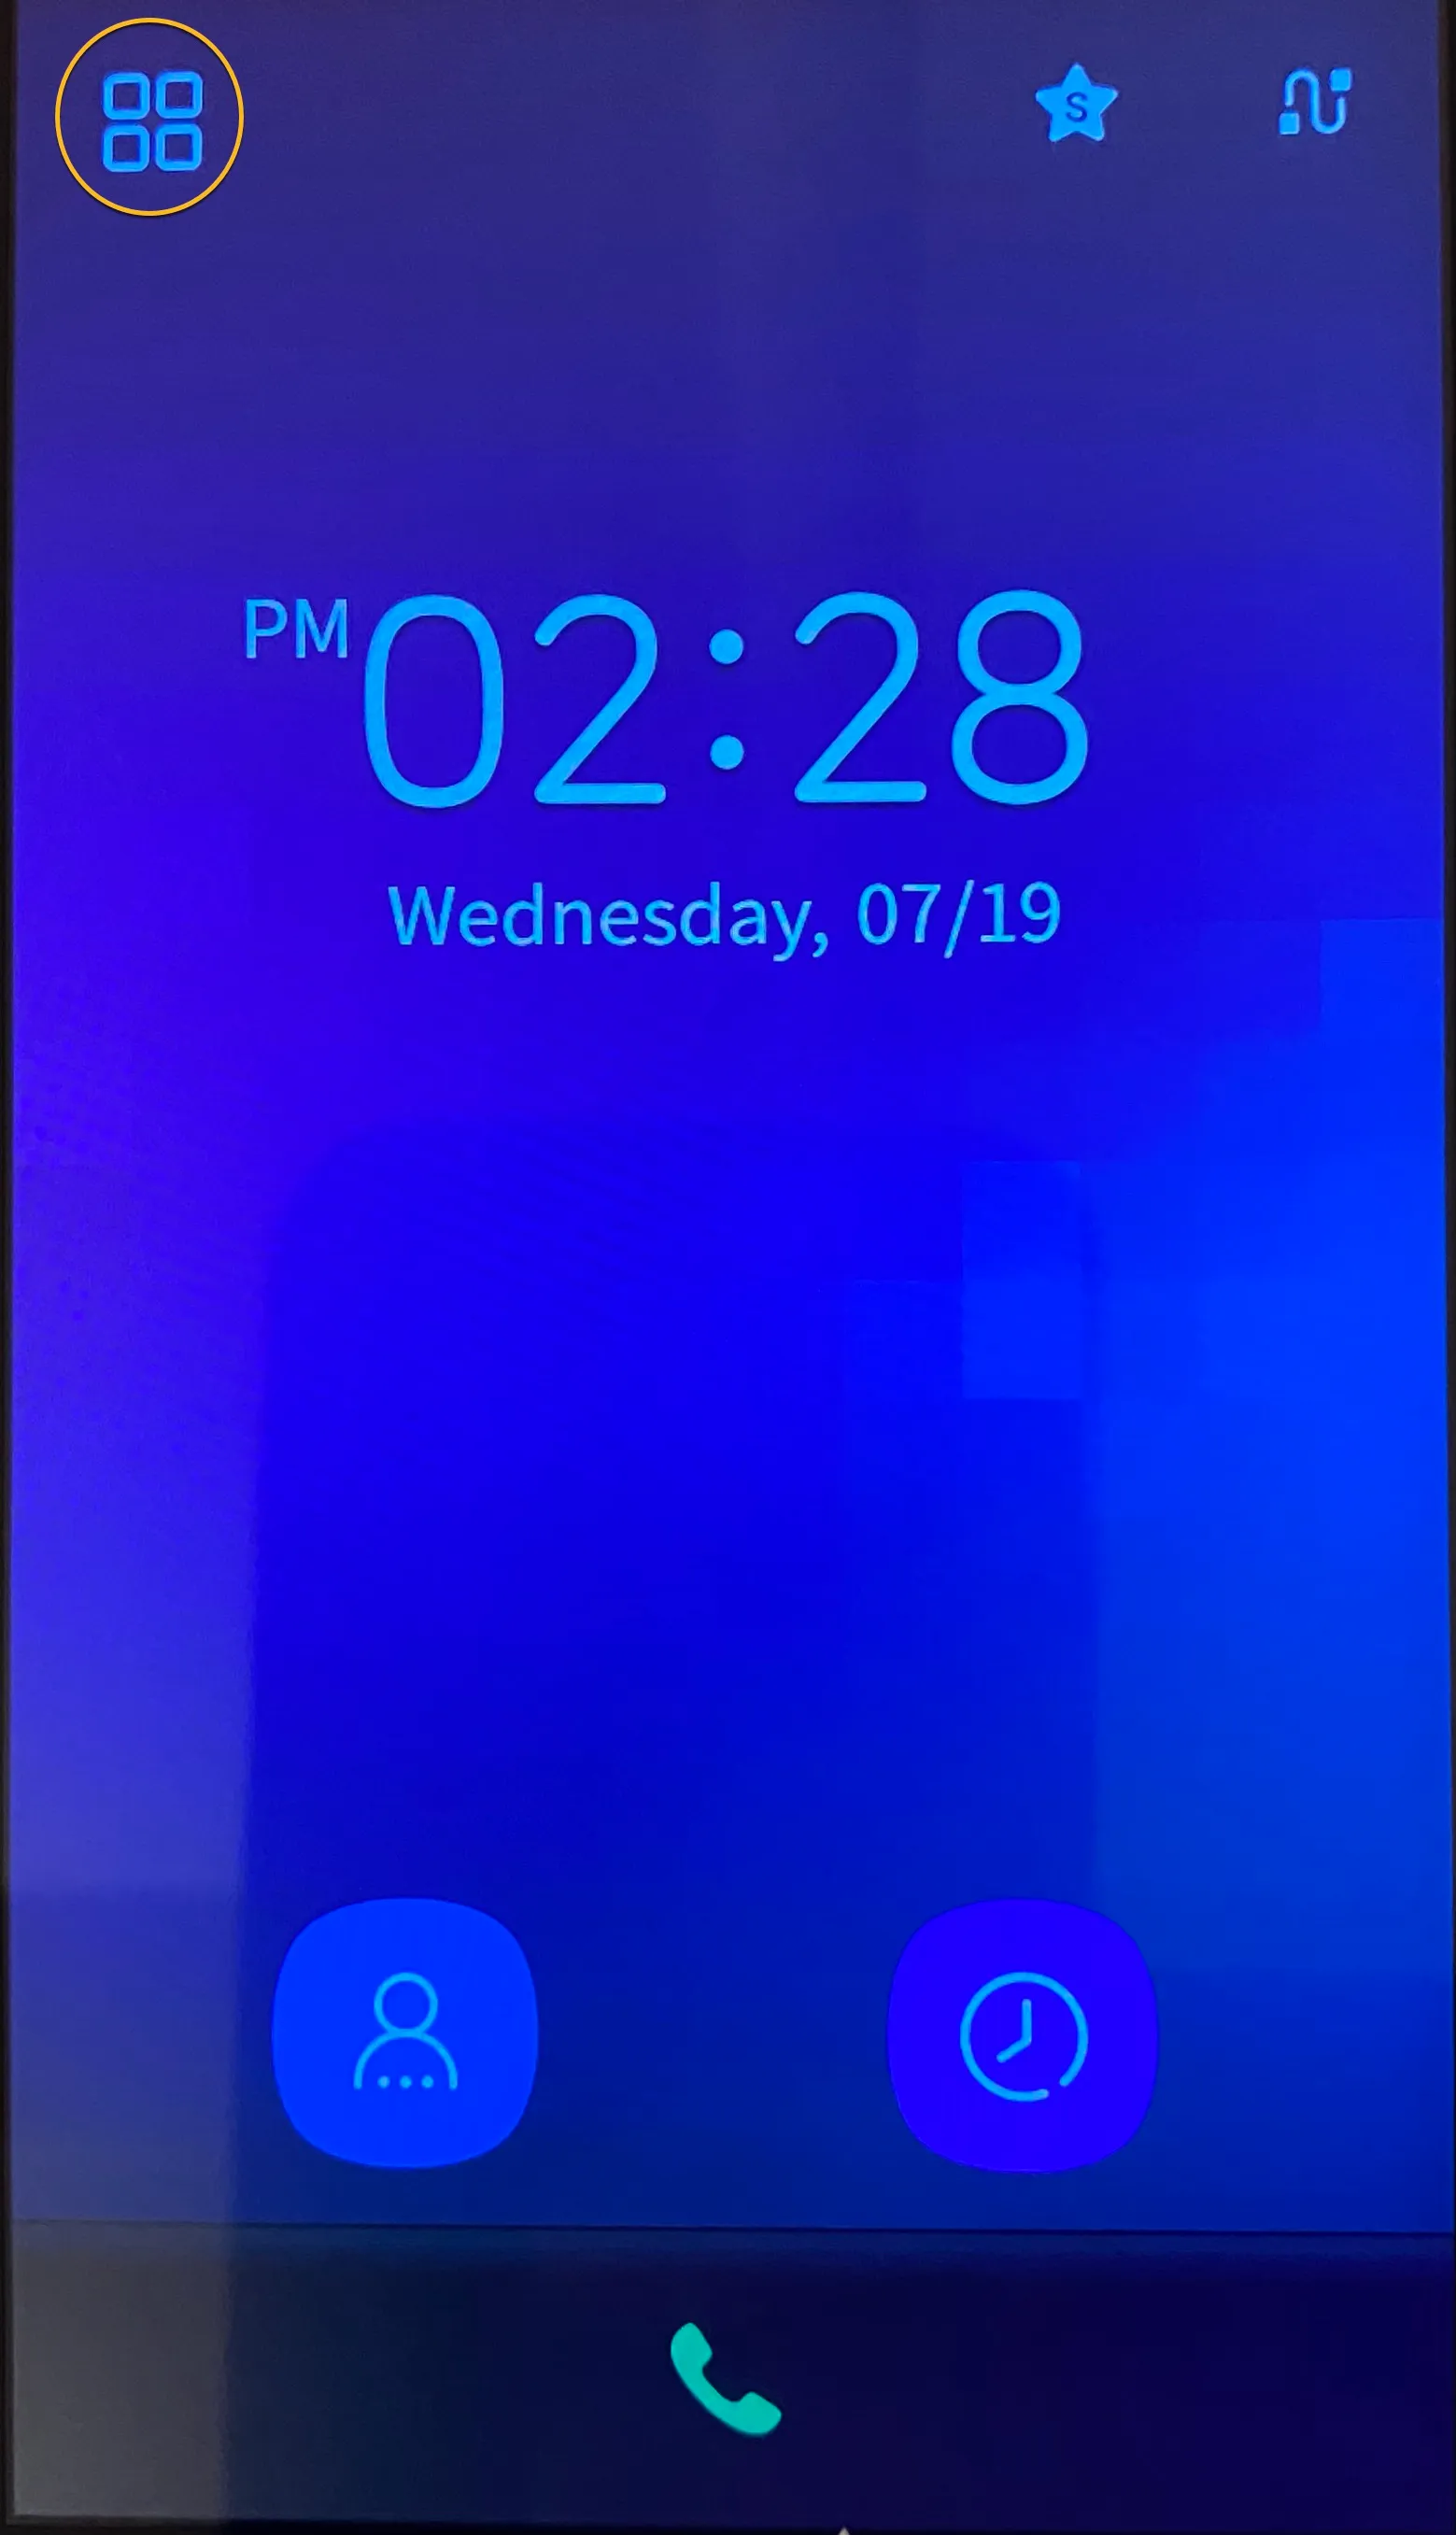
- Click on the Dashboard icon (top-left).
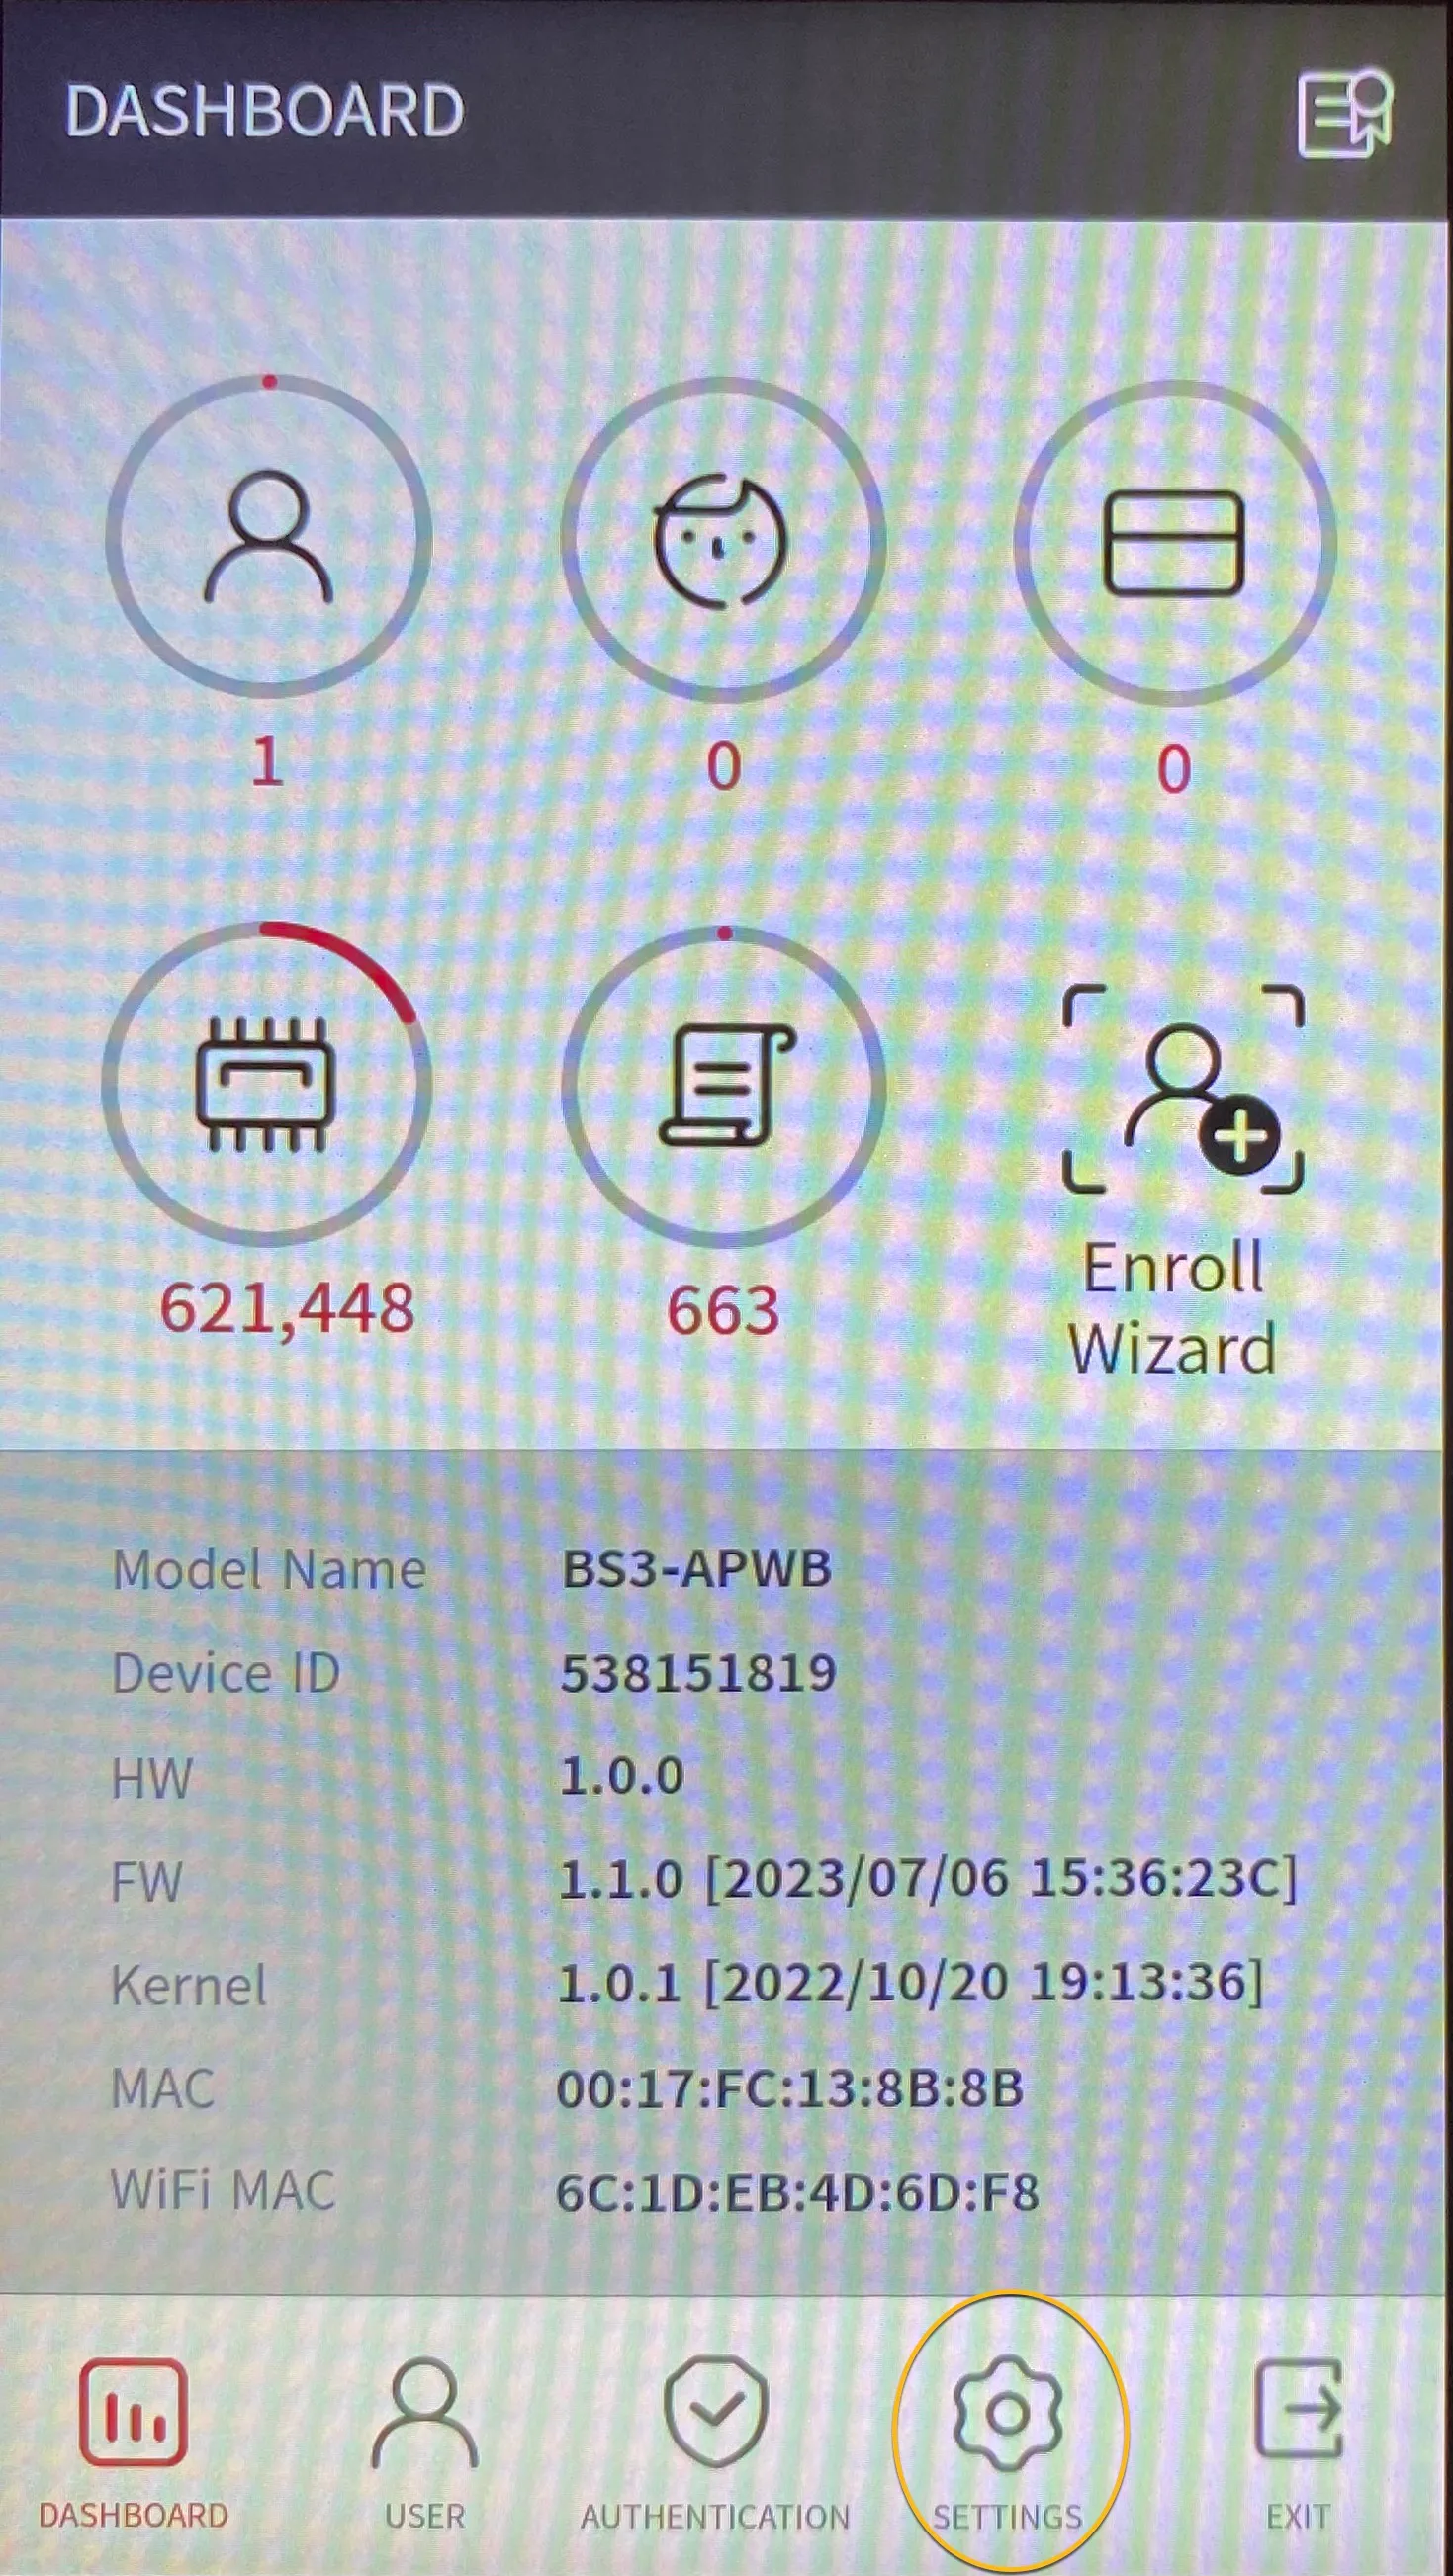
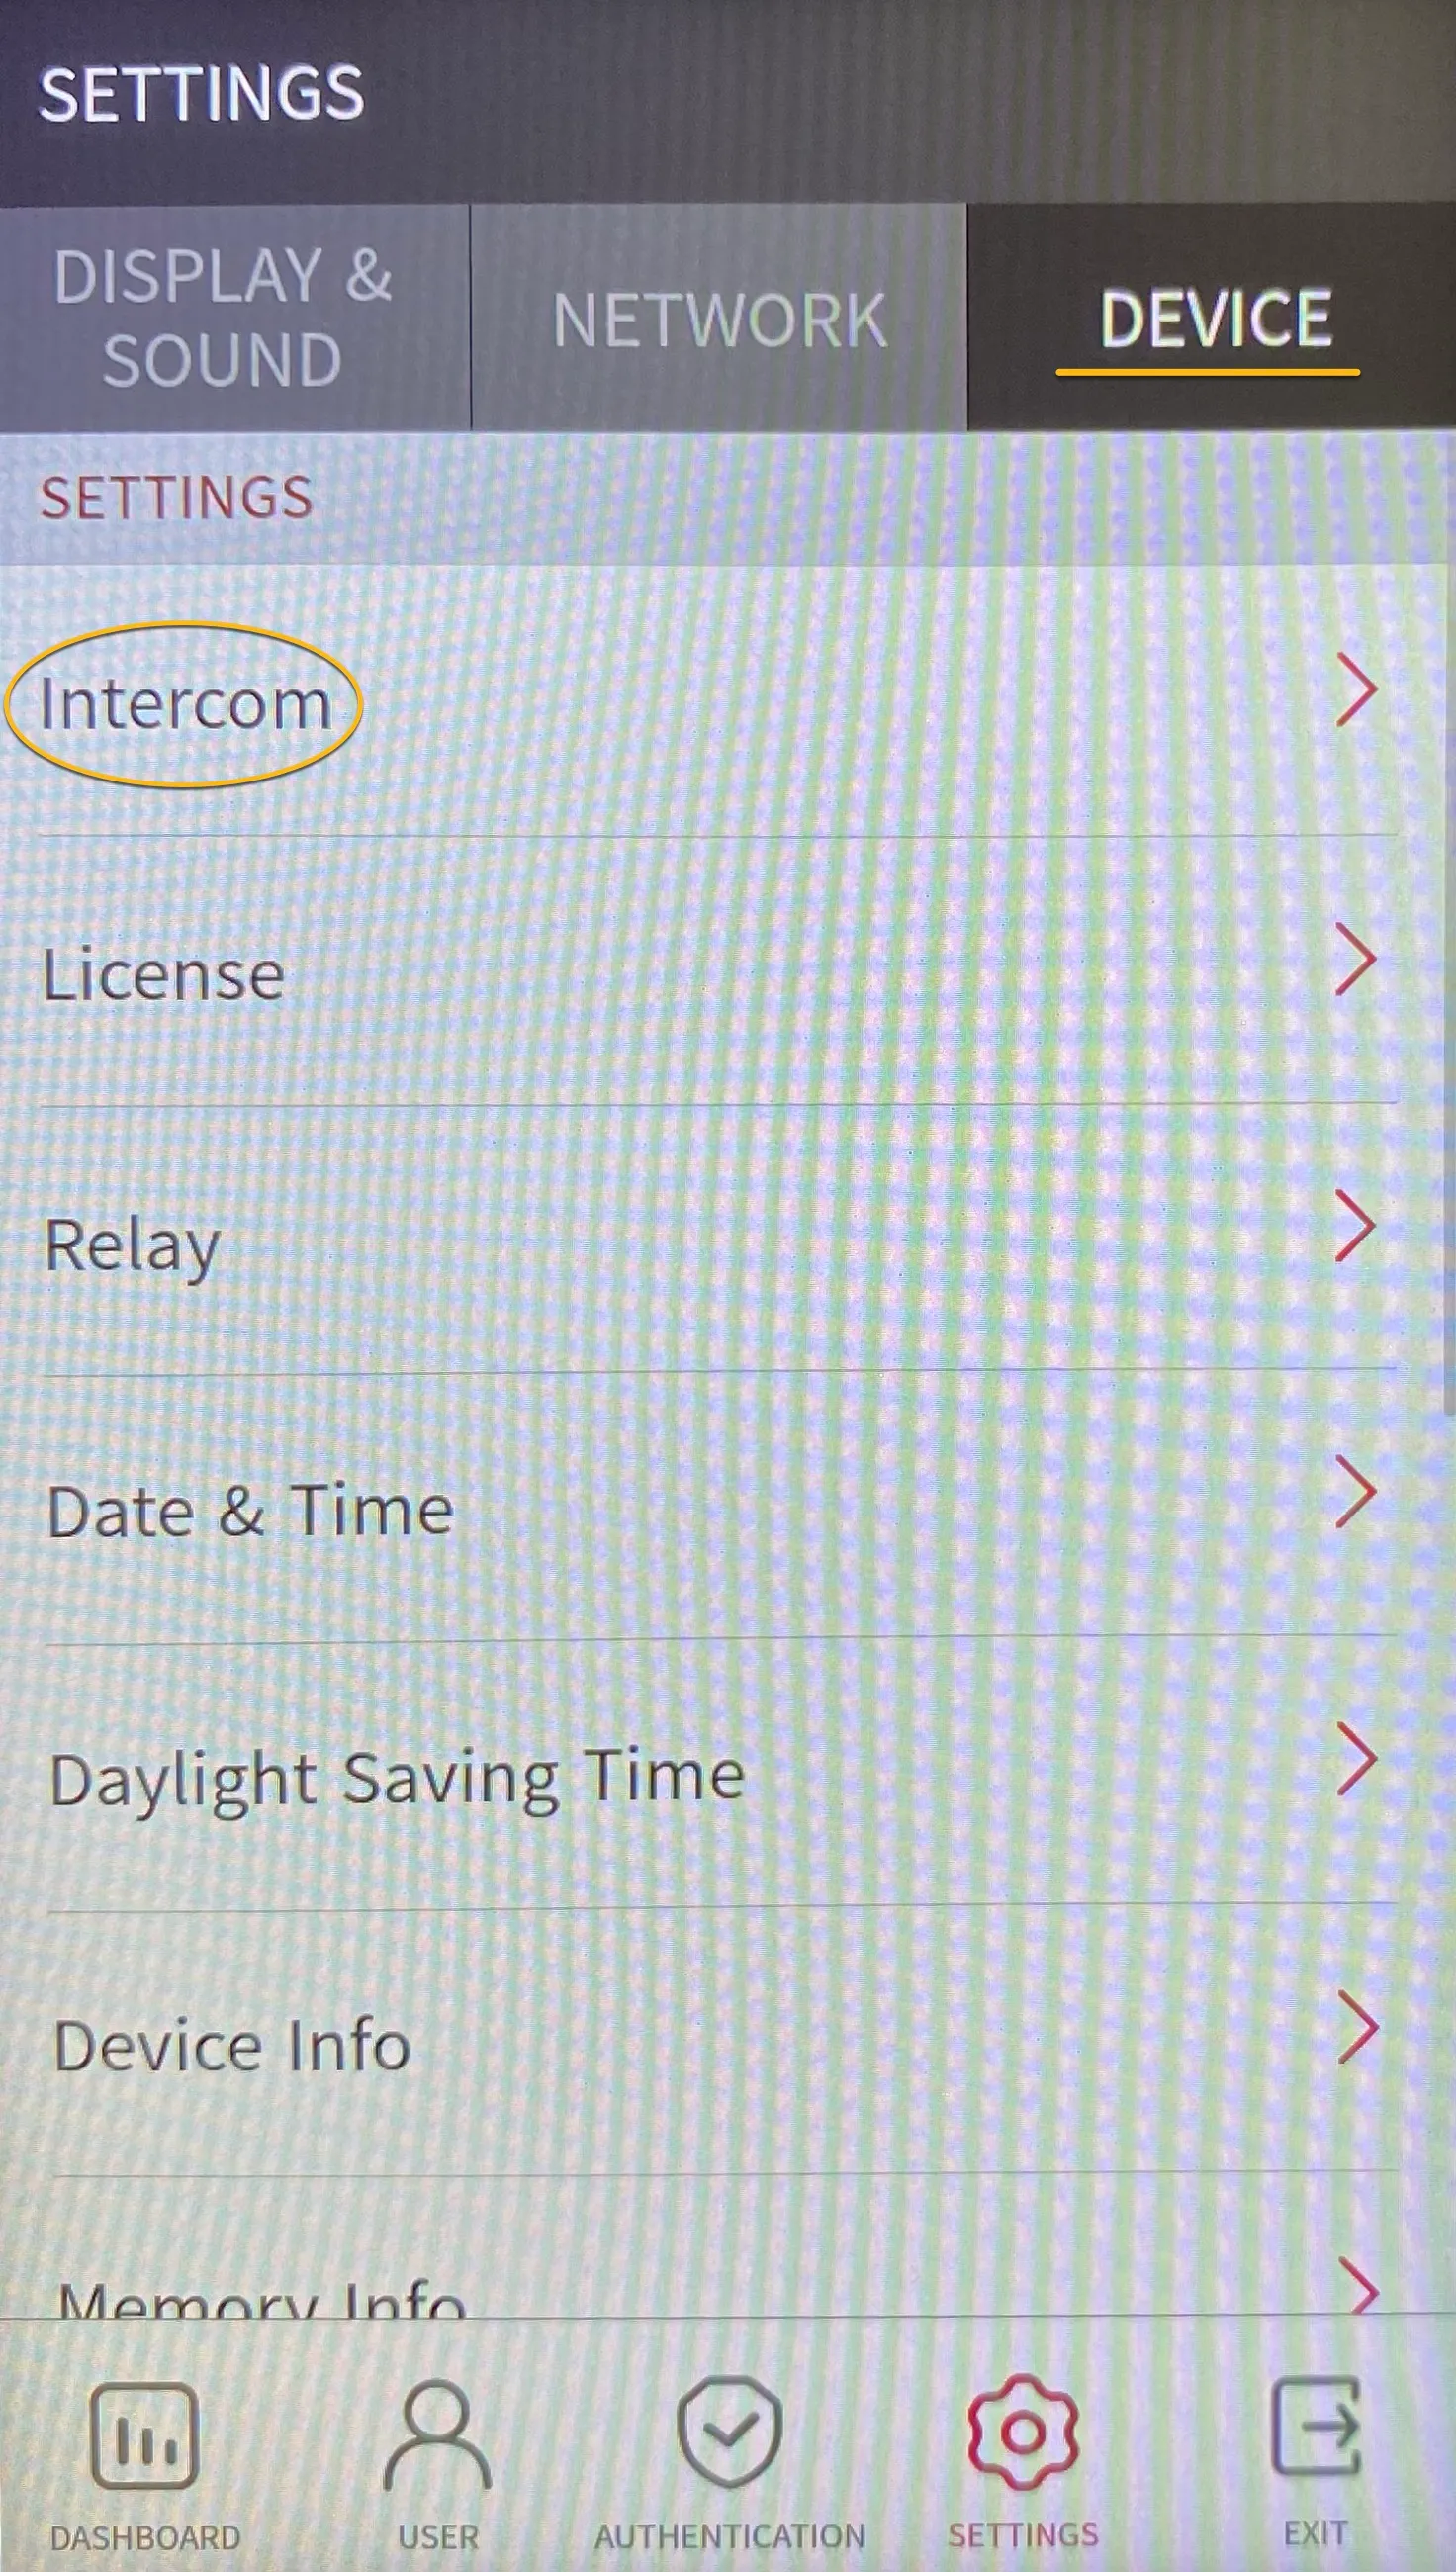
- Click on the ‘Settings’ icon and navigate to ‘Device’.
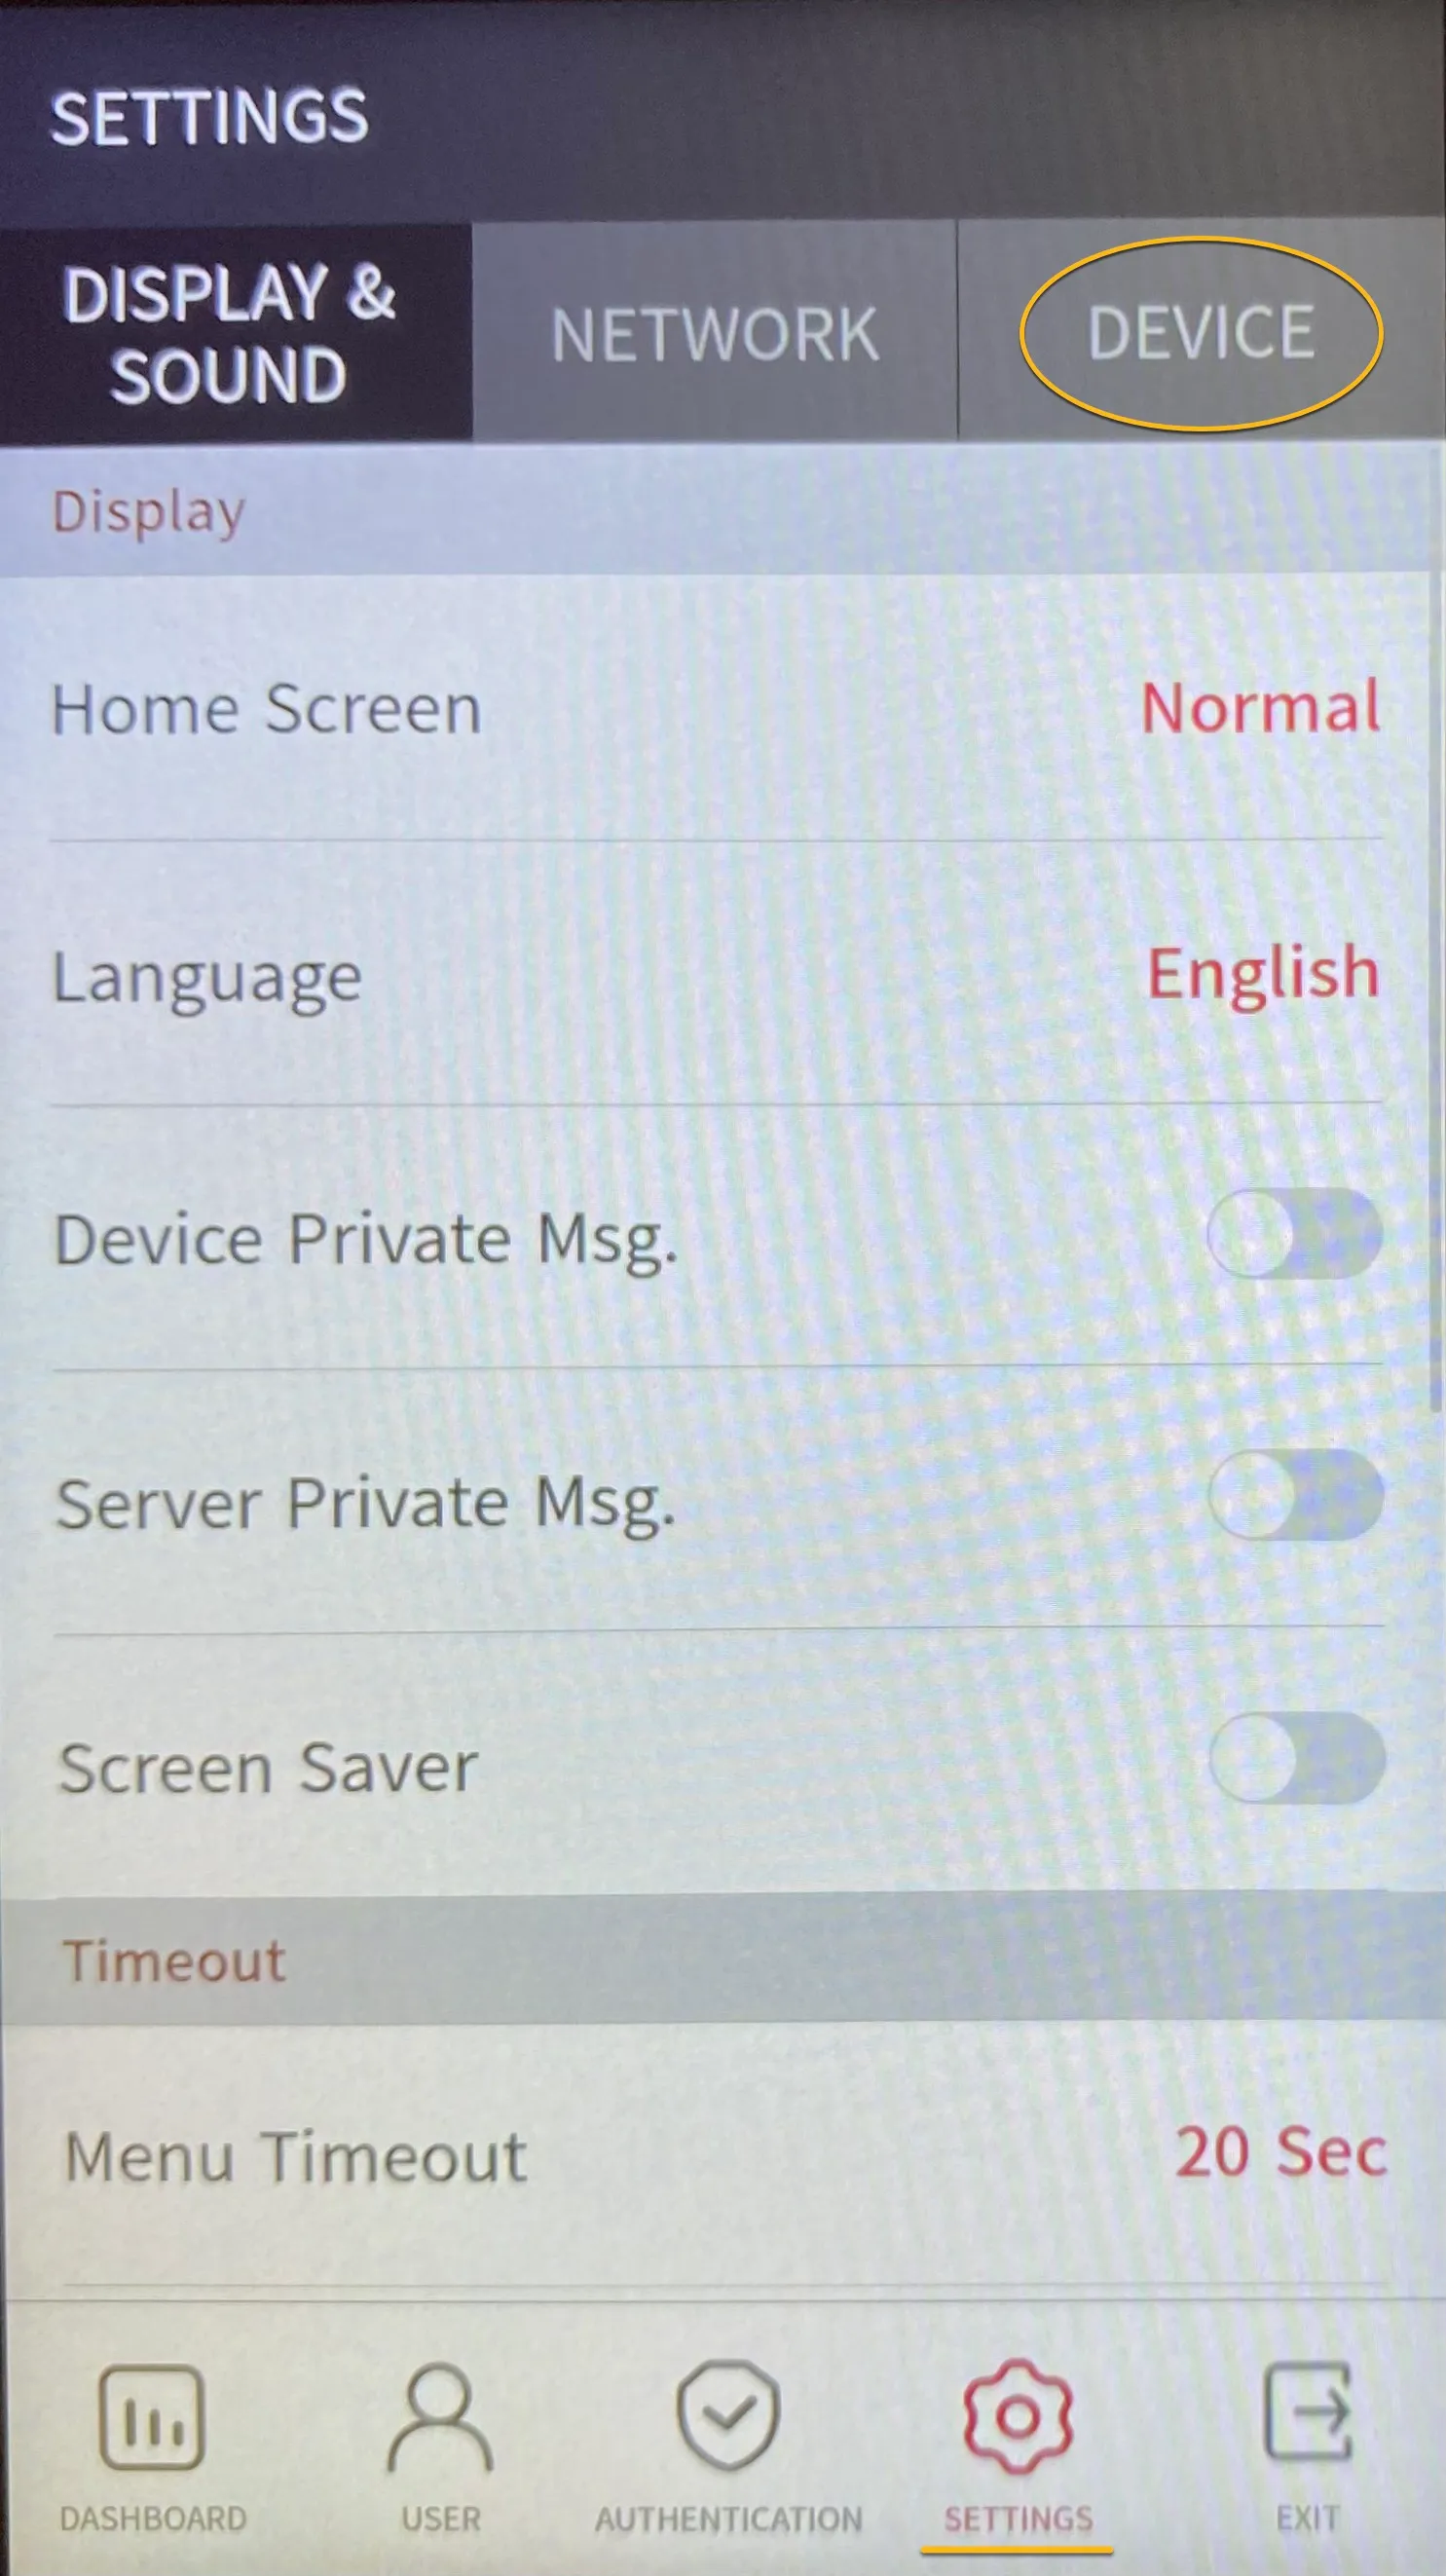
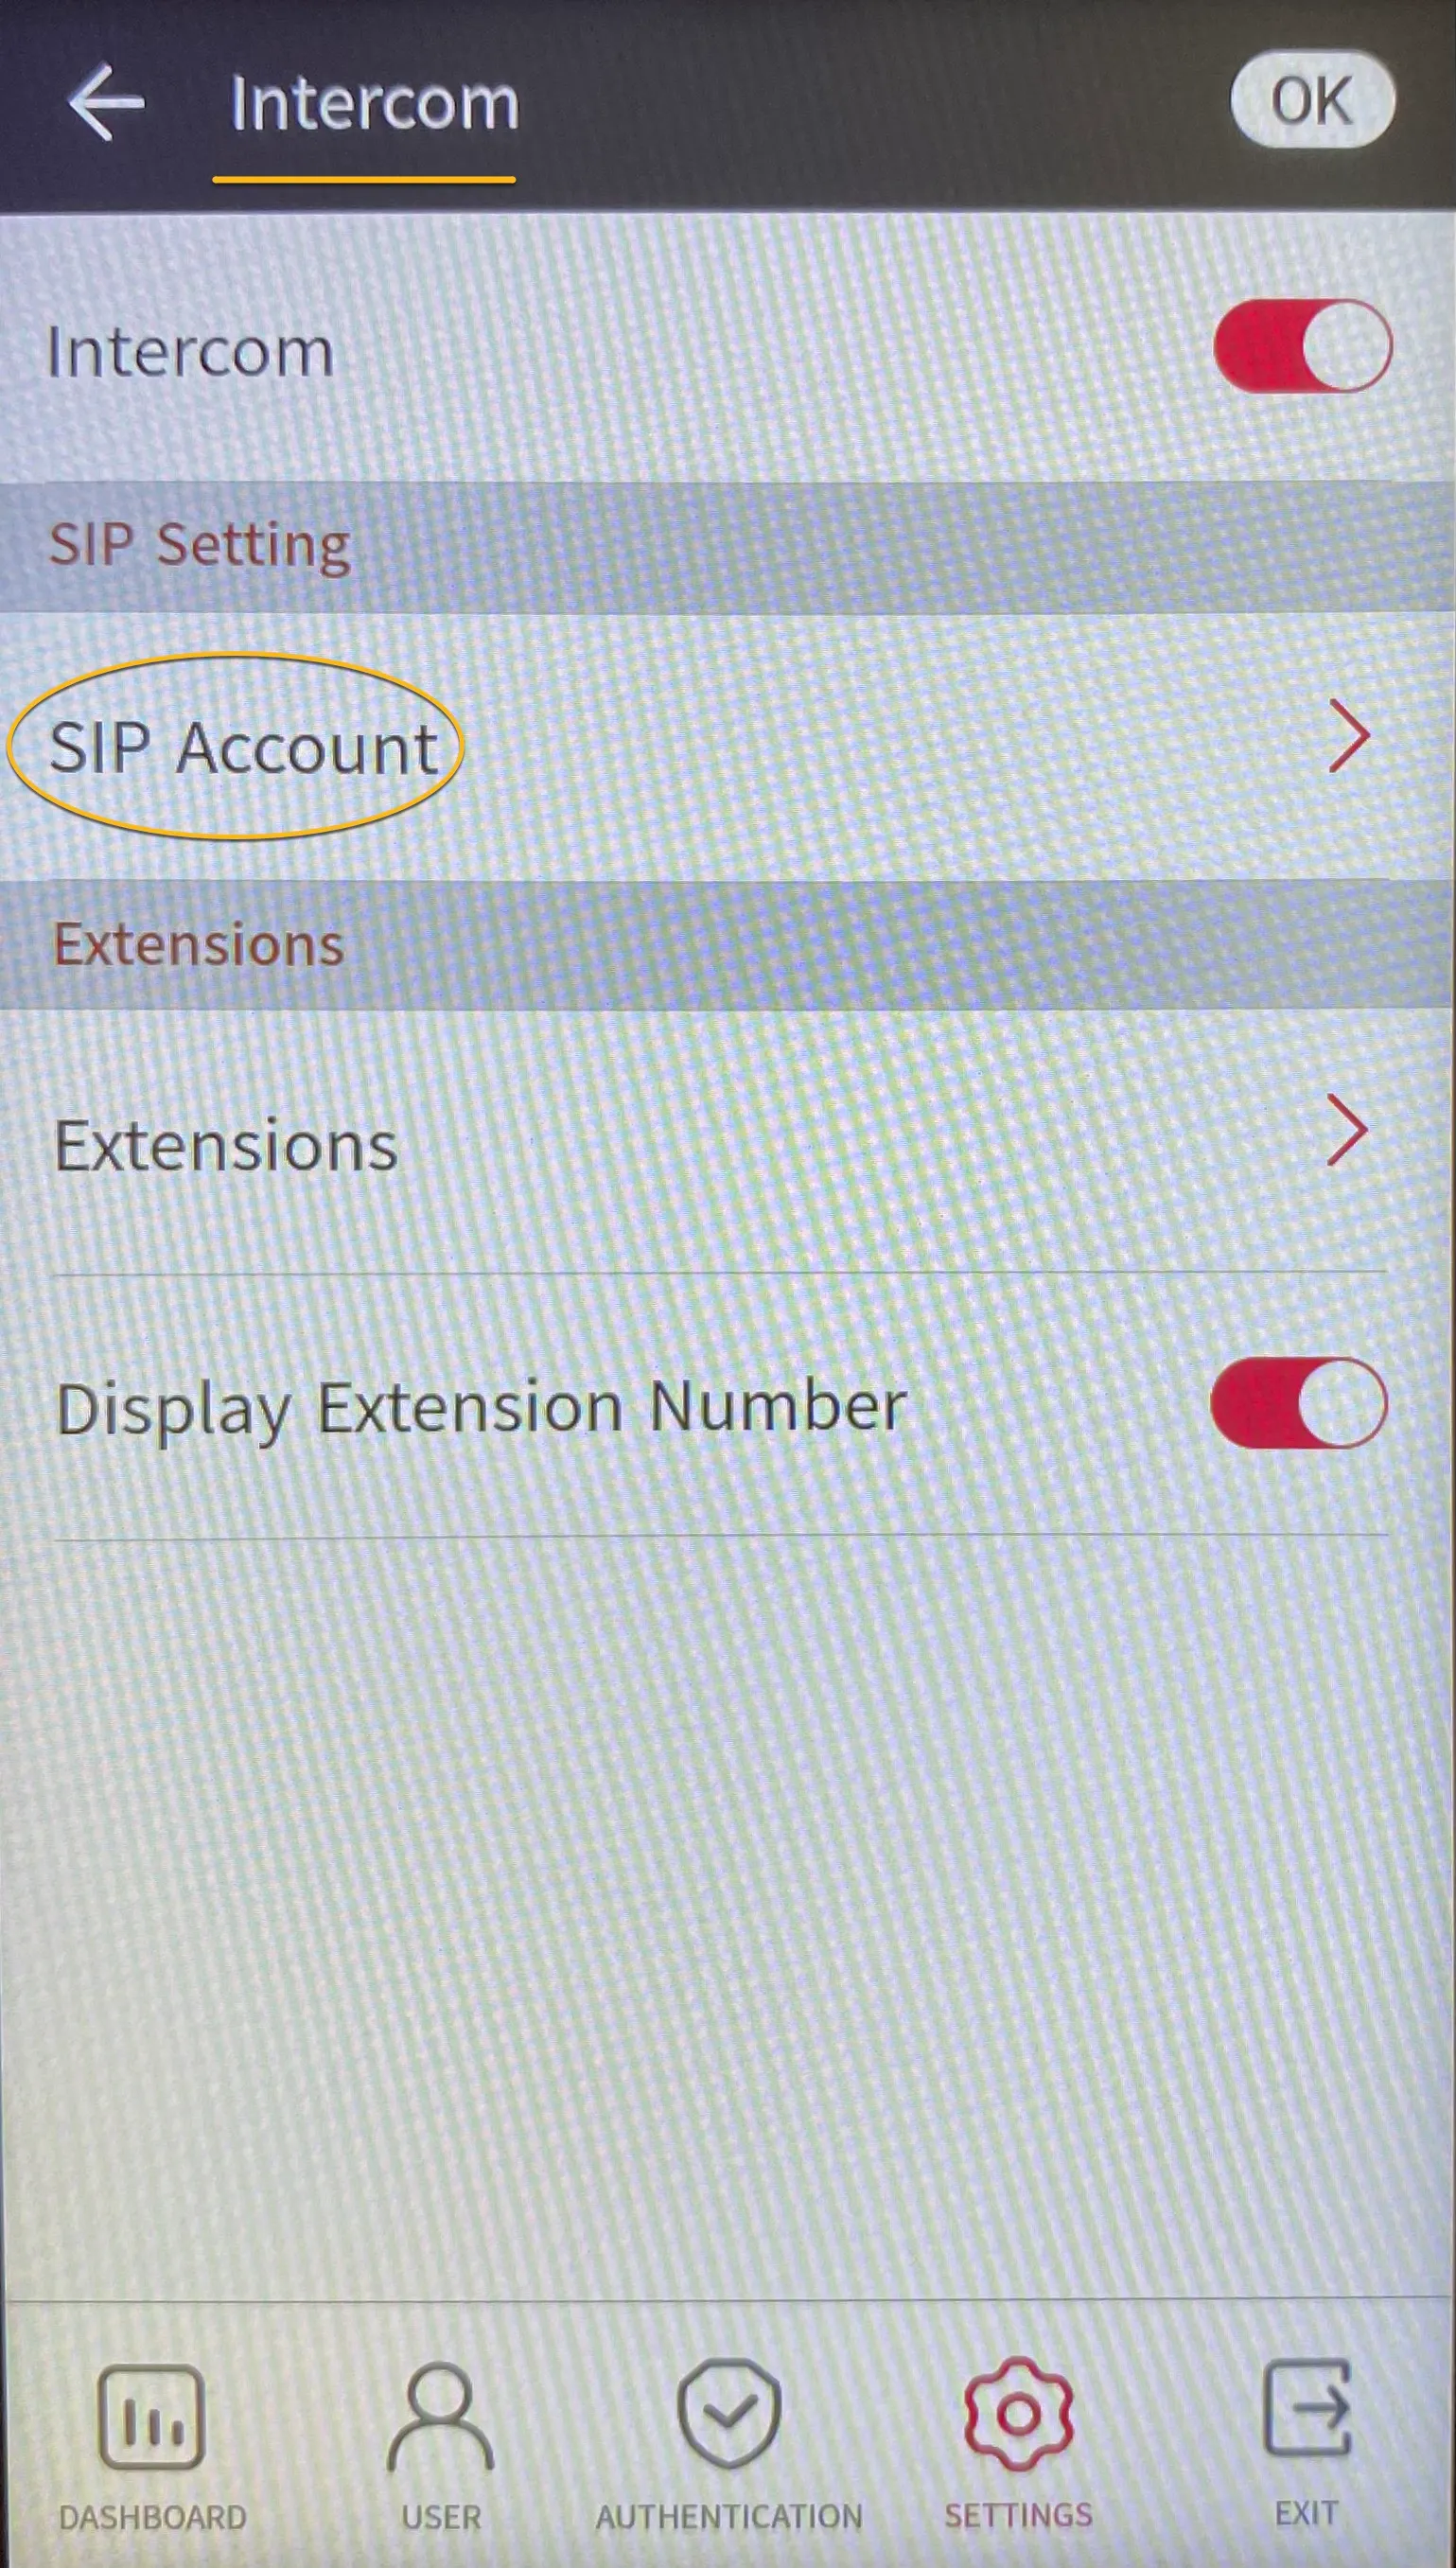
- Click on ‘Intercom’, followed by ‘SIP Account’.
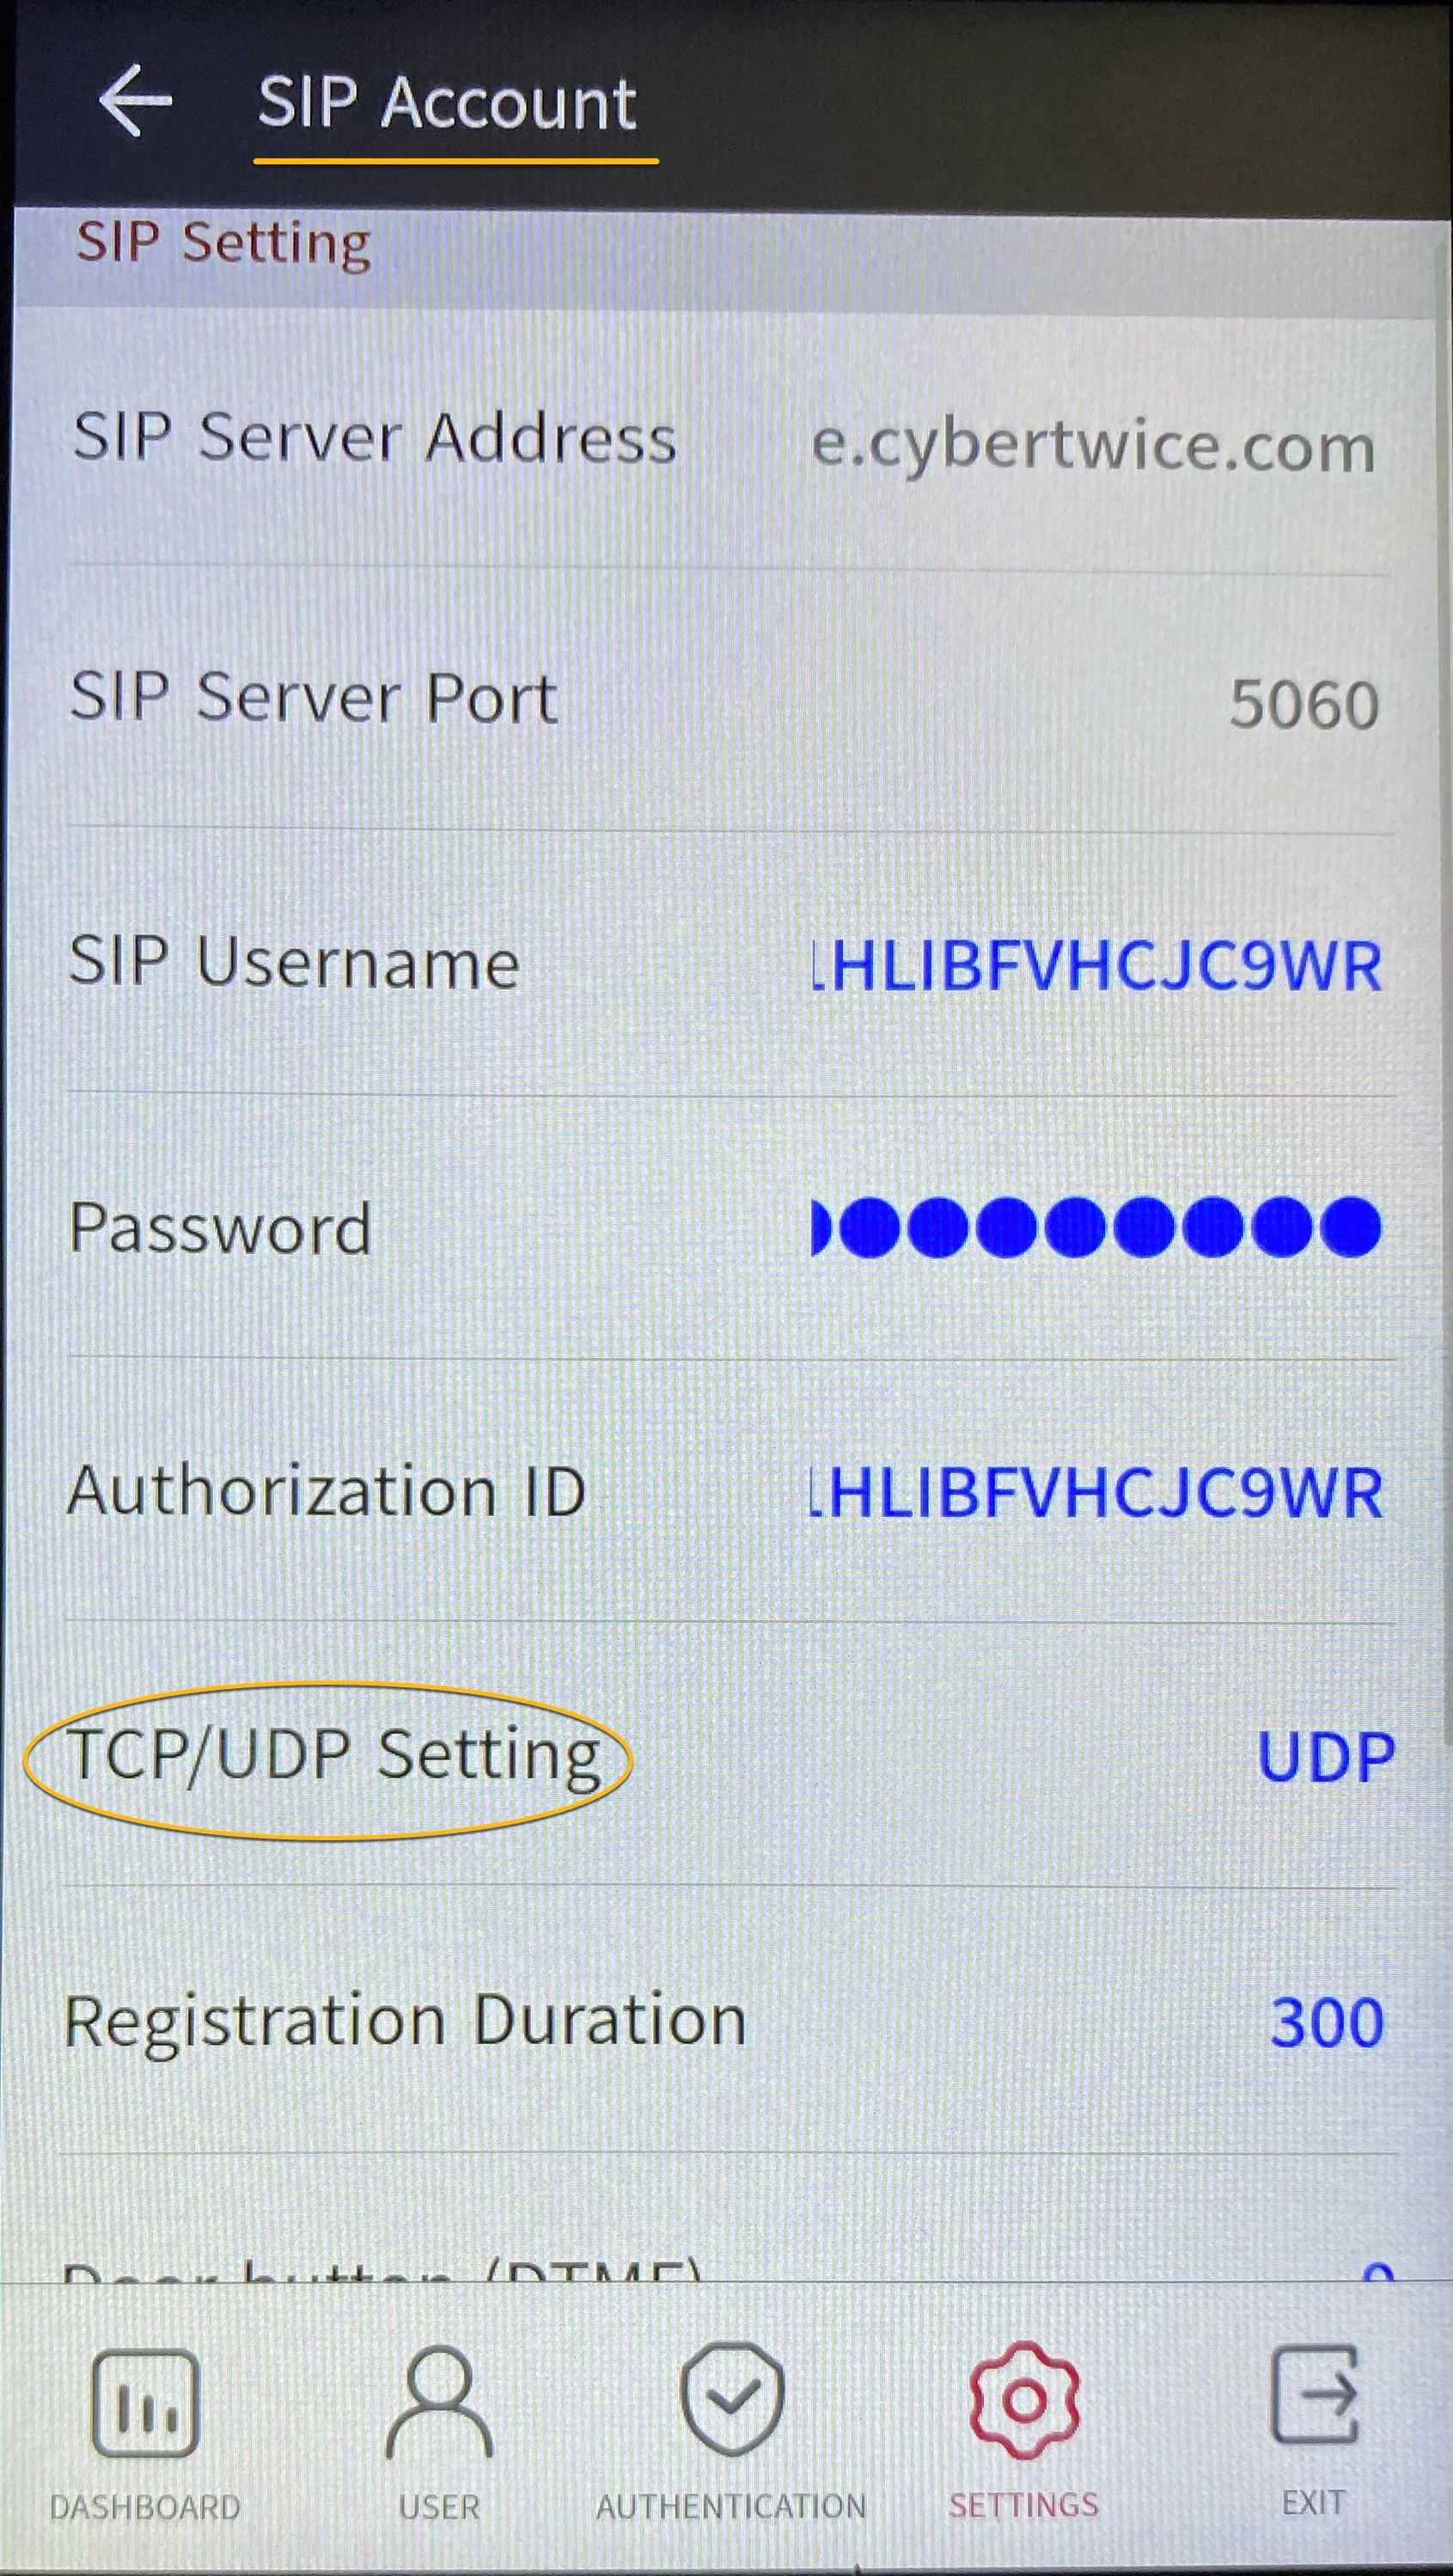
- Click on ‘TCP/UDP Setting’ and change UDP in to TCP.
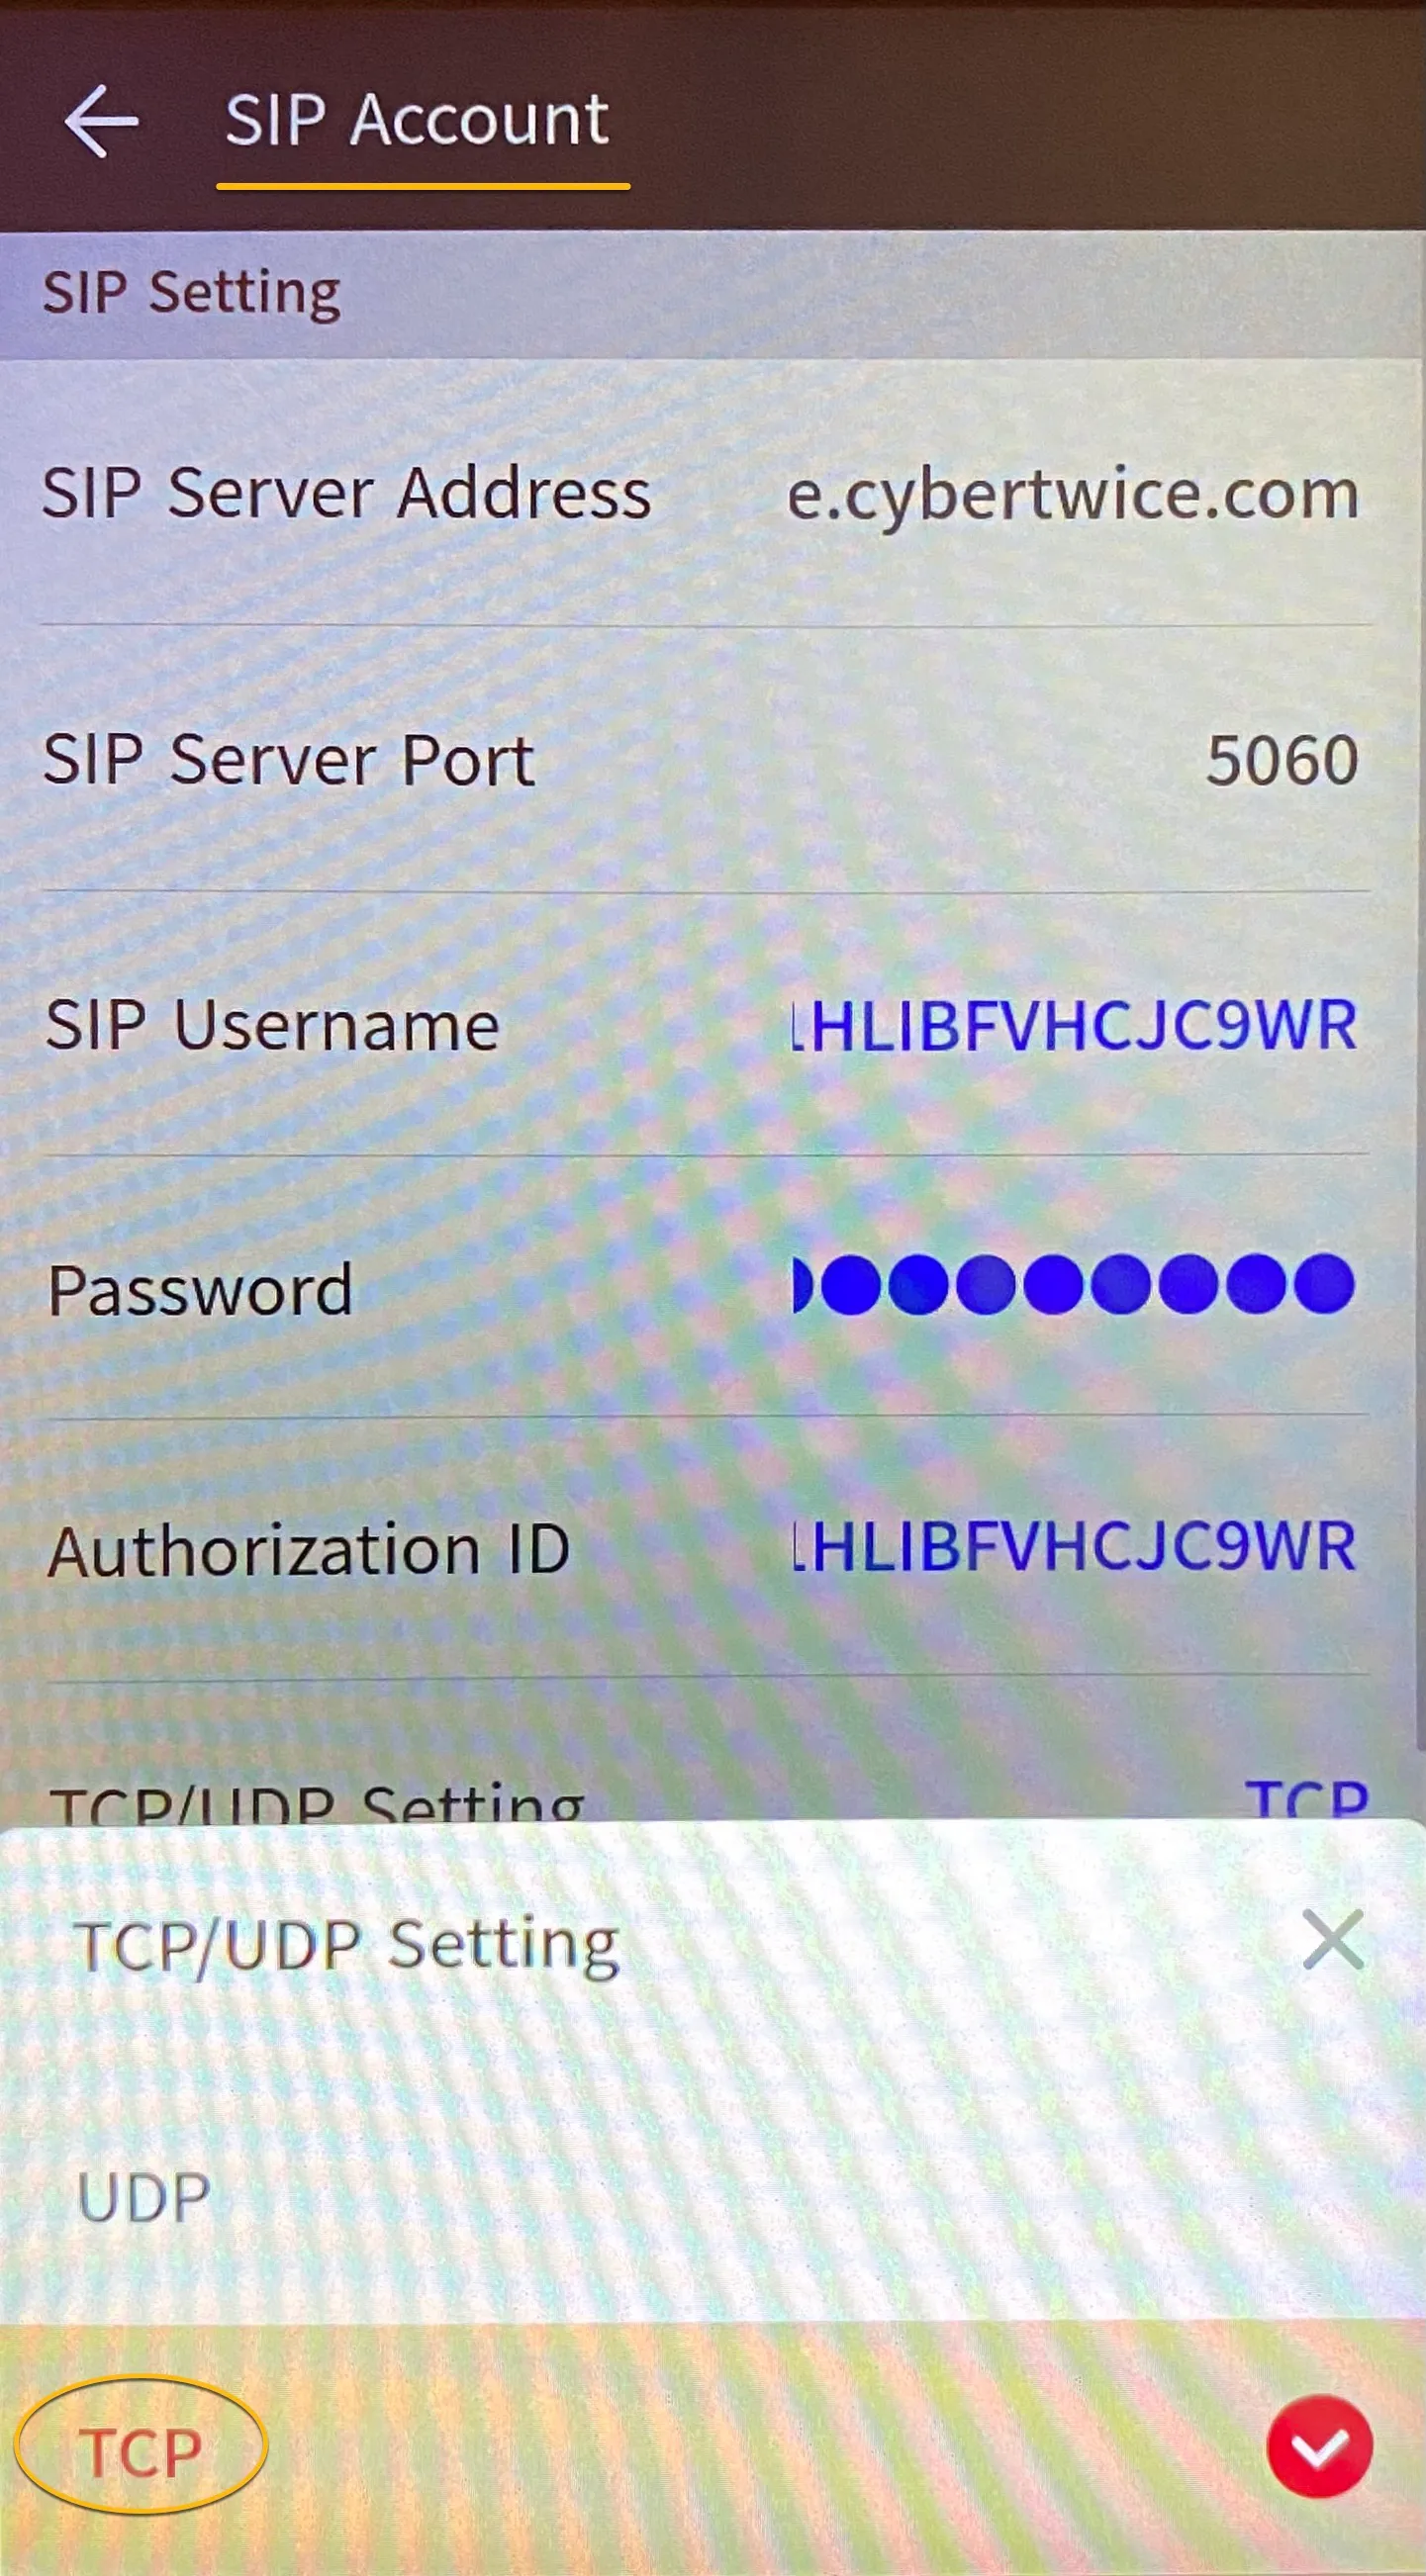
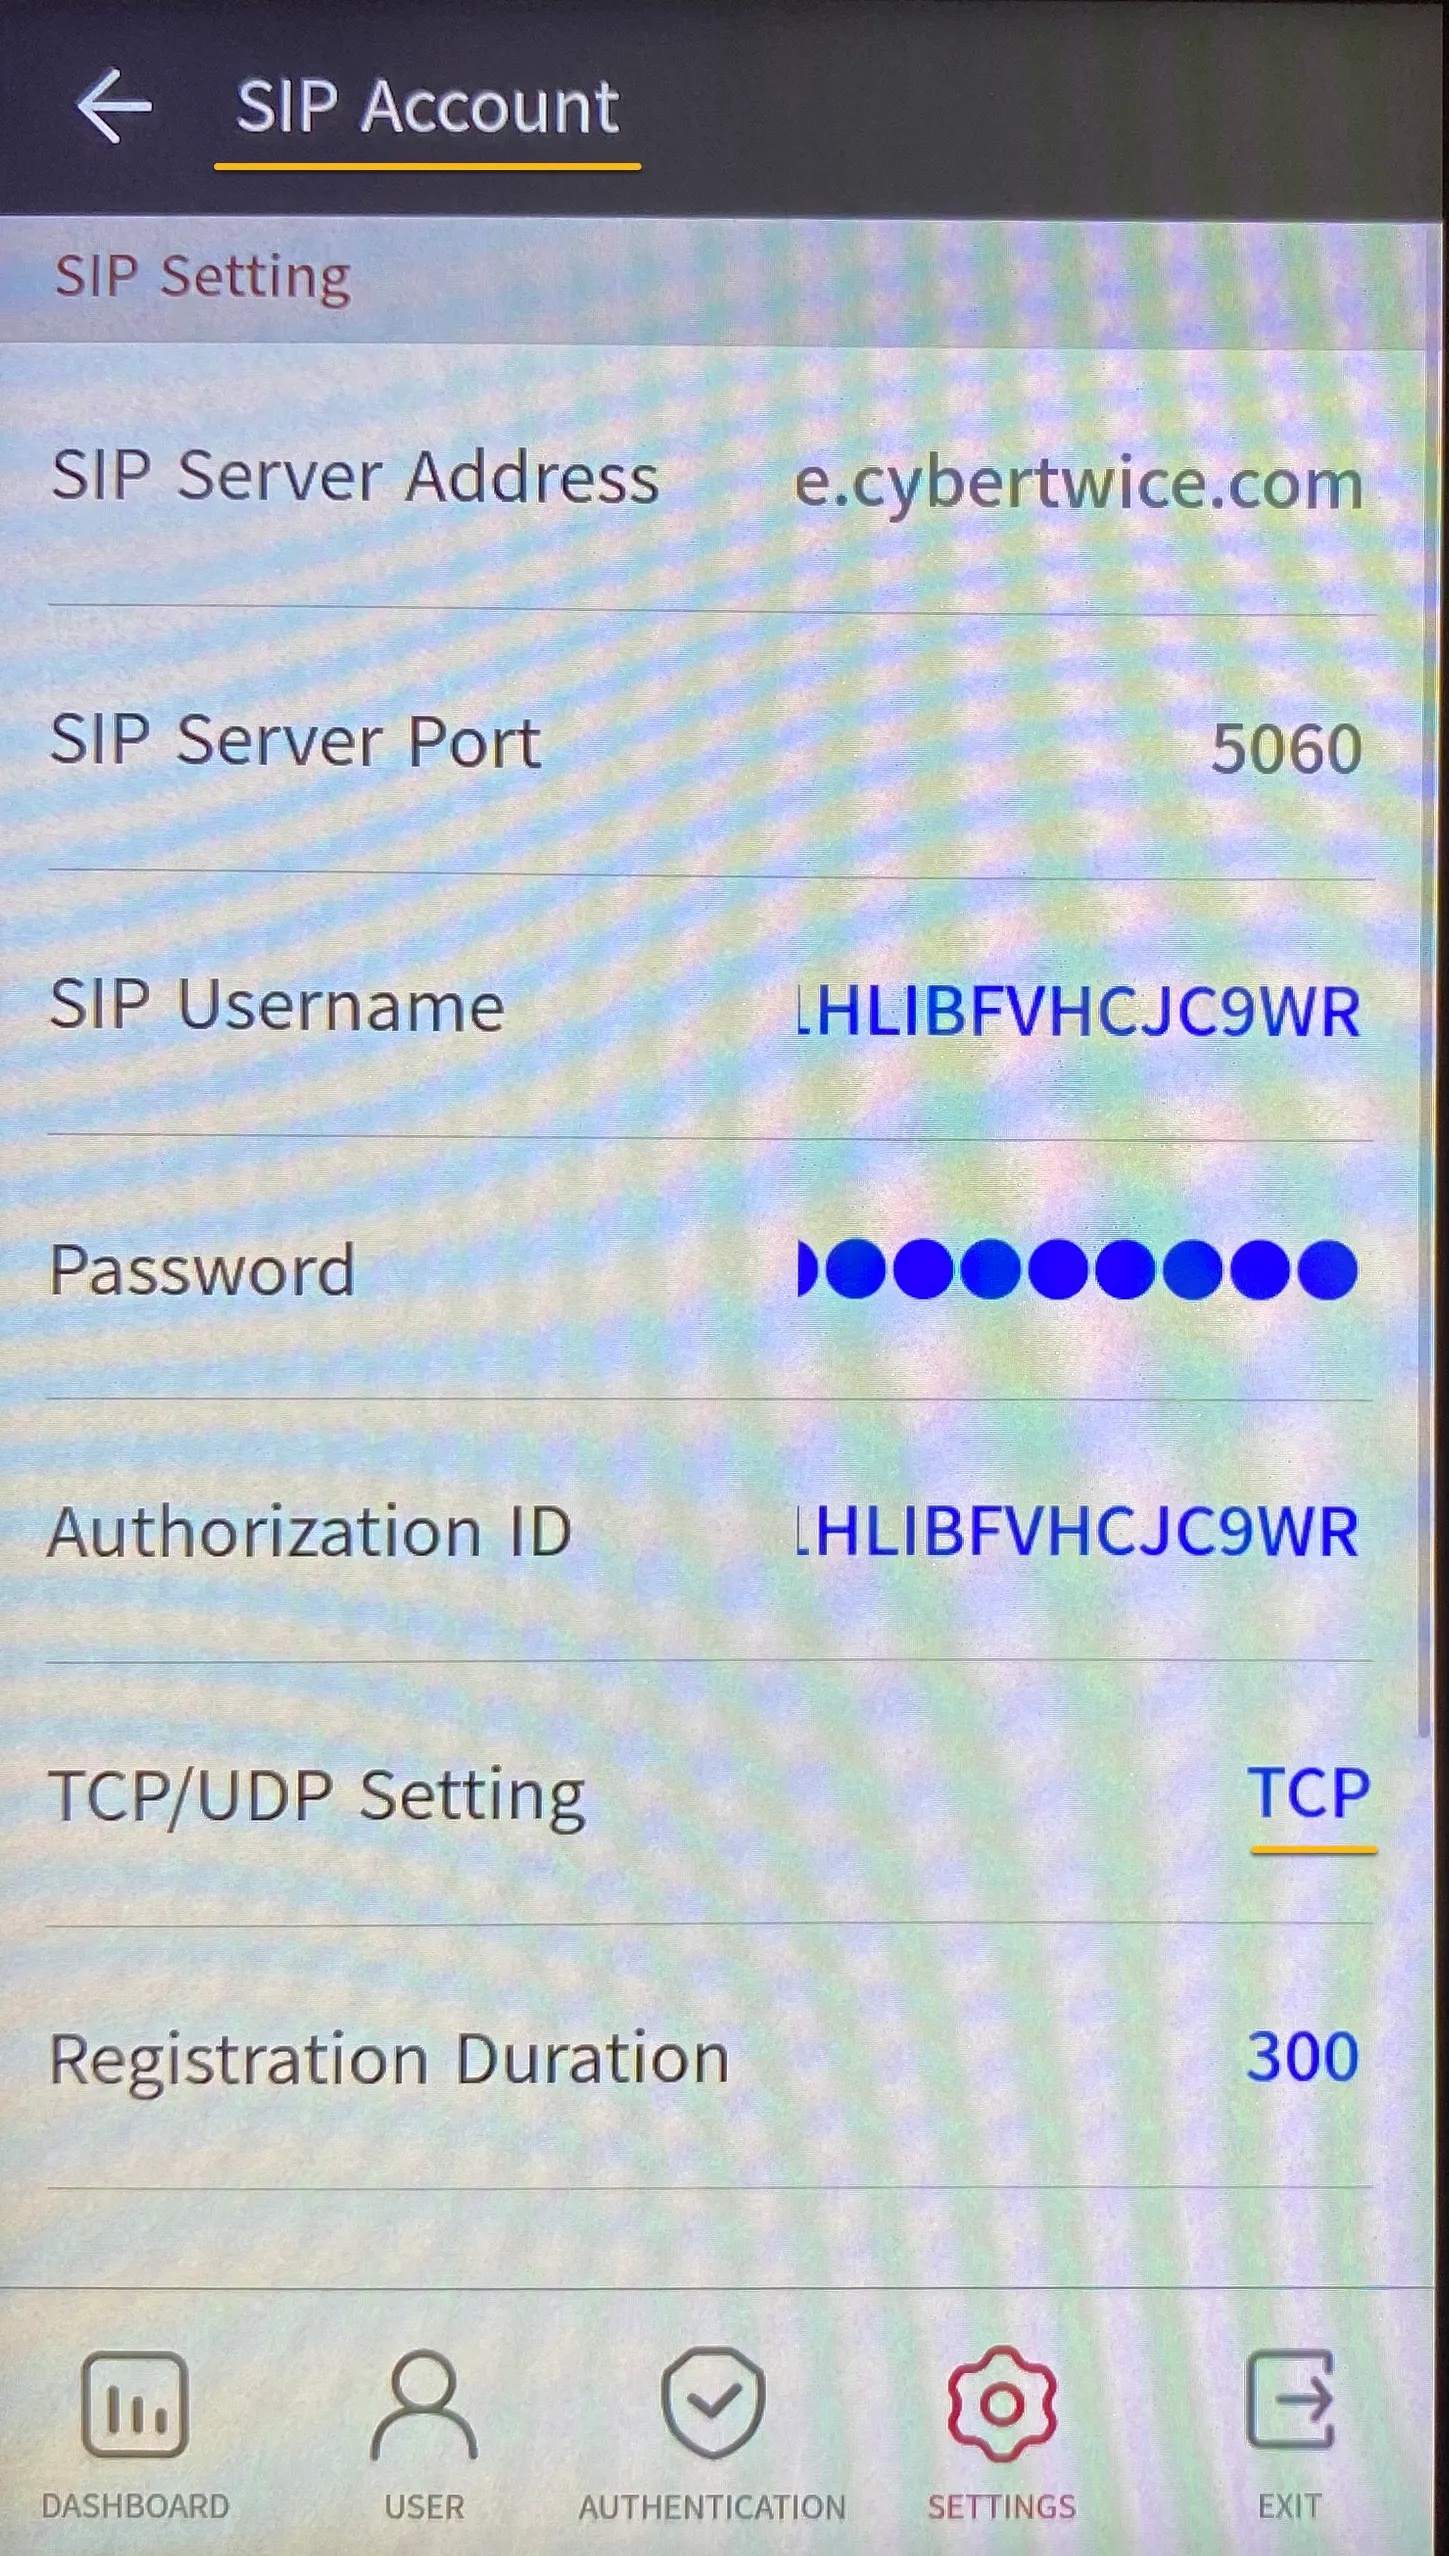
- Navigate back to ‘Intercom’ with the arrow on the top-left and click ‘OK’ to save the setting.
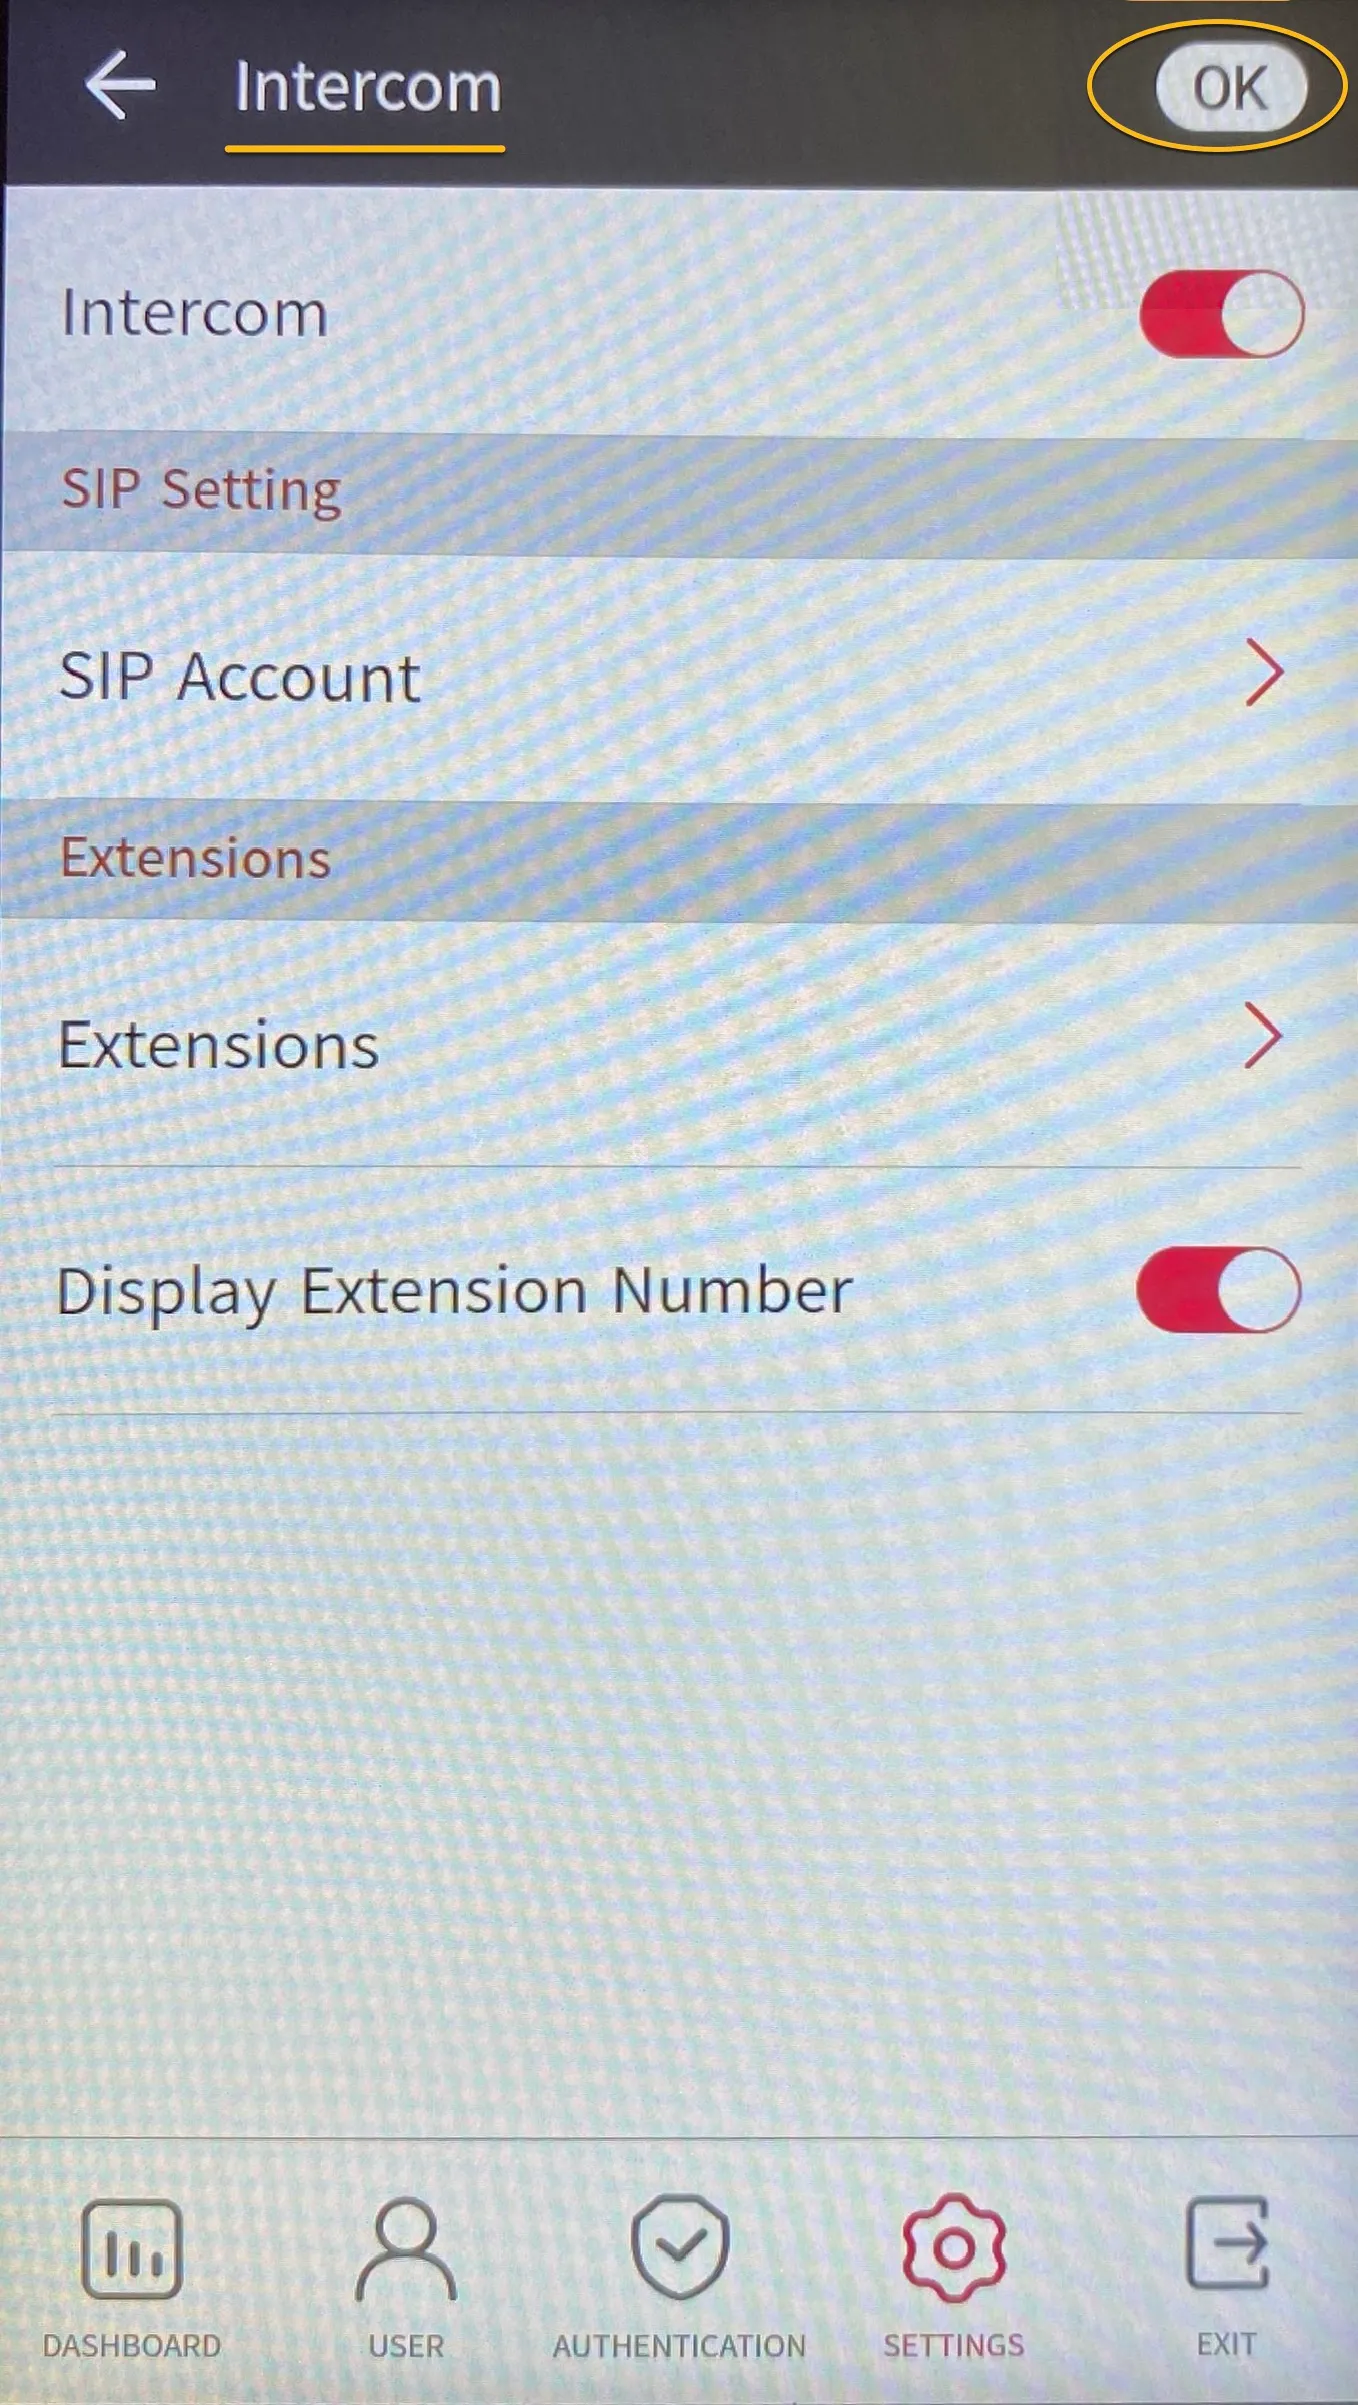
Configuration of the Suprema is now done.
Call a Teams user from the Suprema
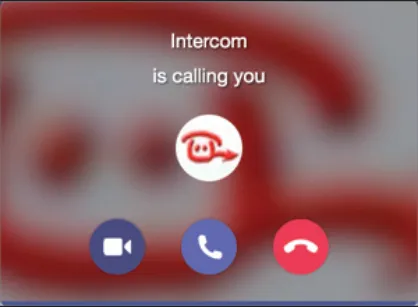
- Press the green button on the Suprema to initiate a call to the configured Teams user. If configured correctly, the Teams client will notify you of an incoming call.
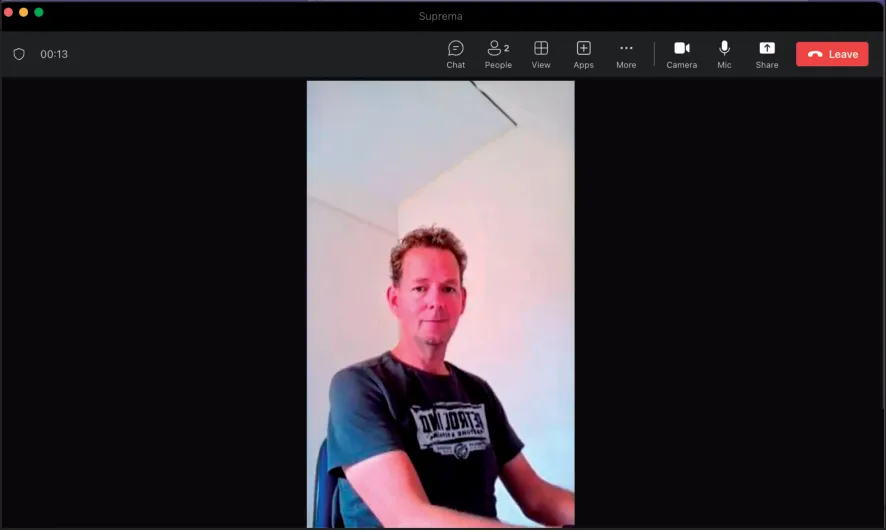
- Answer the call by clicking the handset or camera symbol. The call will be established and video will be displayed within ±3 seconds.
Open the door from the Teams call
- In the call screen, click on the three dots (...) and select the ‘Keypad’.
- Use the code configured (the default code for Suprema is ‘0’). This will trigger the relay in the Suprema and open the door.
A more convenient way to open the door during a call is to use the CyberGate for Teams app. See the CyberGate App for Teams manual on how to to install and use the CyberGate for Teams app.
CyberGate App for Microsoft Teams
The CyberGate App for Microsoft Teams offers more CyberGate features directly from Microsoft Teams. One of these features is the Open-door button. This button can be utilized during a call to CyberGate and lets you open the the door by clicking just one button.
For a description on how to install the CyberGate app and use the Open door button please see the CyberGate App for TeamsCyberGate App for Teams manual.